a quicker way to transfer embroidery patterns
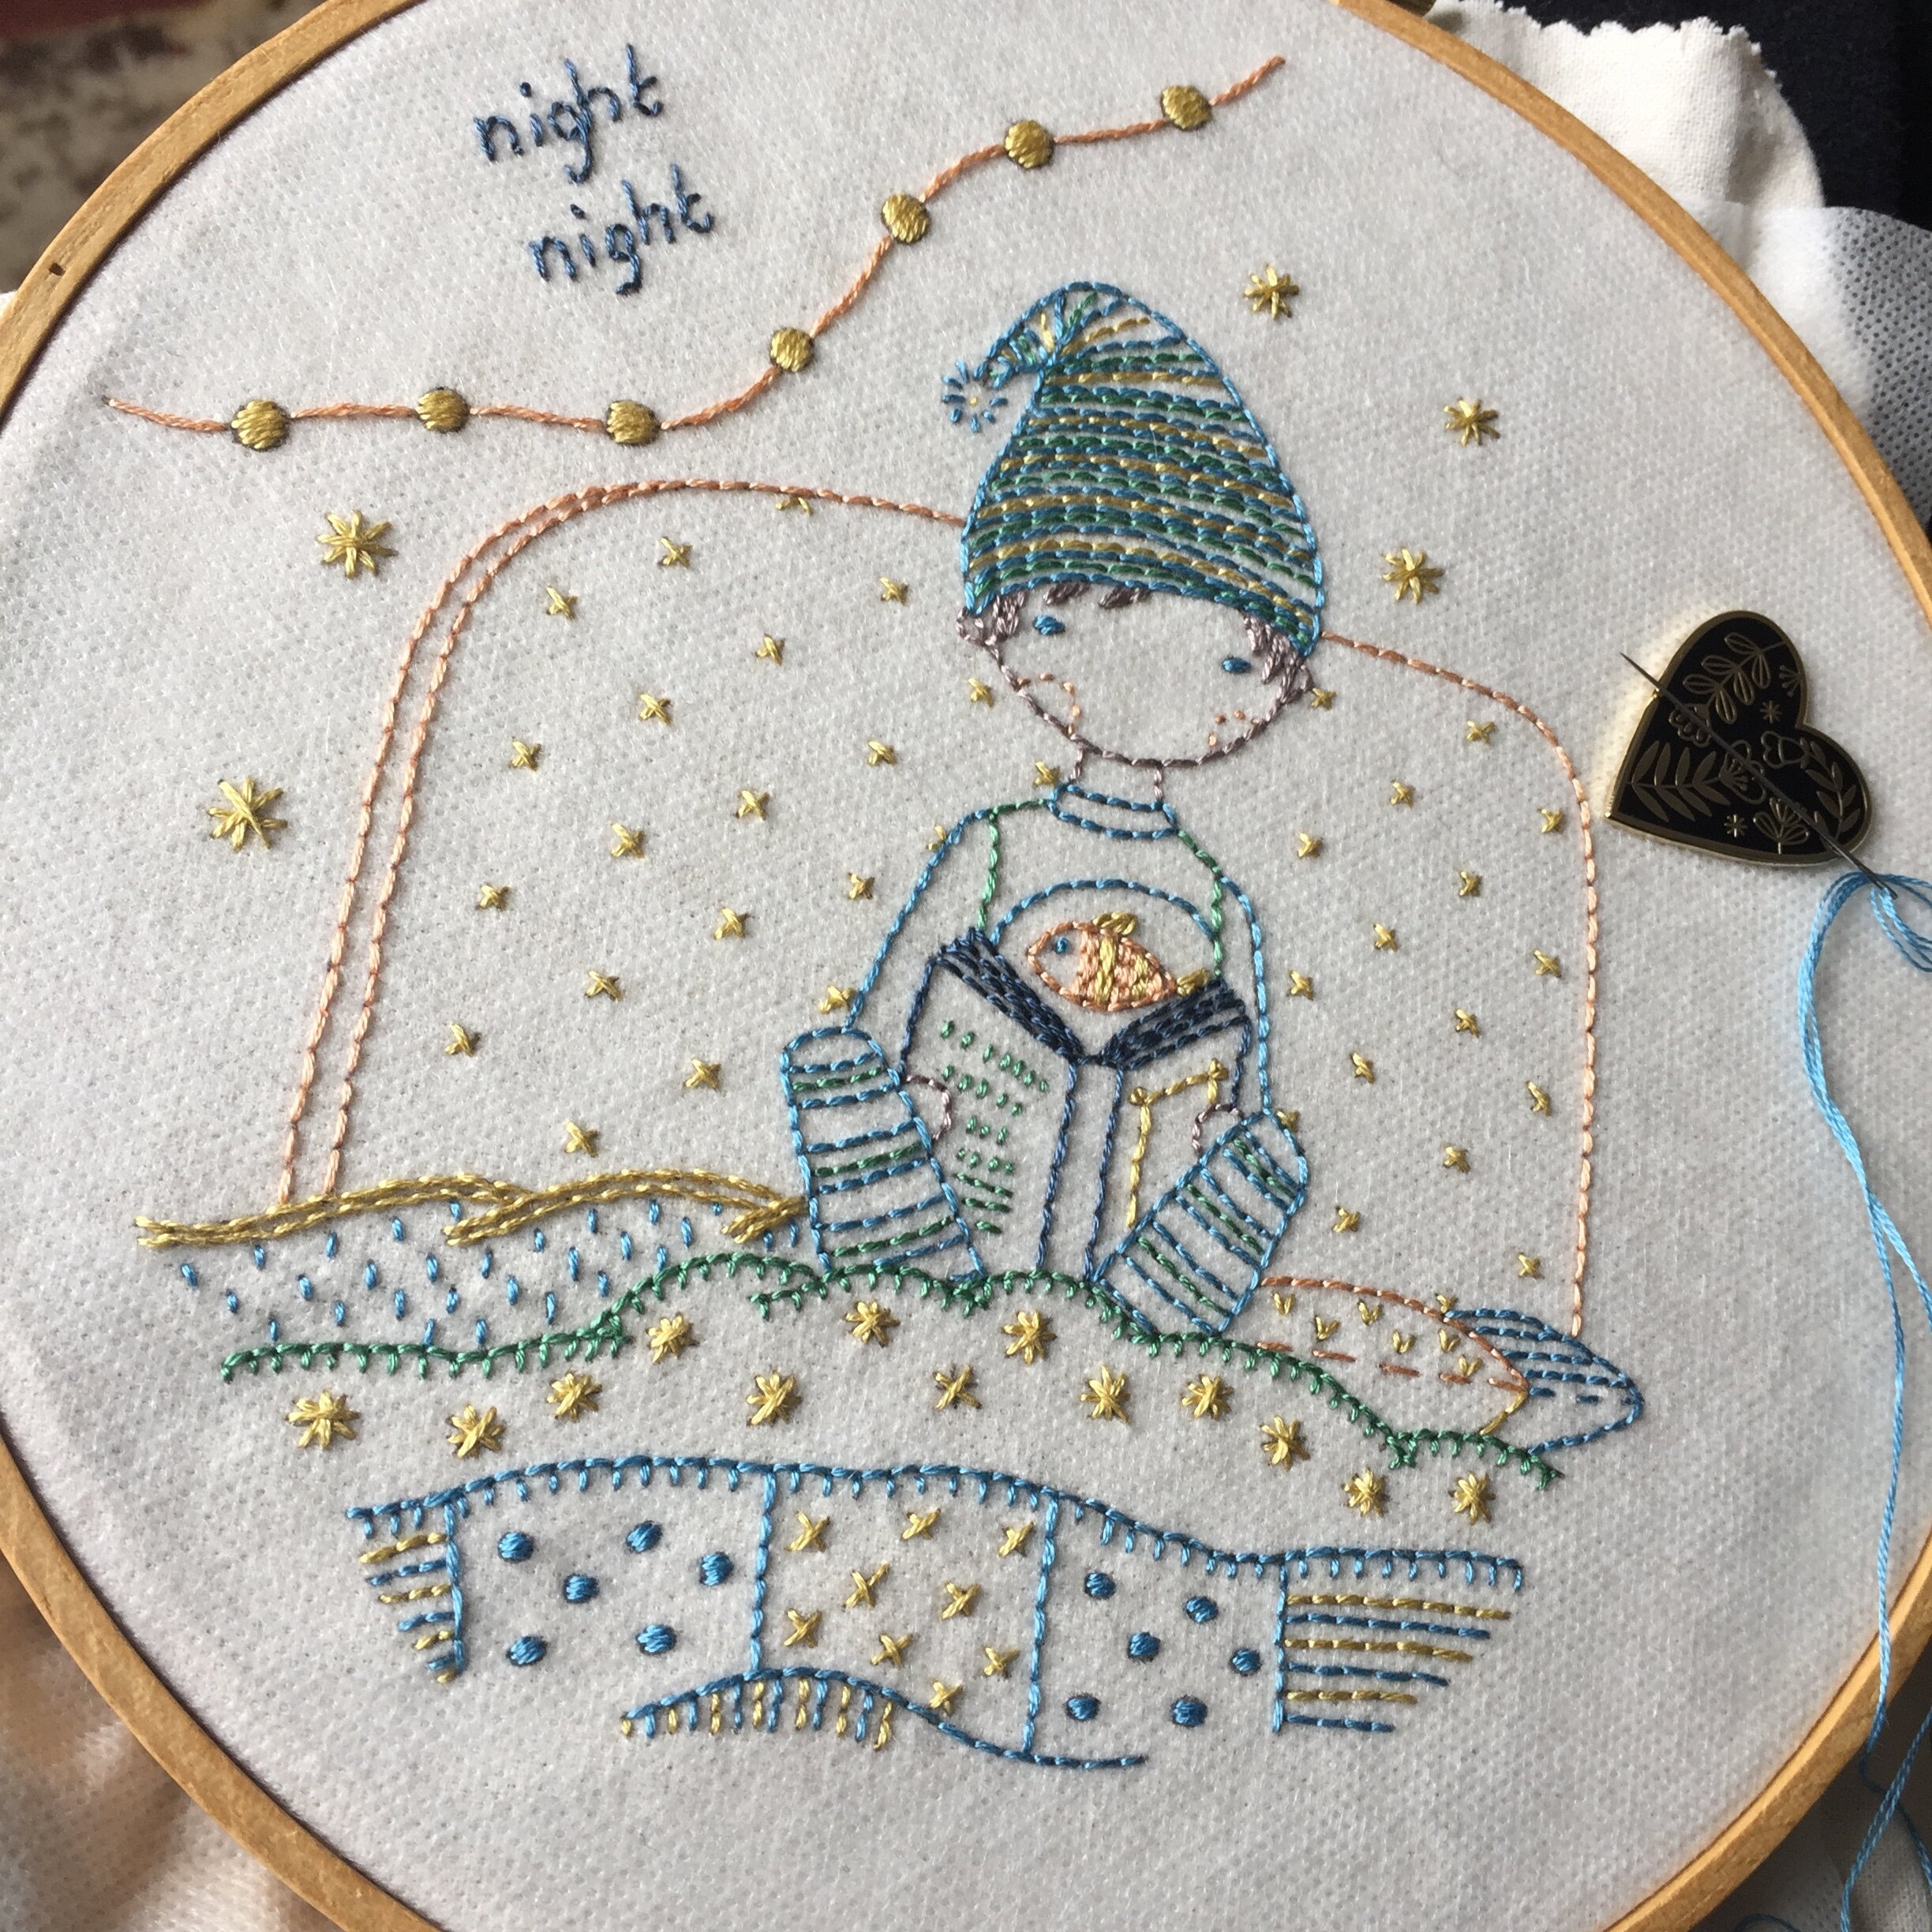
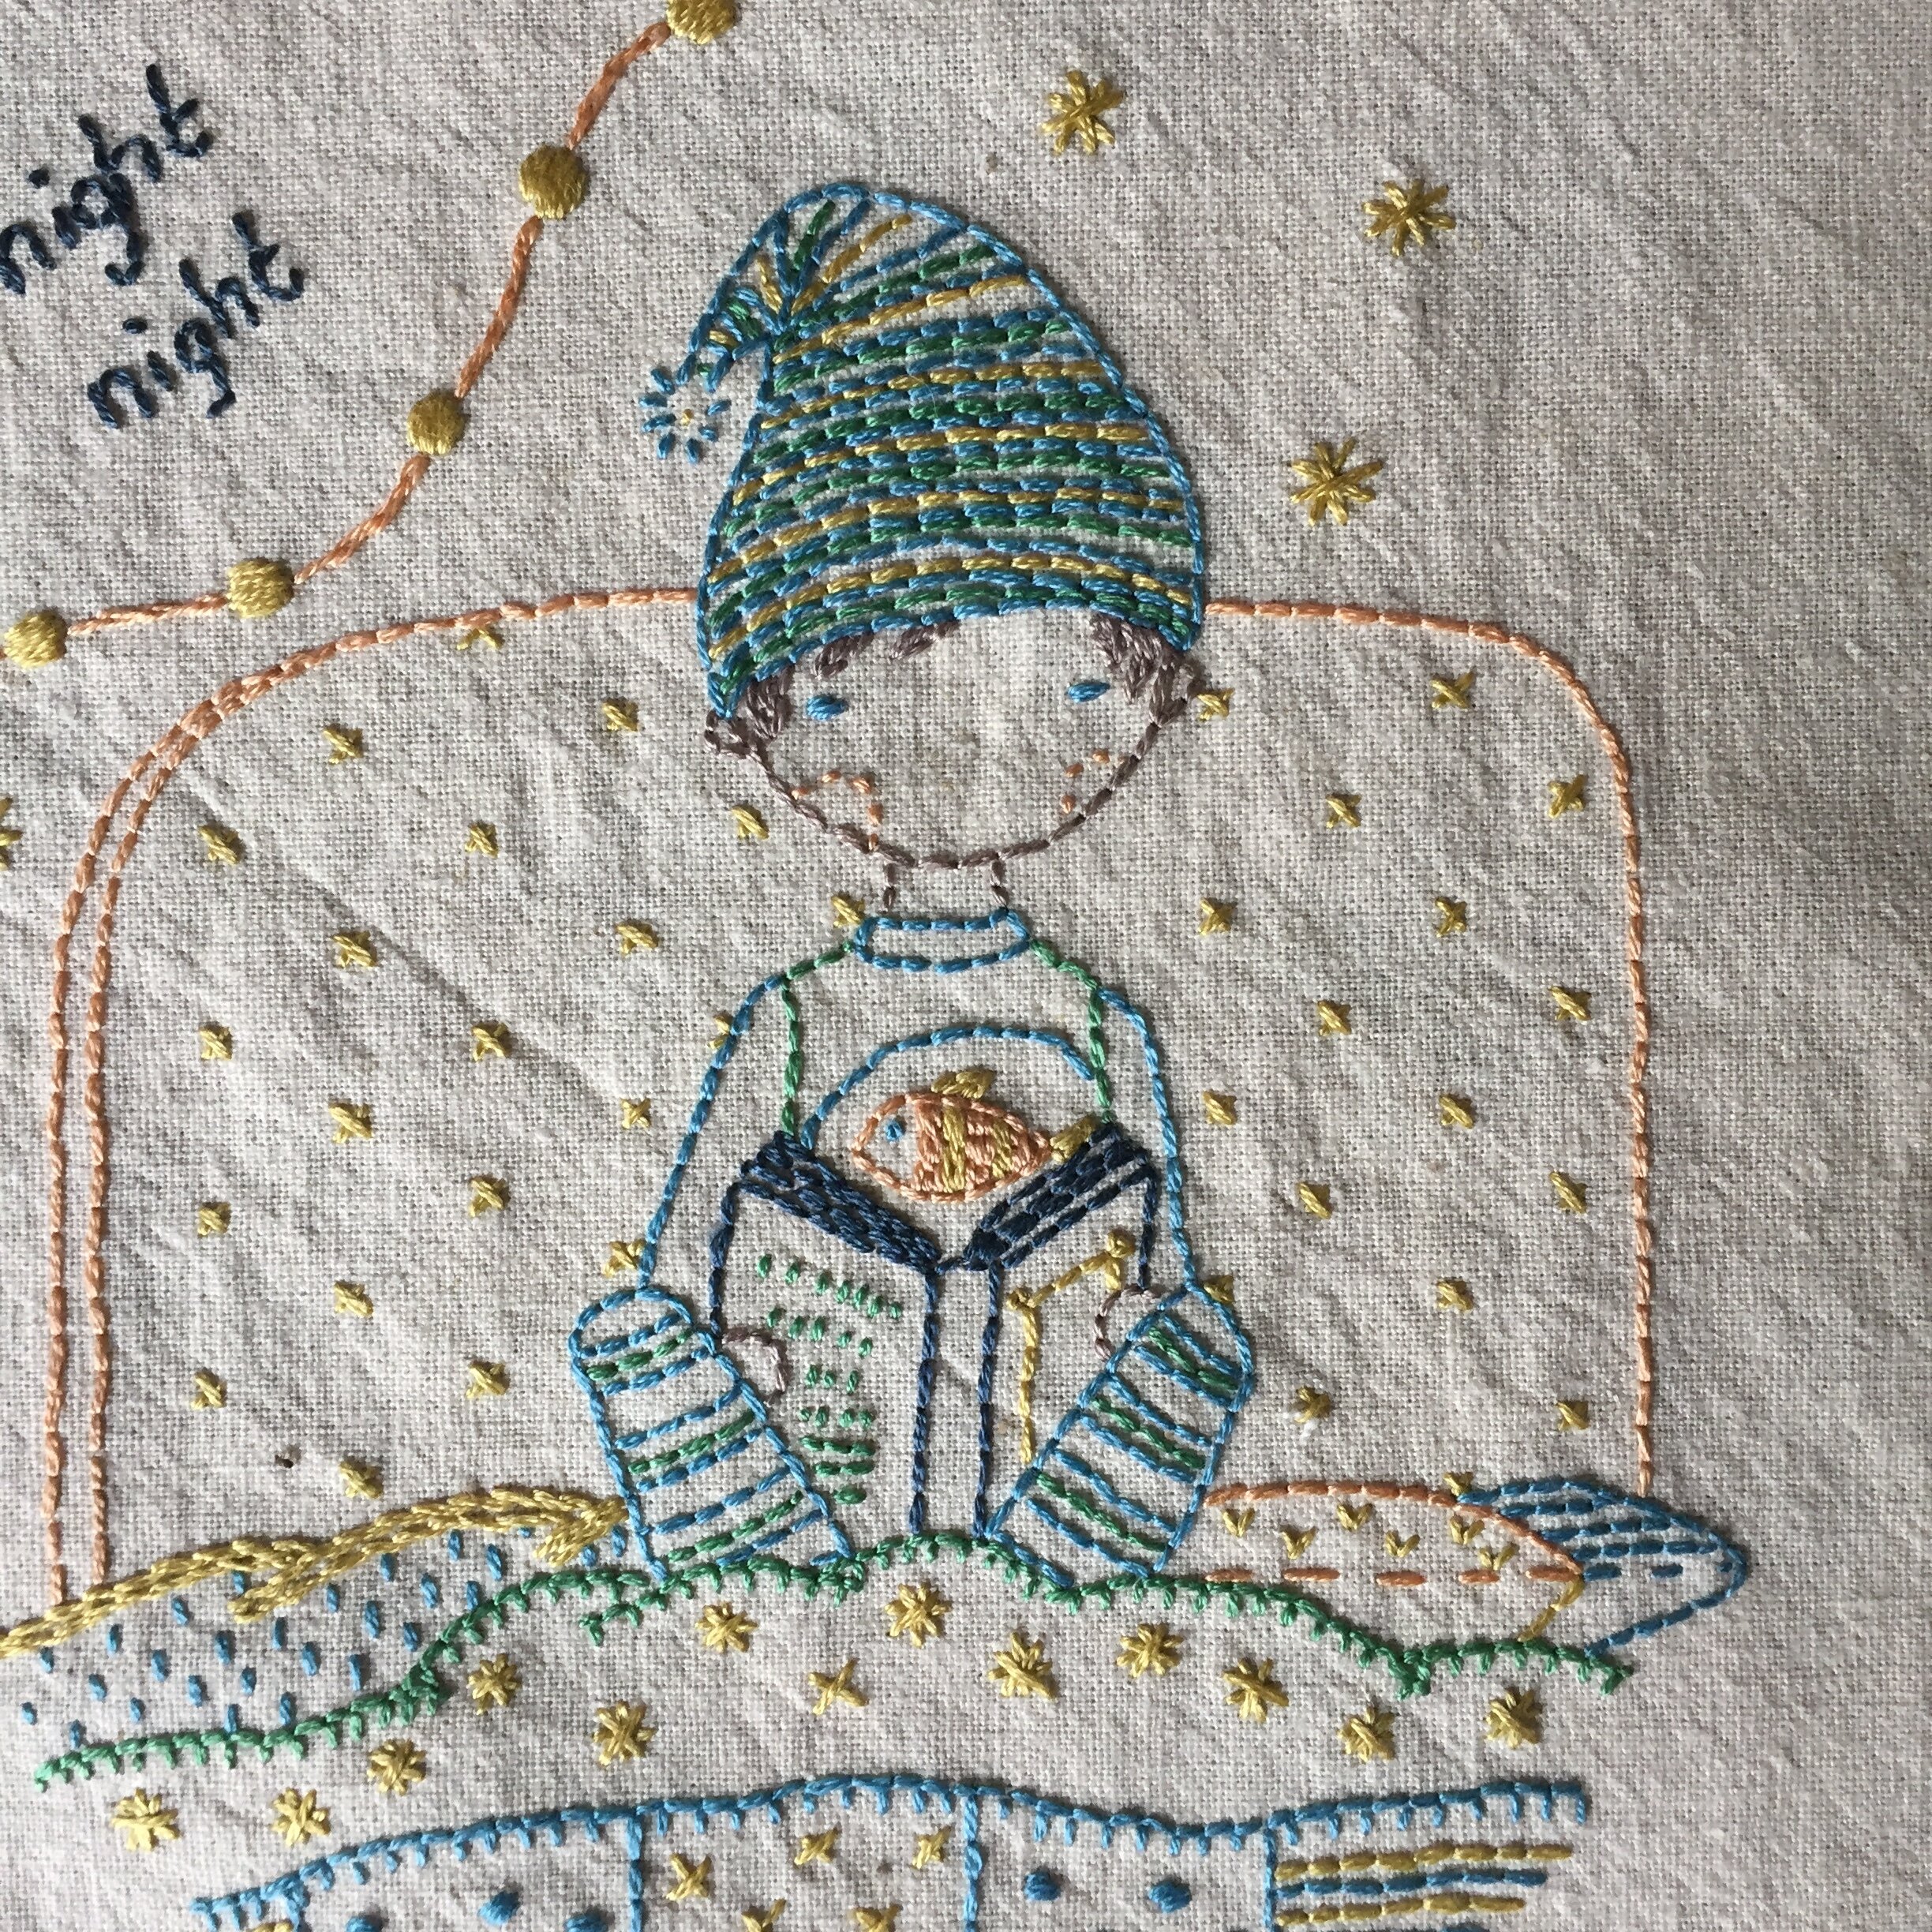
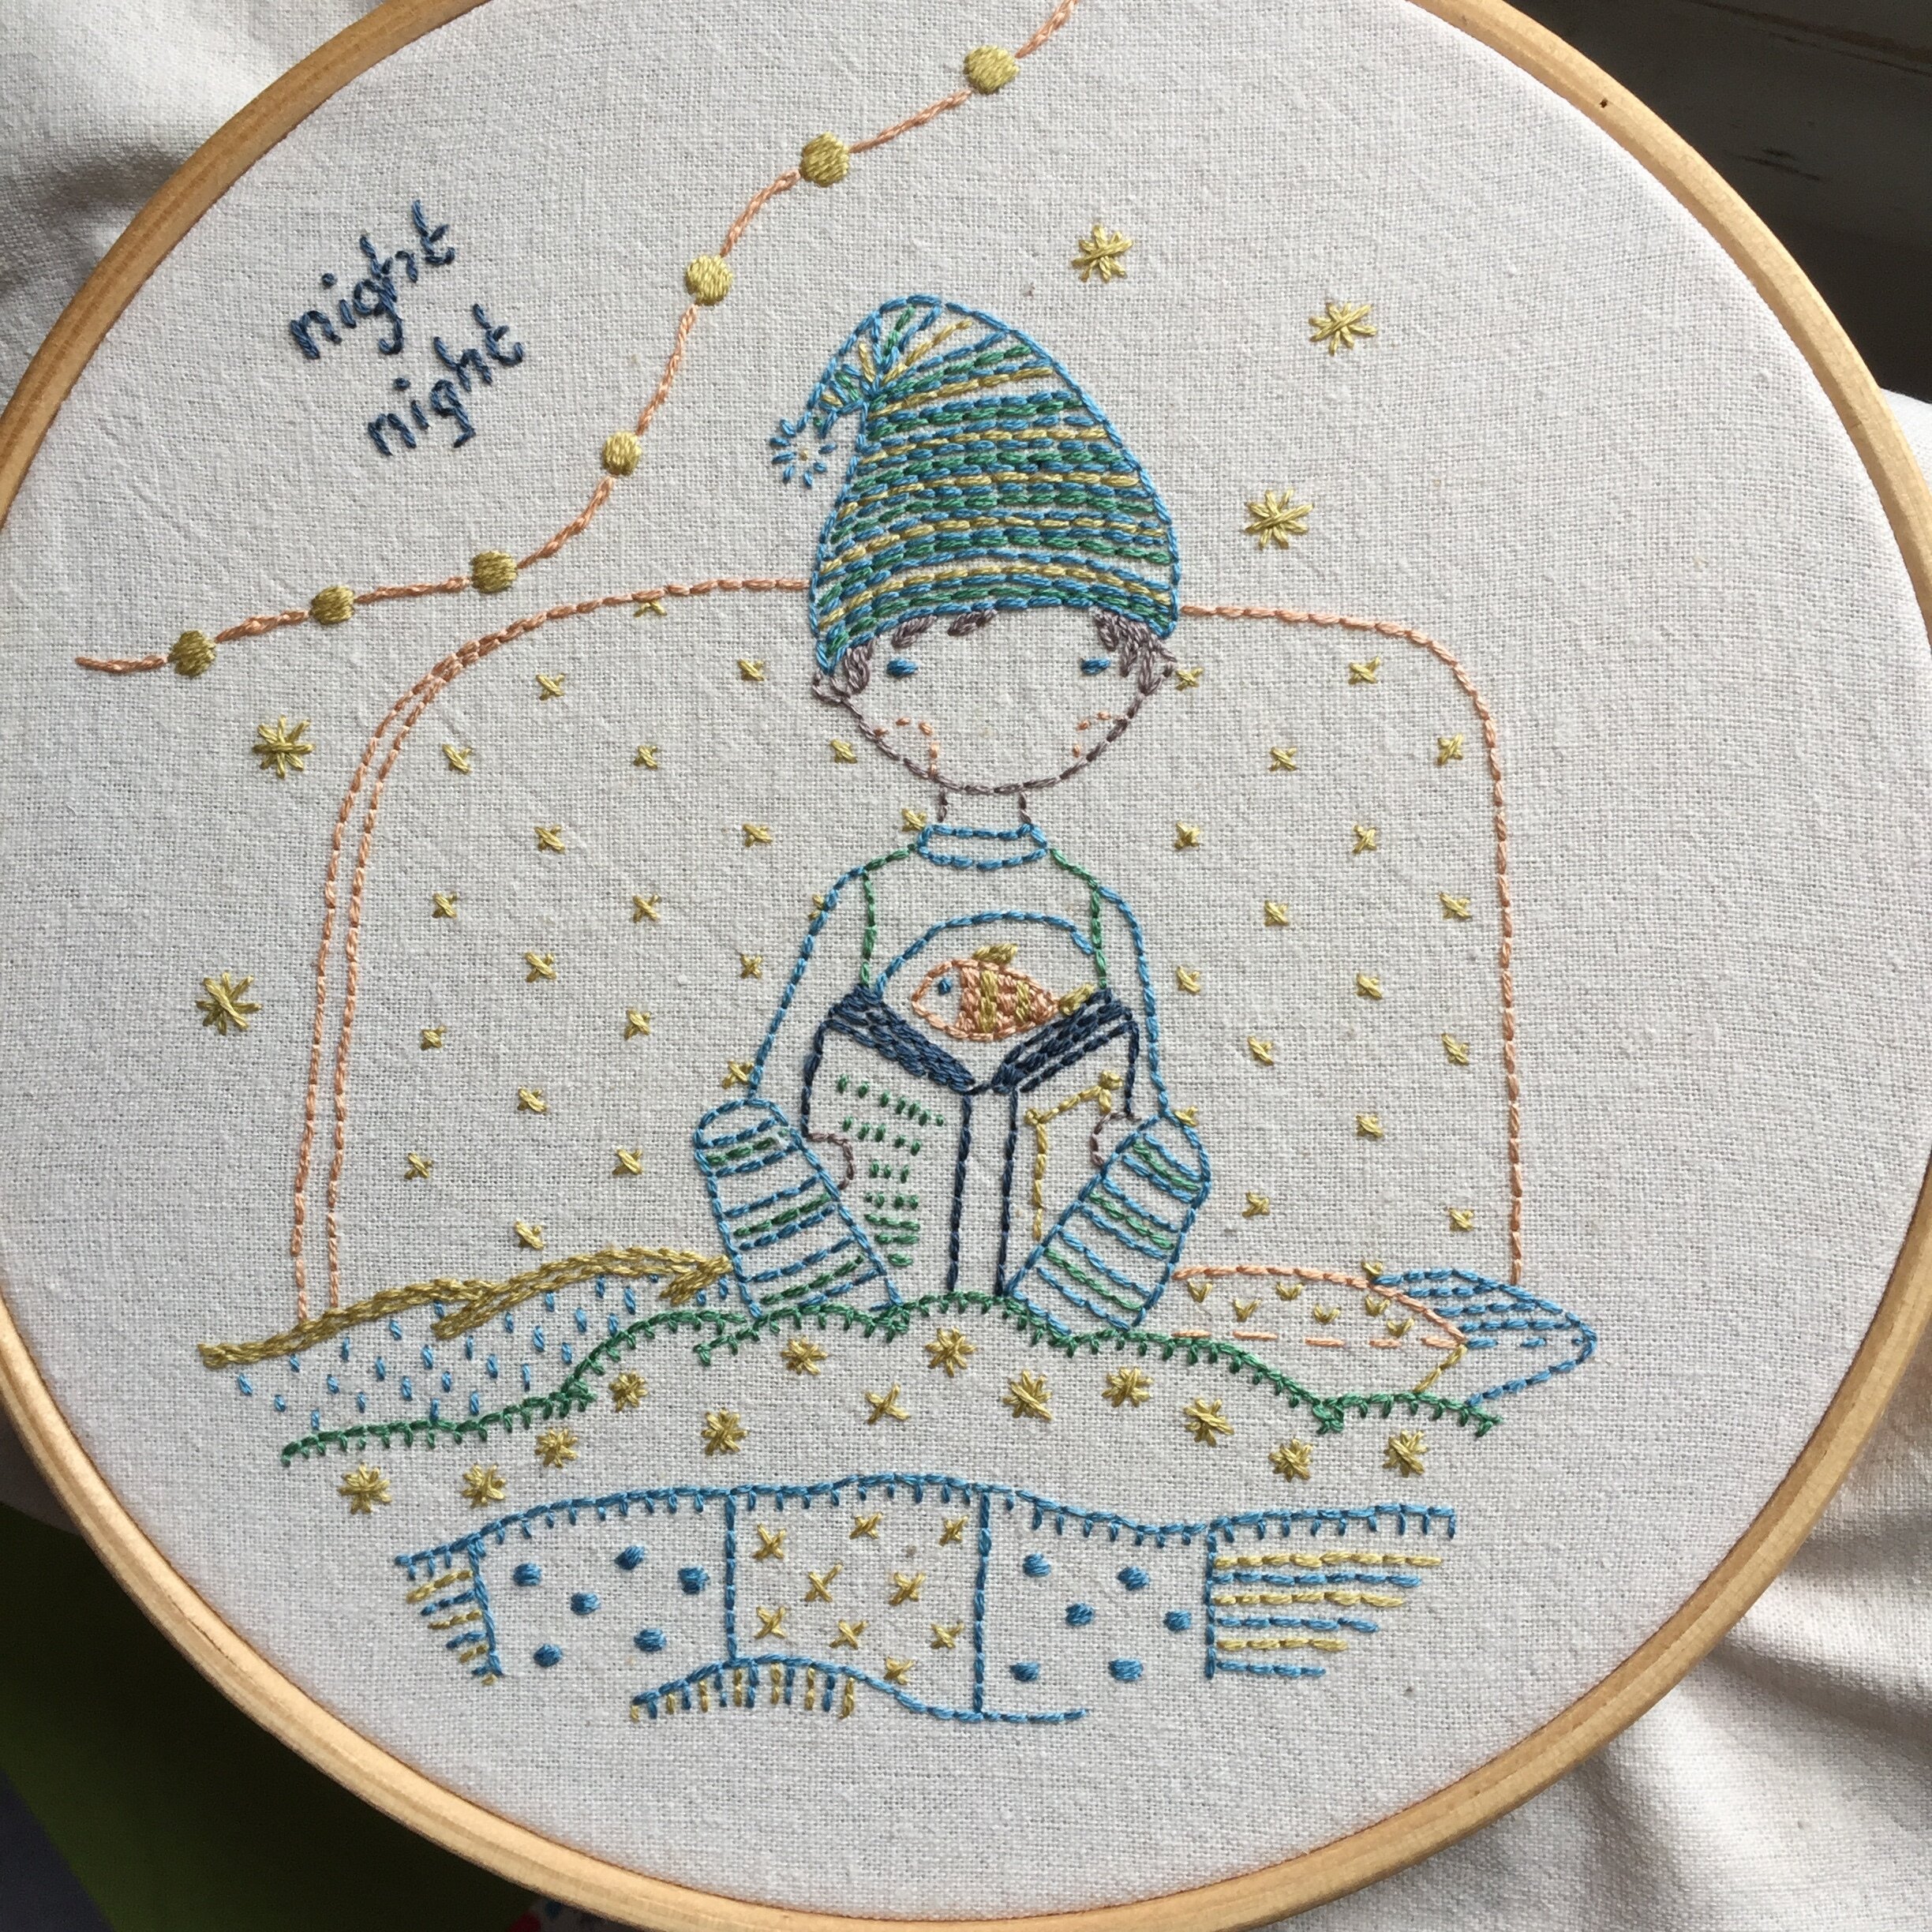
I have been asked quite a few times for a boy version of the night night pattern and during August I finally got around to creating one. It is based on the original pattern with only a few small changes and a different colour way. I decided to use it to test out a different way of transferring patterns for those who don’t like tracing but this also works if you want to transfer your pattern onto coloured fabric or felt. It would also work (with a stabilizer) on a stretchy fabric that might be difficult to trace onto.
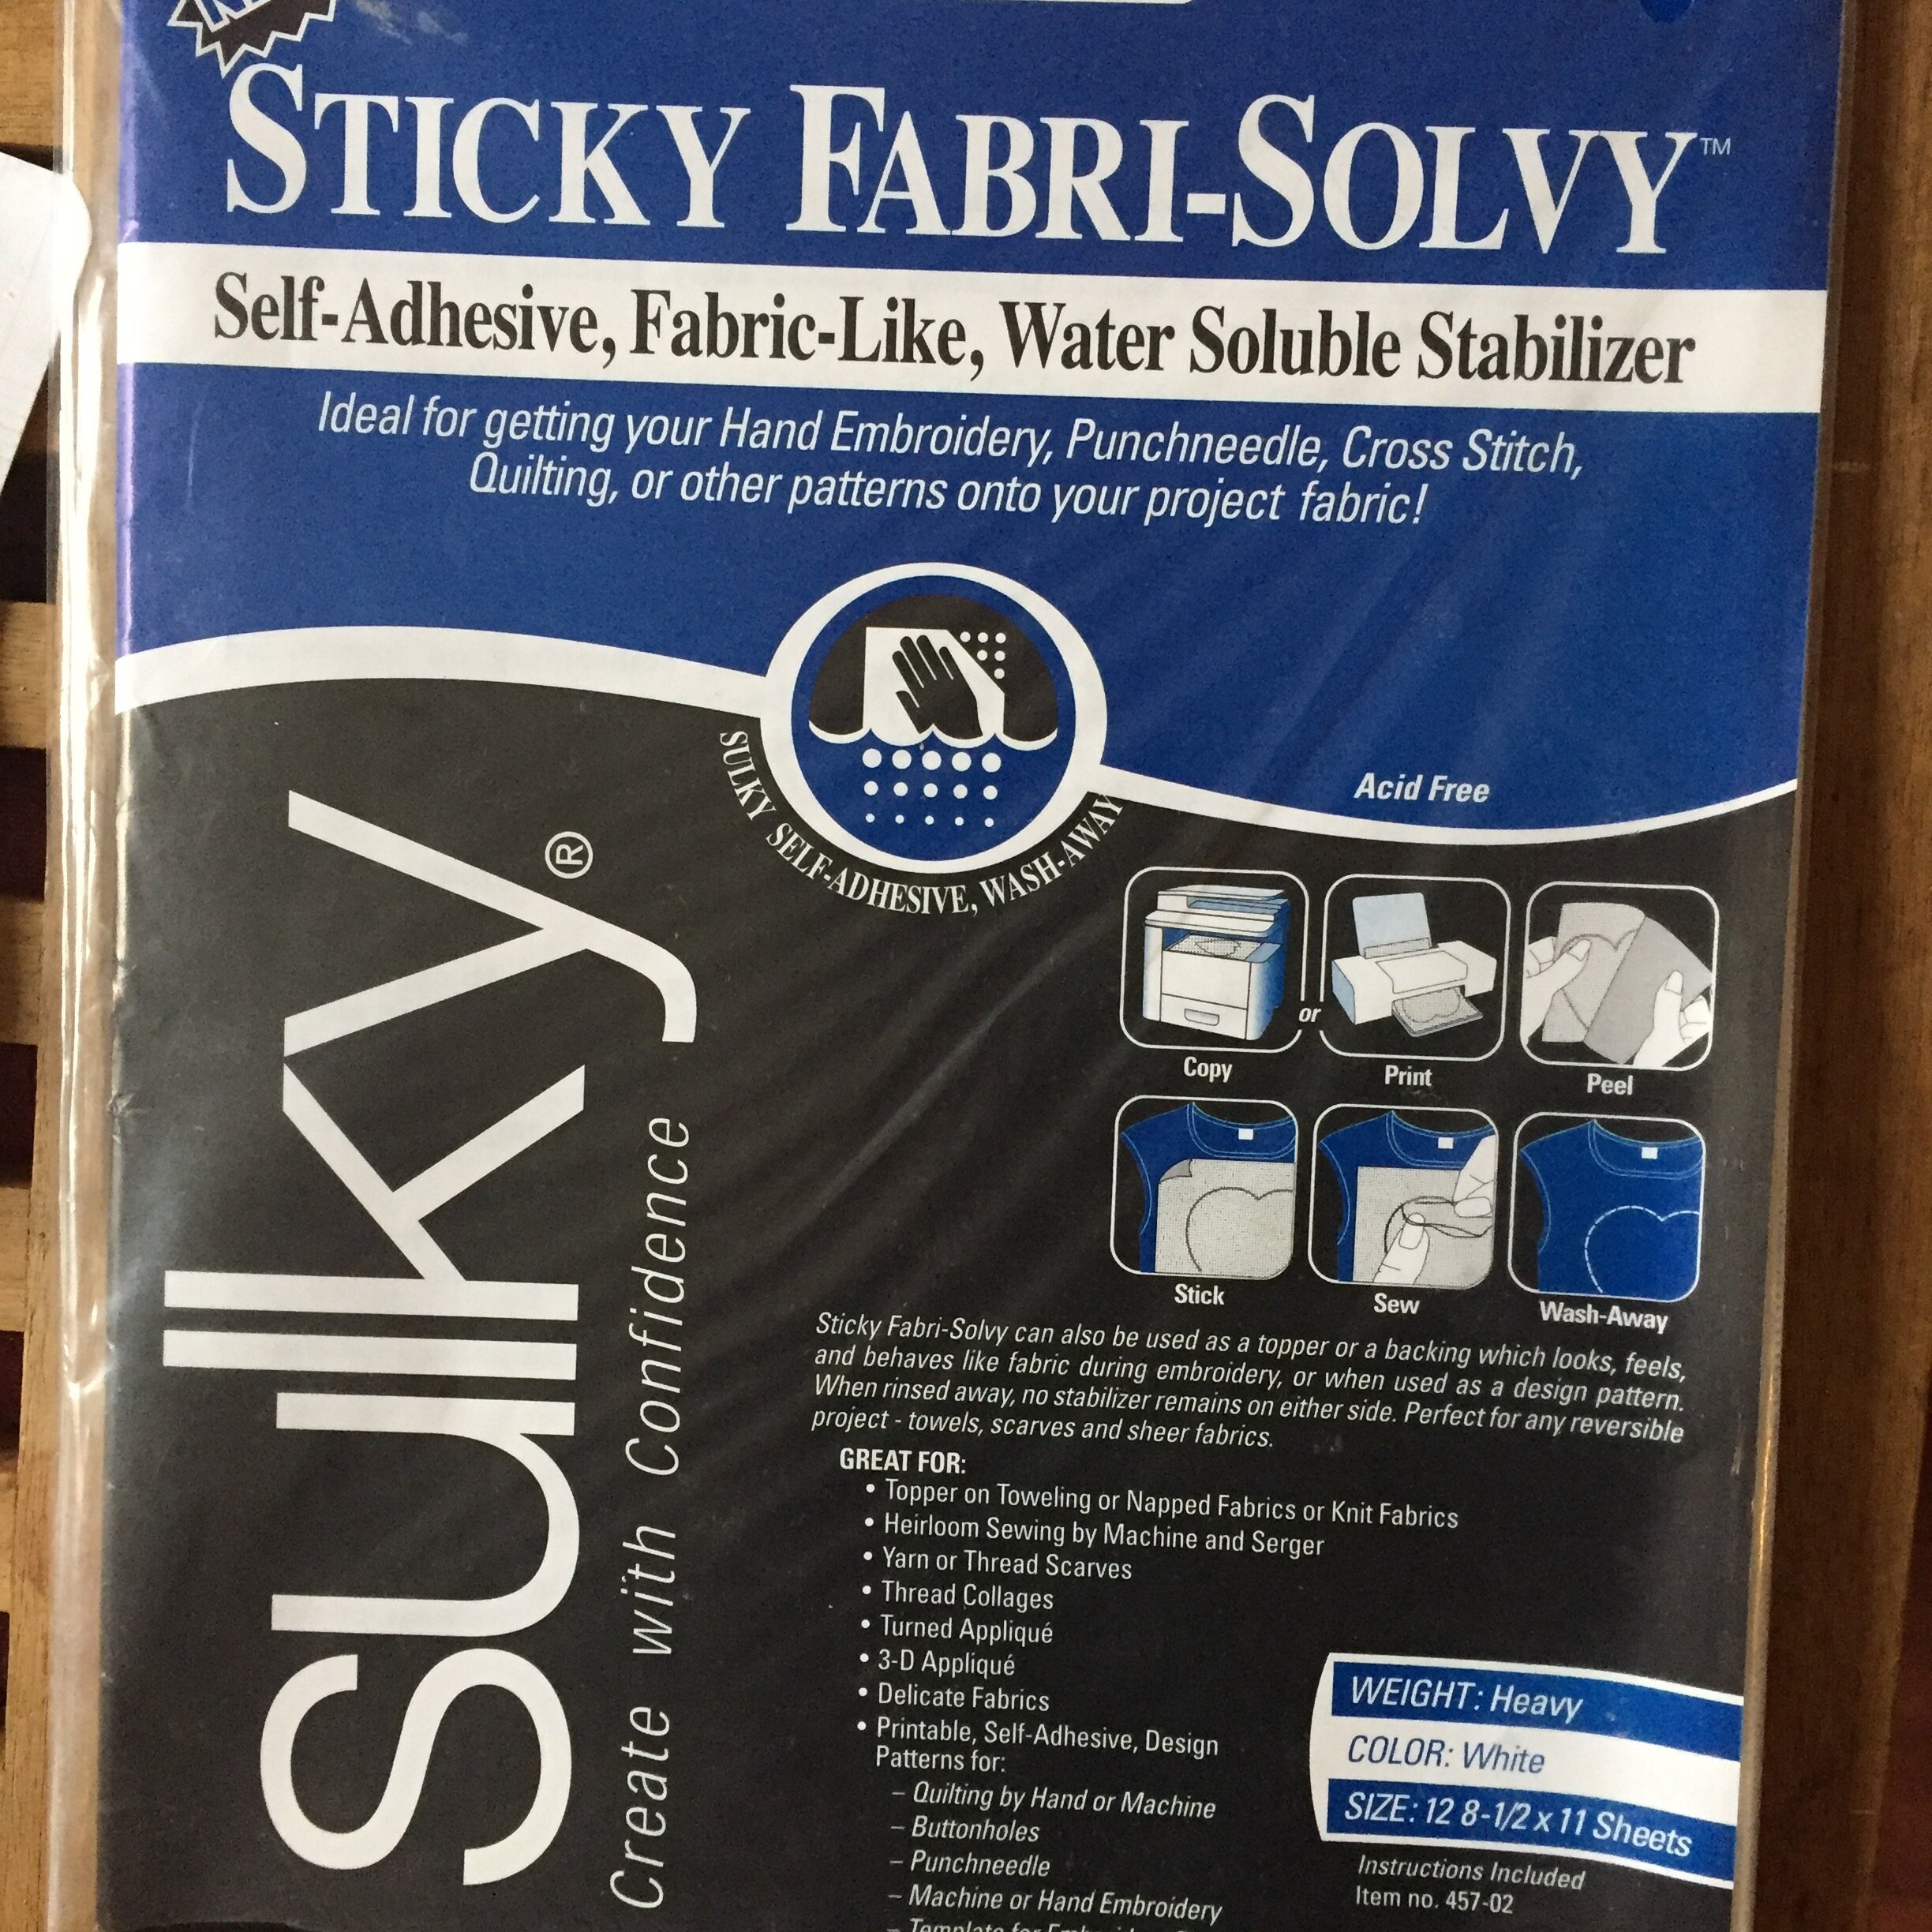
The product is call Sticky Fabri Solvy and can be bought here in the UK. It works out at about £1.34 a sheet and you would need a full sheet for any of my patterns.
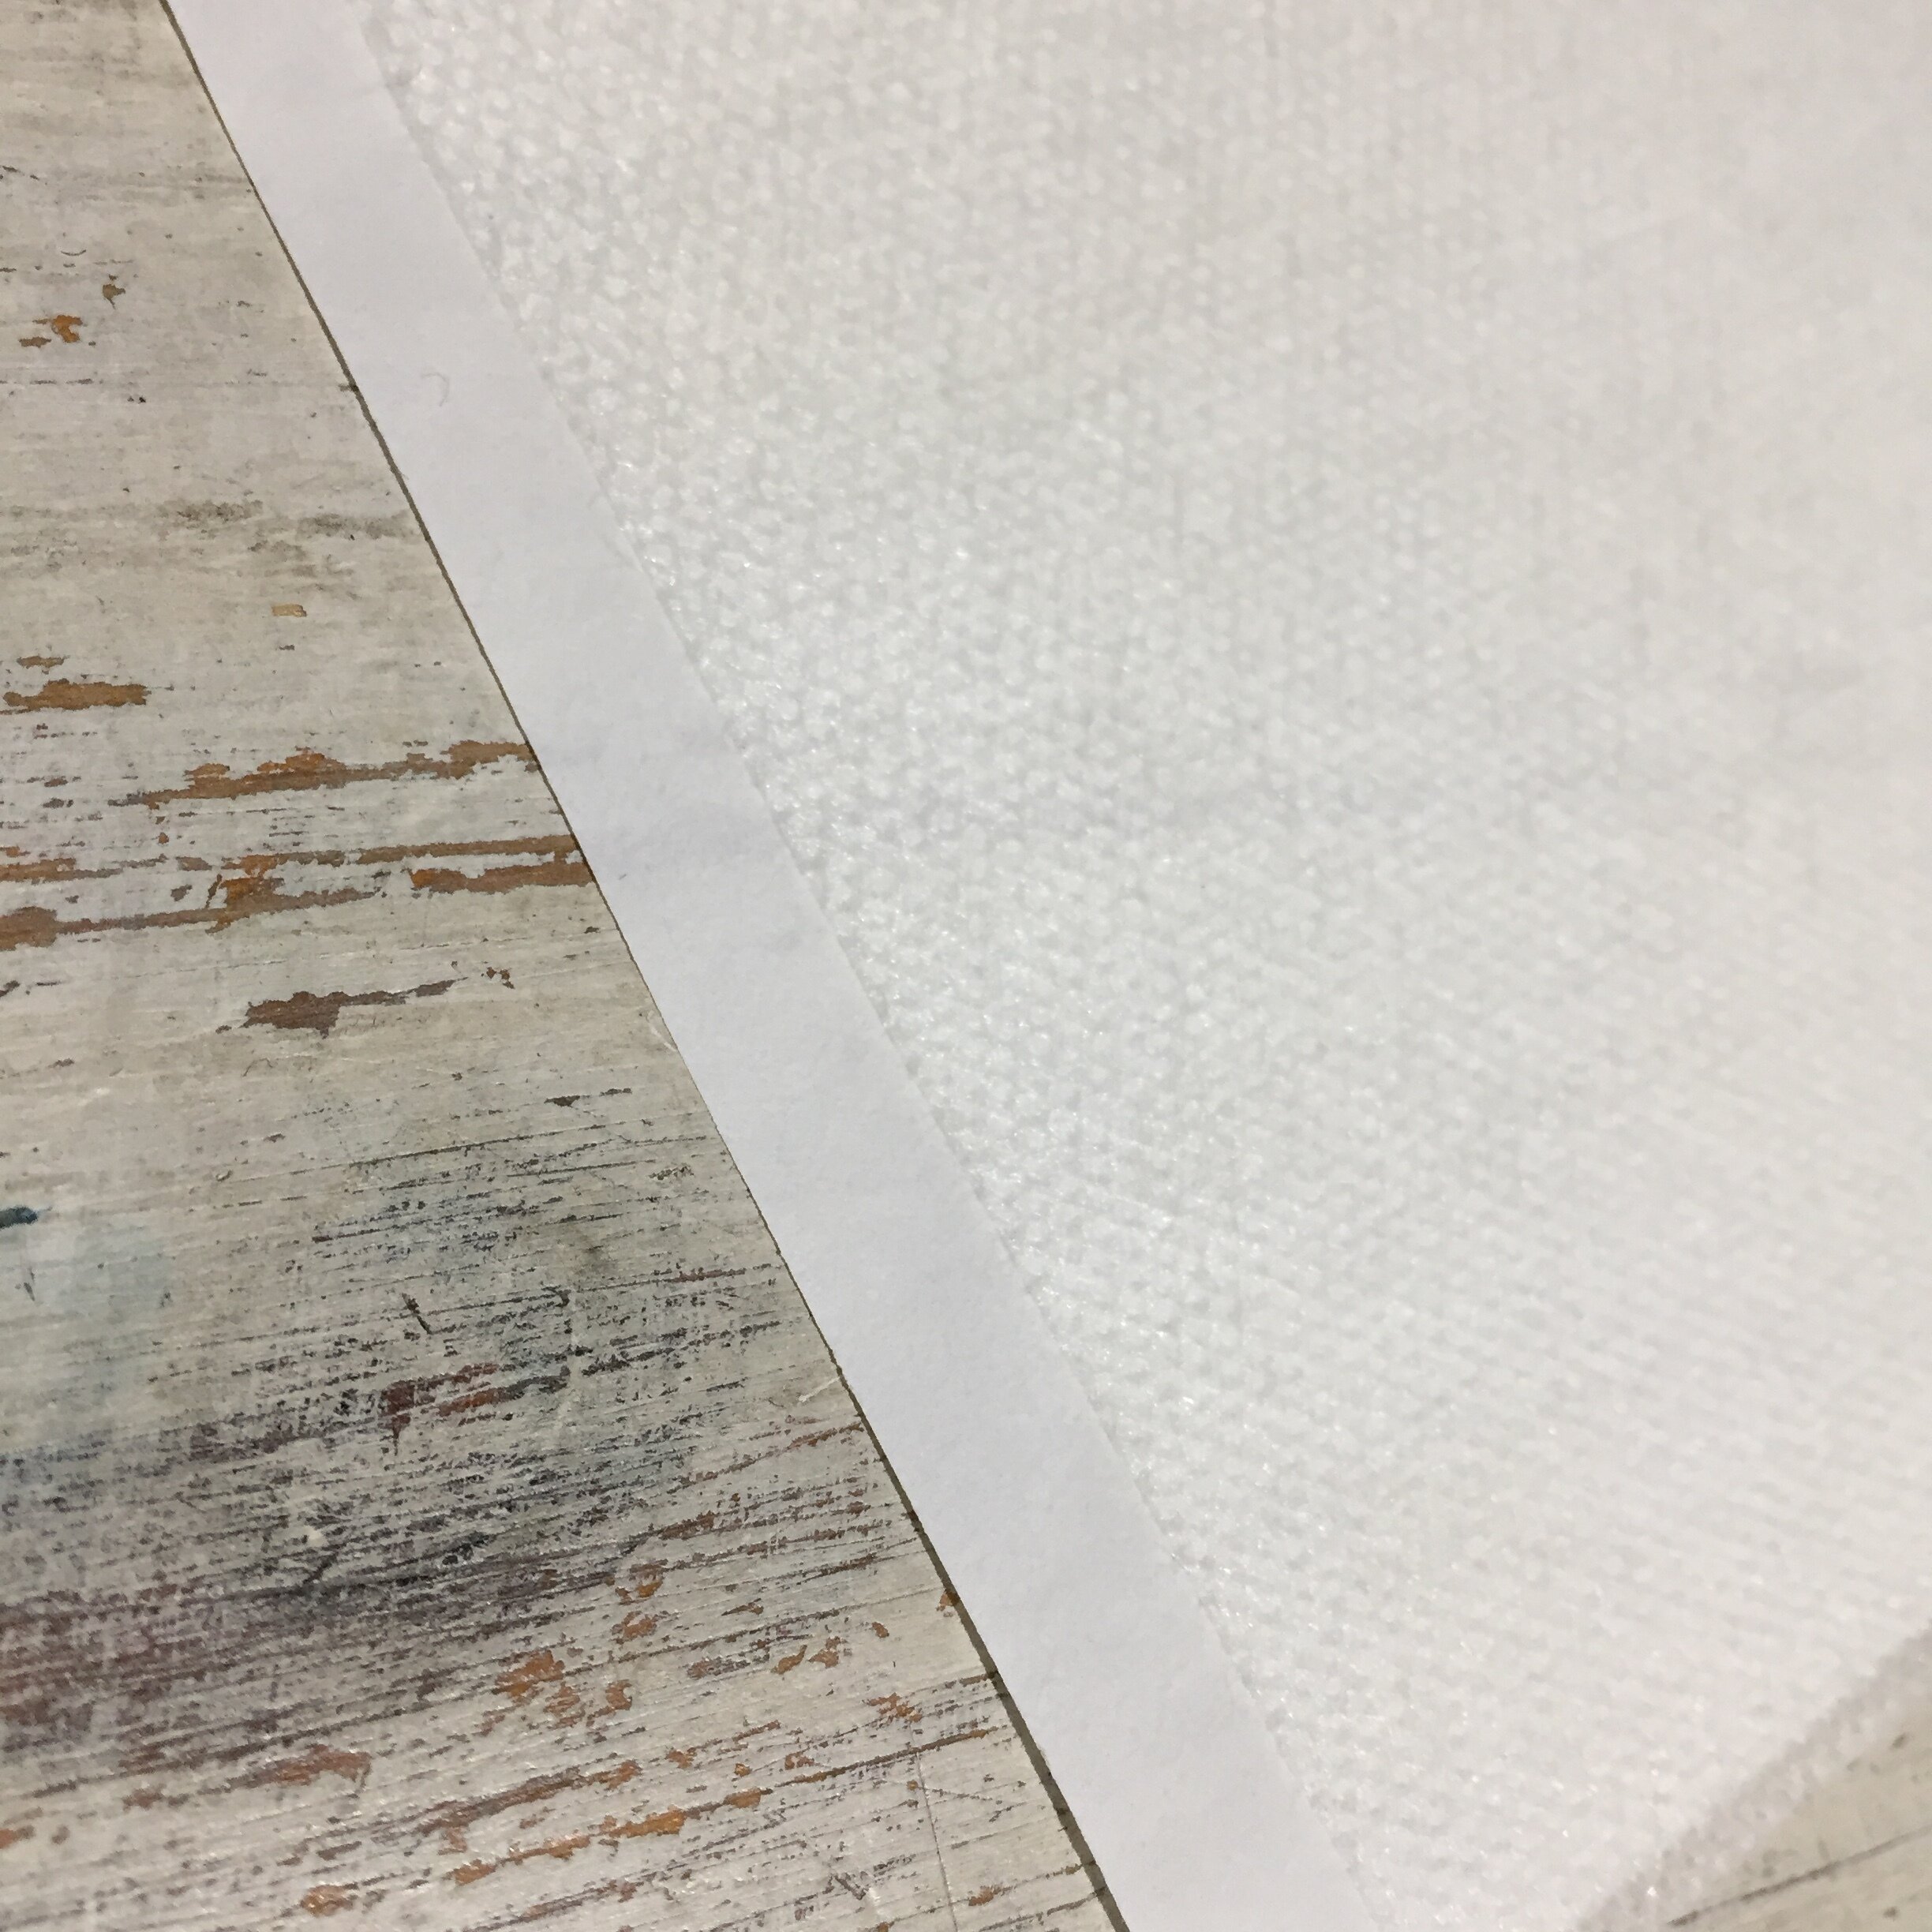
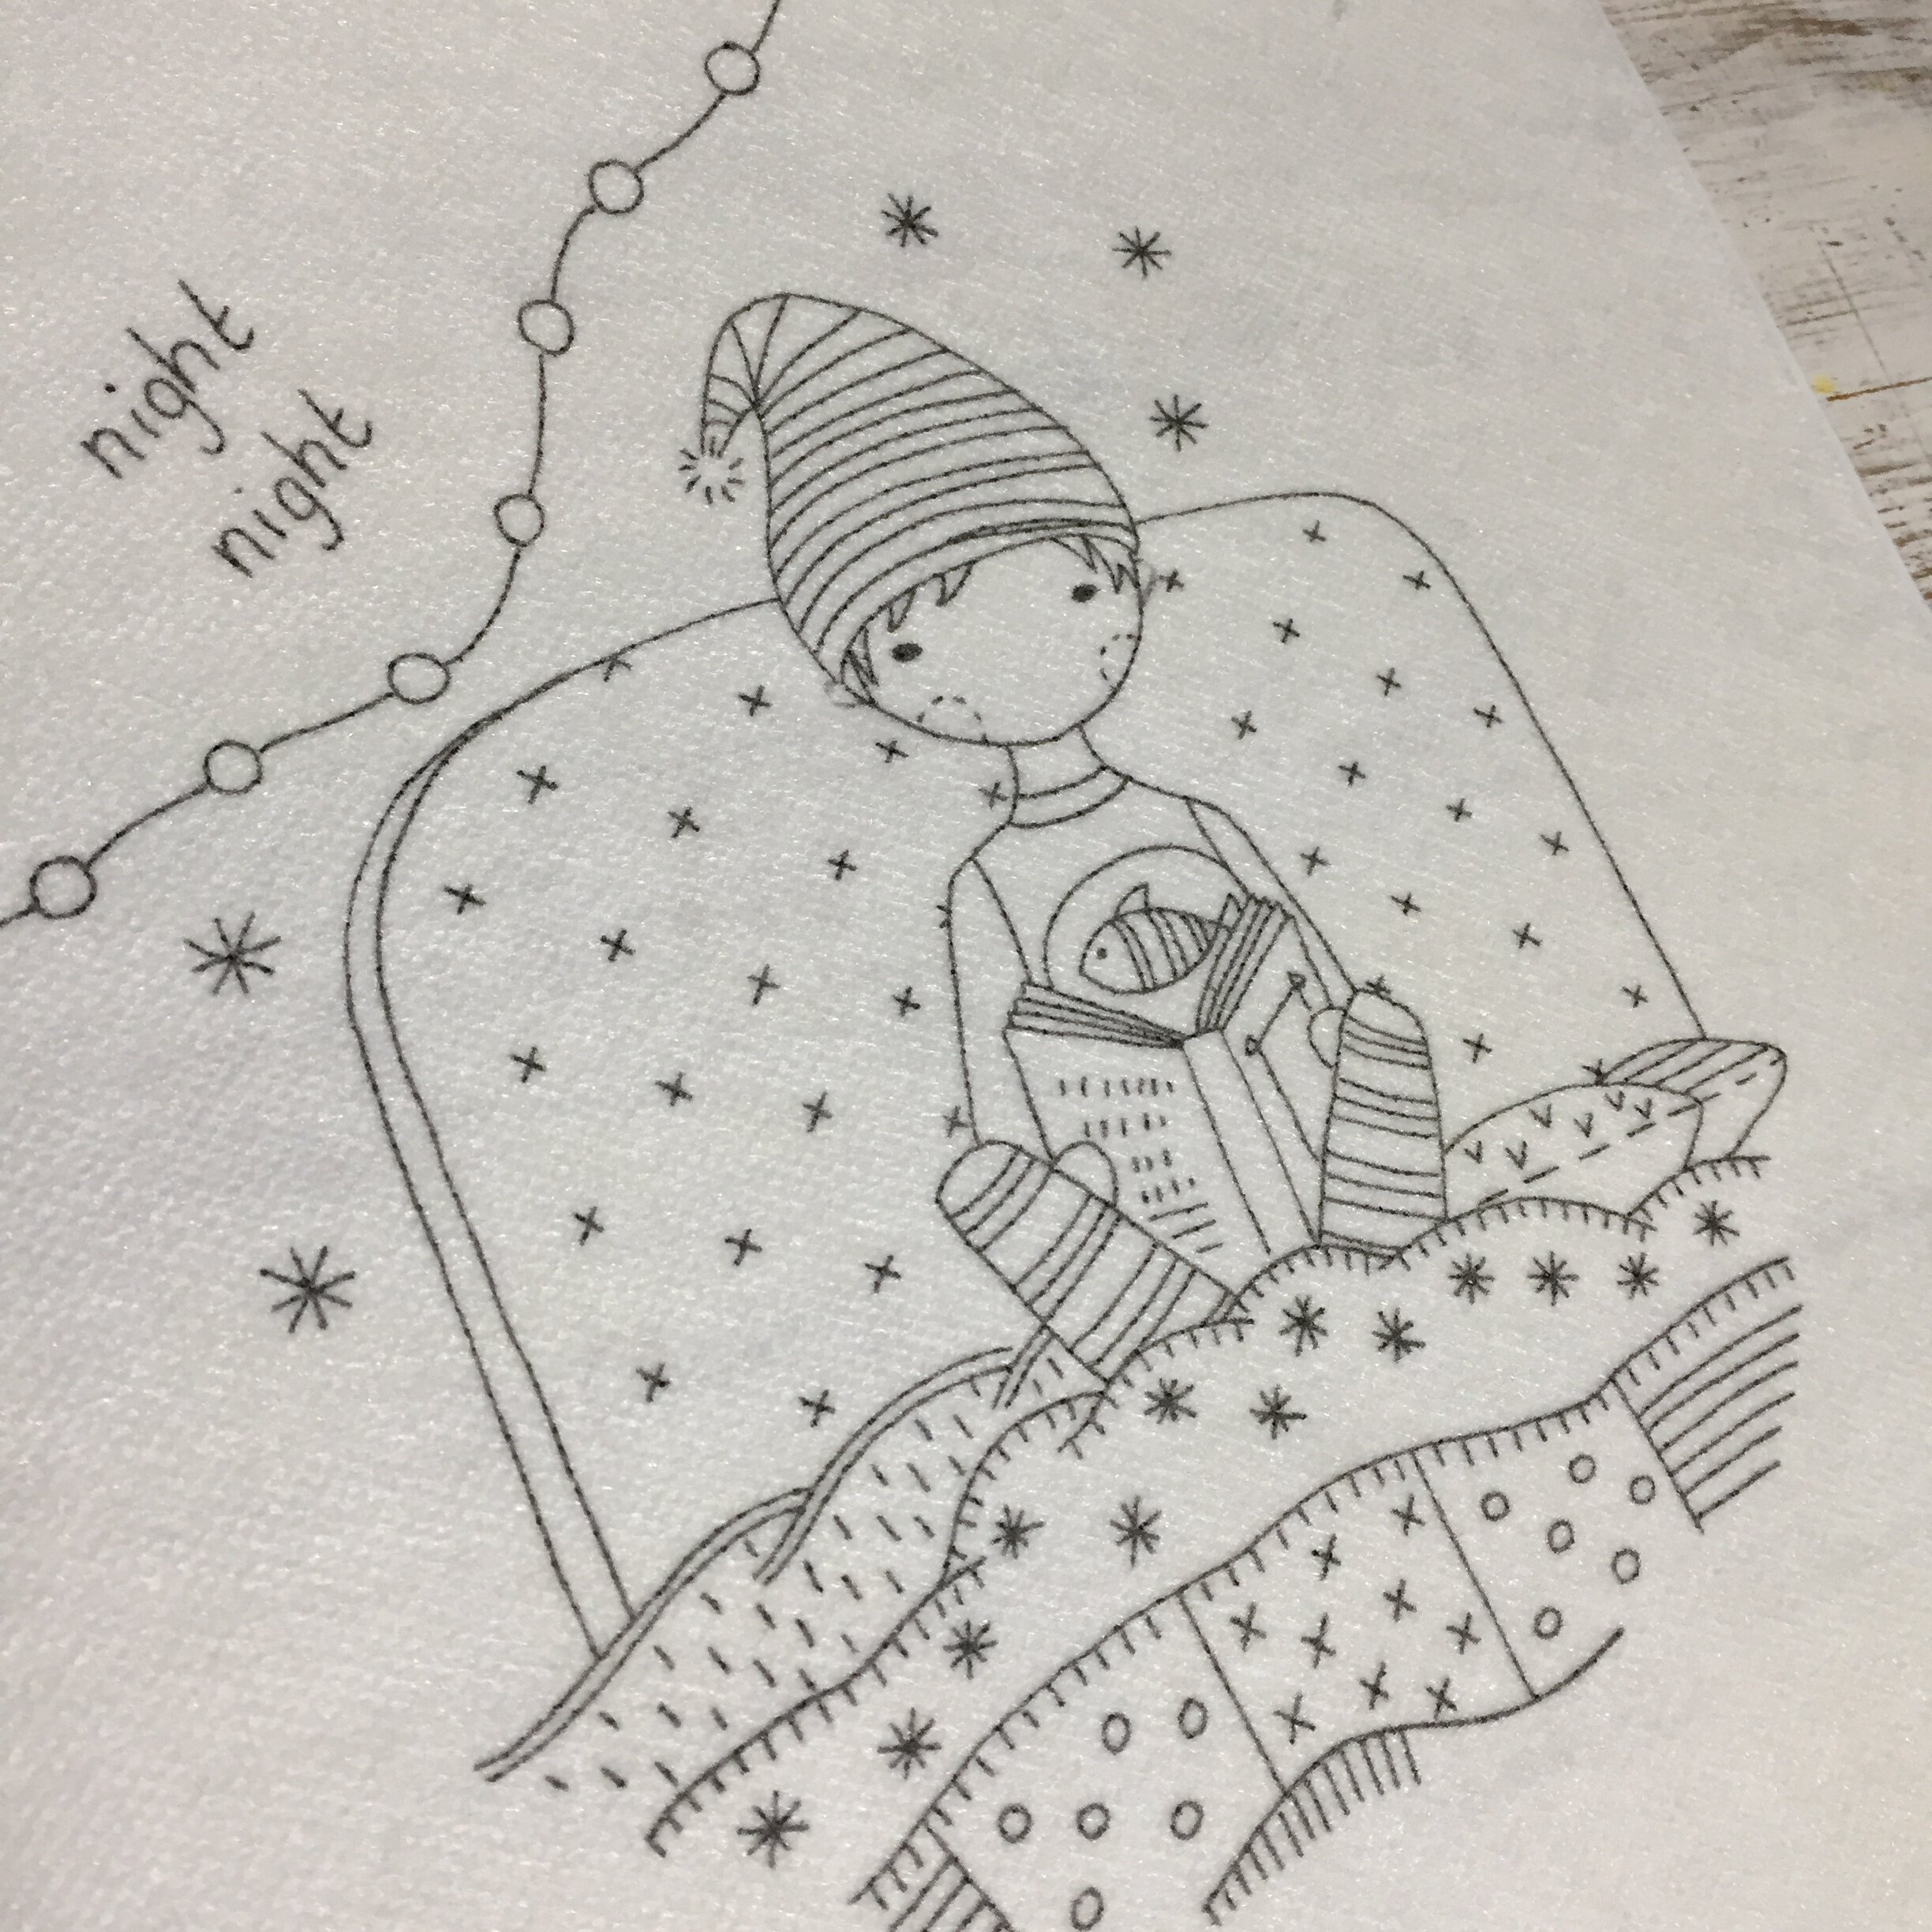
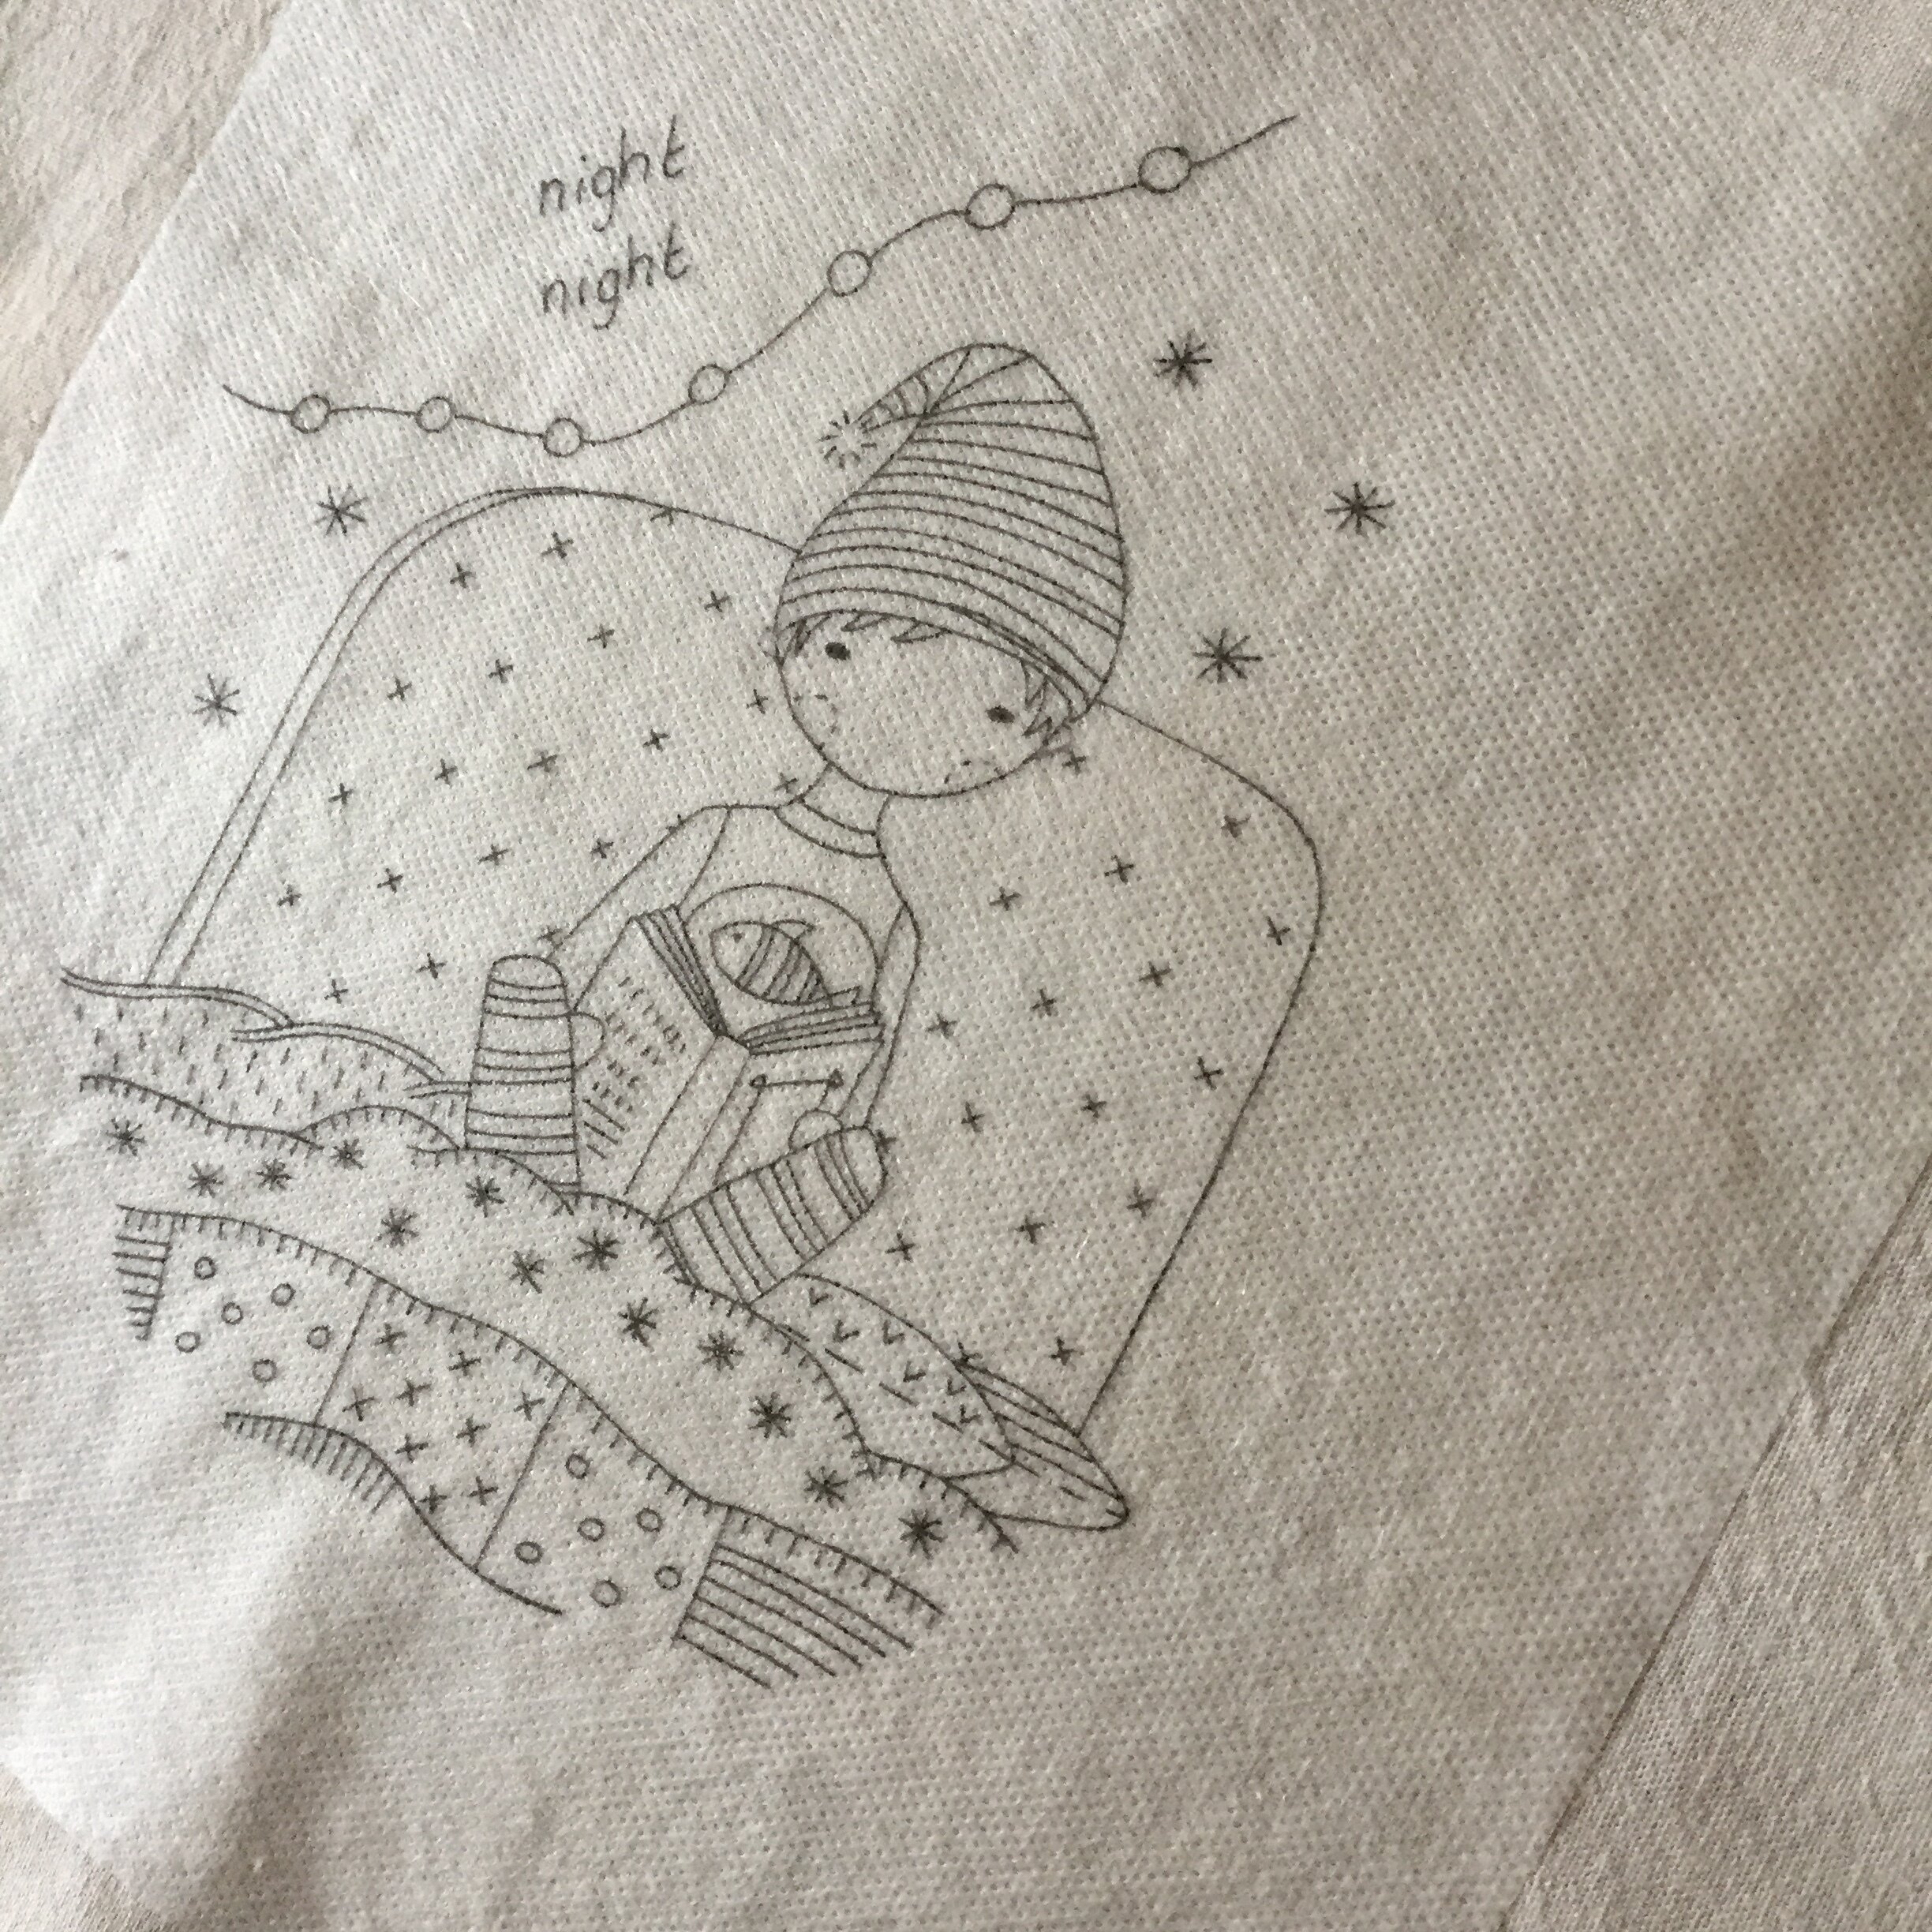
The third picture above shows what it is. It’s basically a sticky backed fabric that can be rinsed away after you finish your embroidery. First you print the pattern directly onto the sticky solvi. I used a normal inkjet printer. I used my normal setting which is standard quality. The fourth picture shows the printed image.
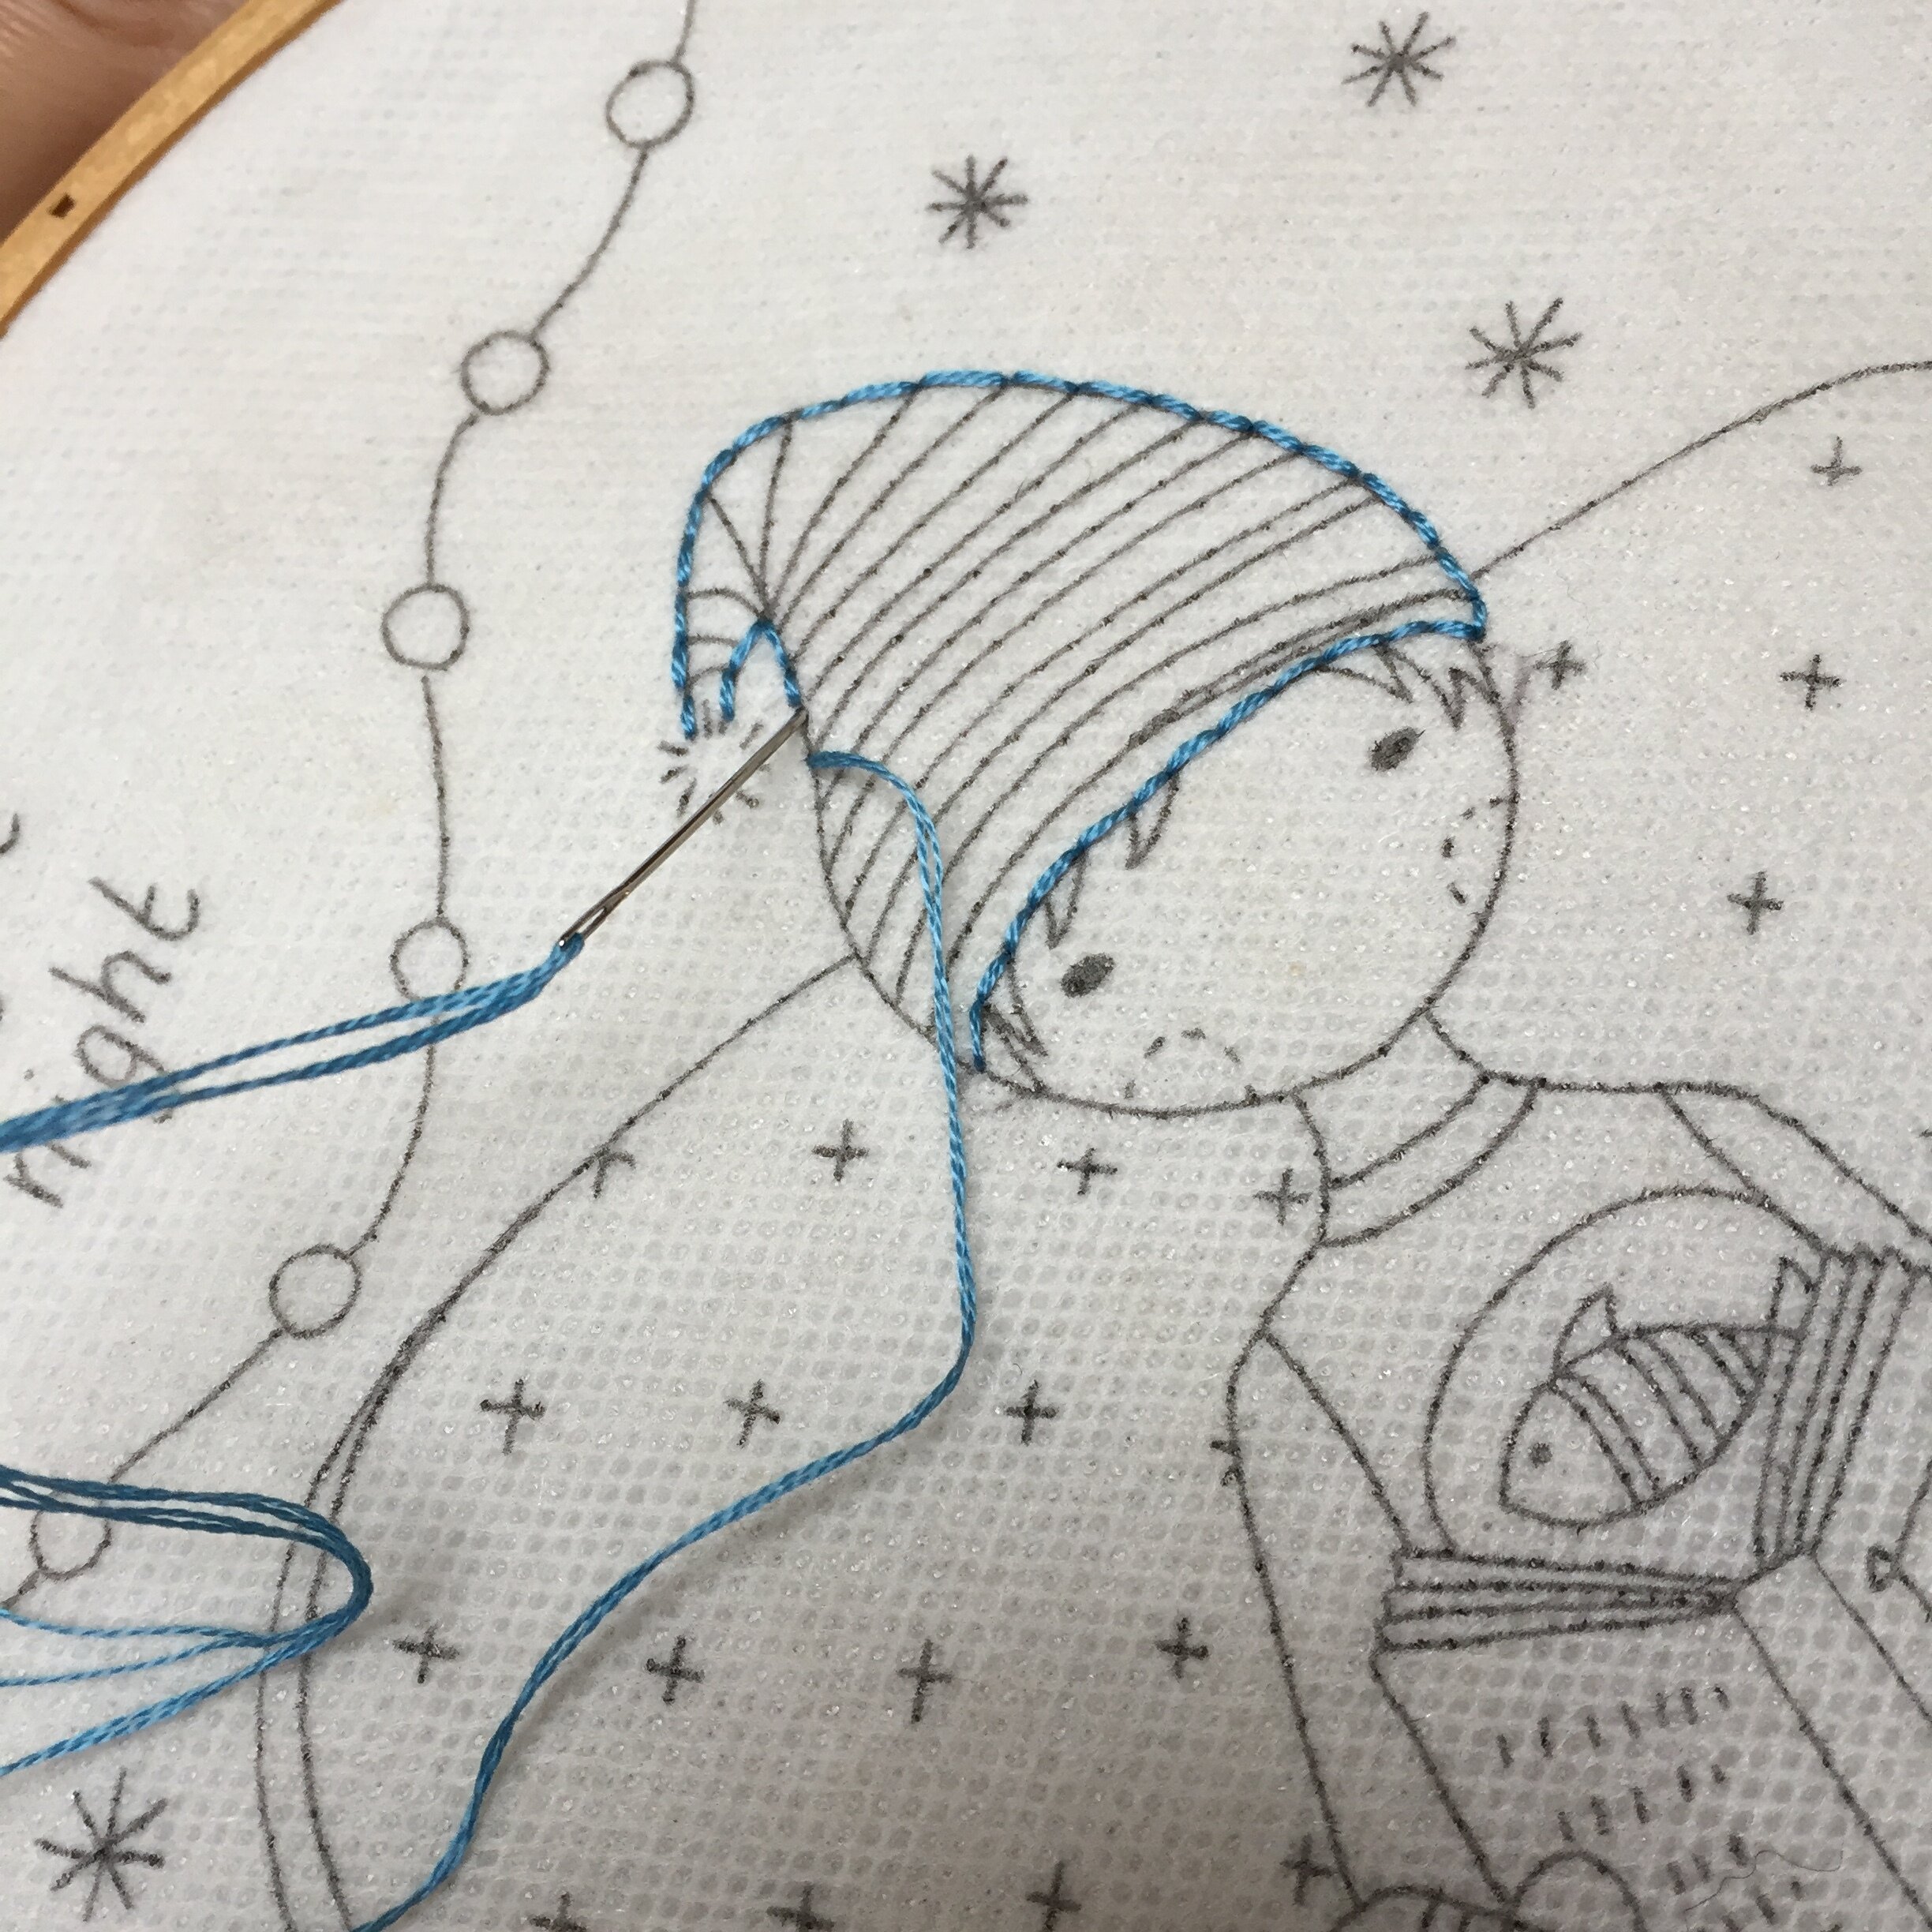
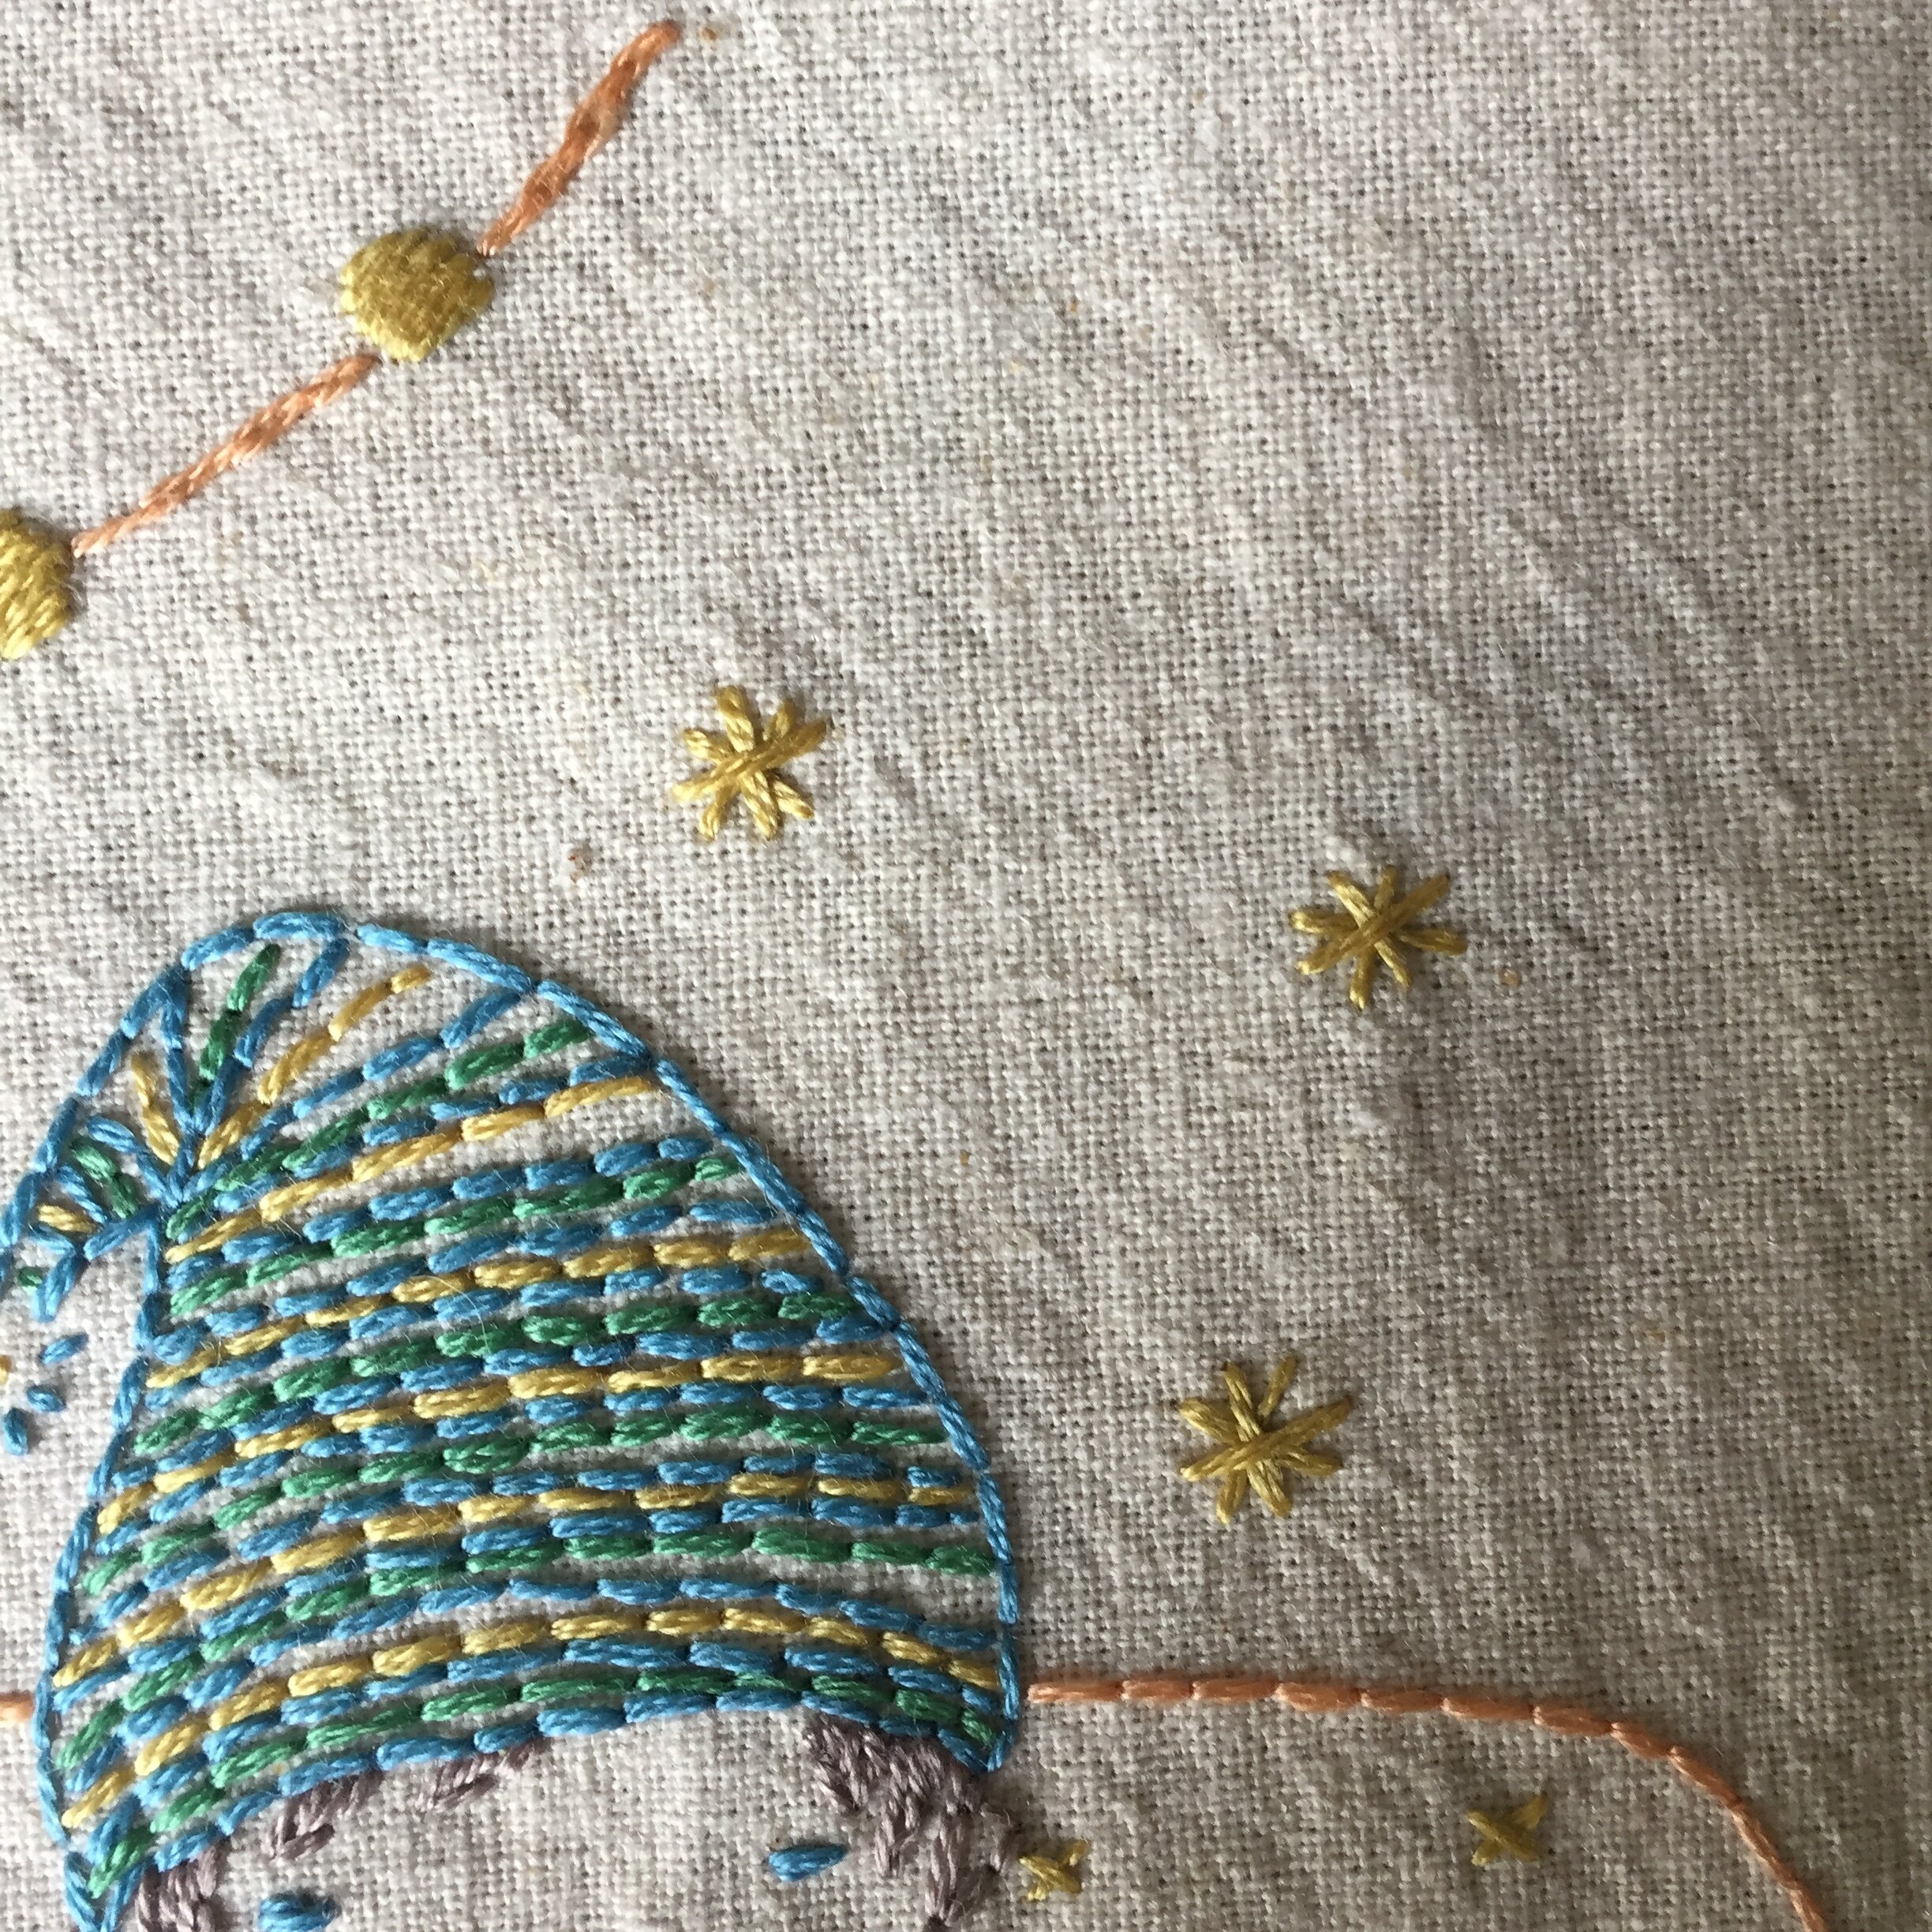
Once it is printed you will need to peel off the sticky backing and stick it to your pressed embroidery fabric making sure there are no wrinkles then pop your hoop on (being careful not to shift the sulky solvi, I kept mine slightly looser than usual) and you can start stitching. As you can see in the second image it creates a perfect image to stitch over.
The only issue I had with it is that it makes the needle a little sticky. This might bother some people more than others. There is a product that I have seen recommended called thread magic that I haven’t tried yet. It’s usually used as a thread conditioner and I assume you put it on the needle but I will try it in the near future. I found the stickiness annoying at the beginning but I got used to it and to be honest I forgot about it as I stitched on.
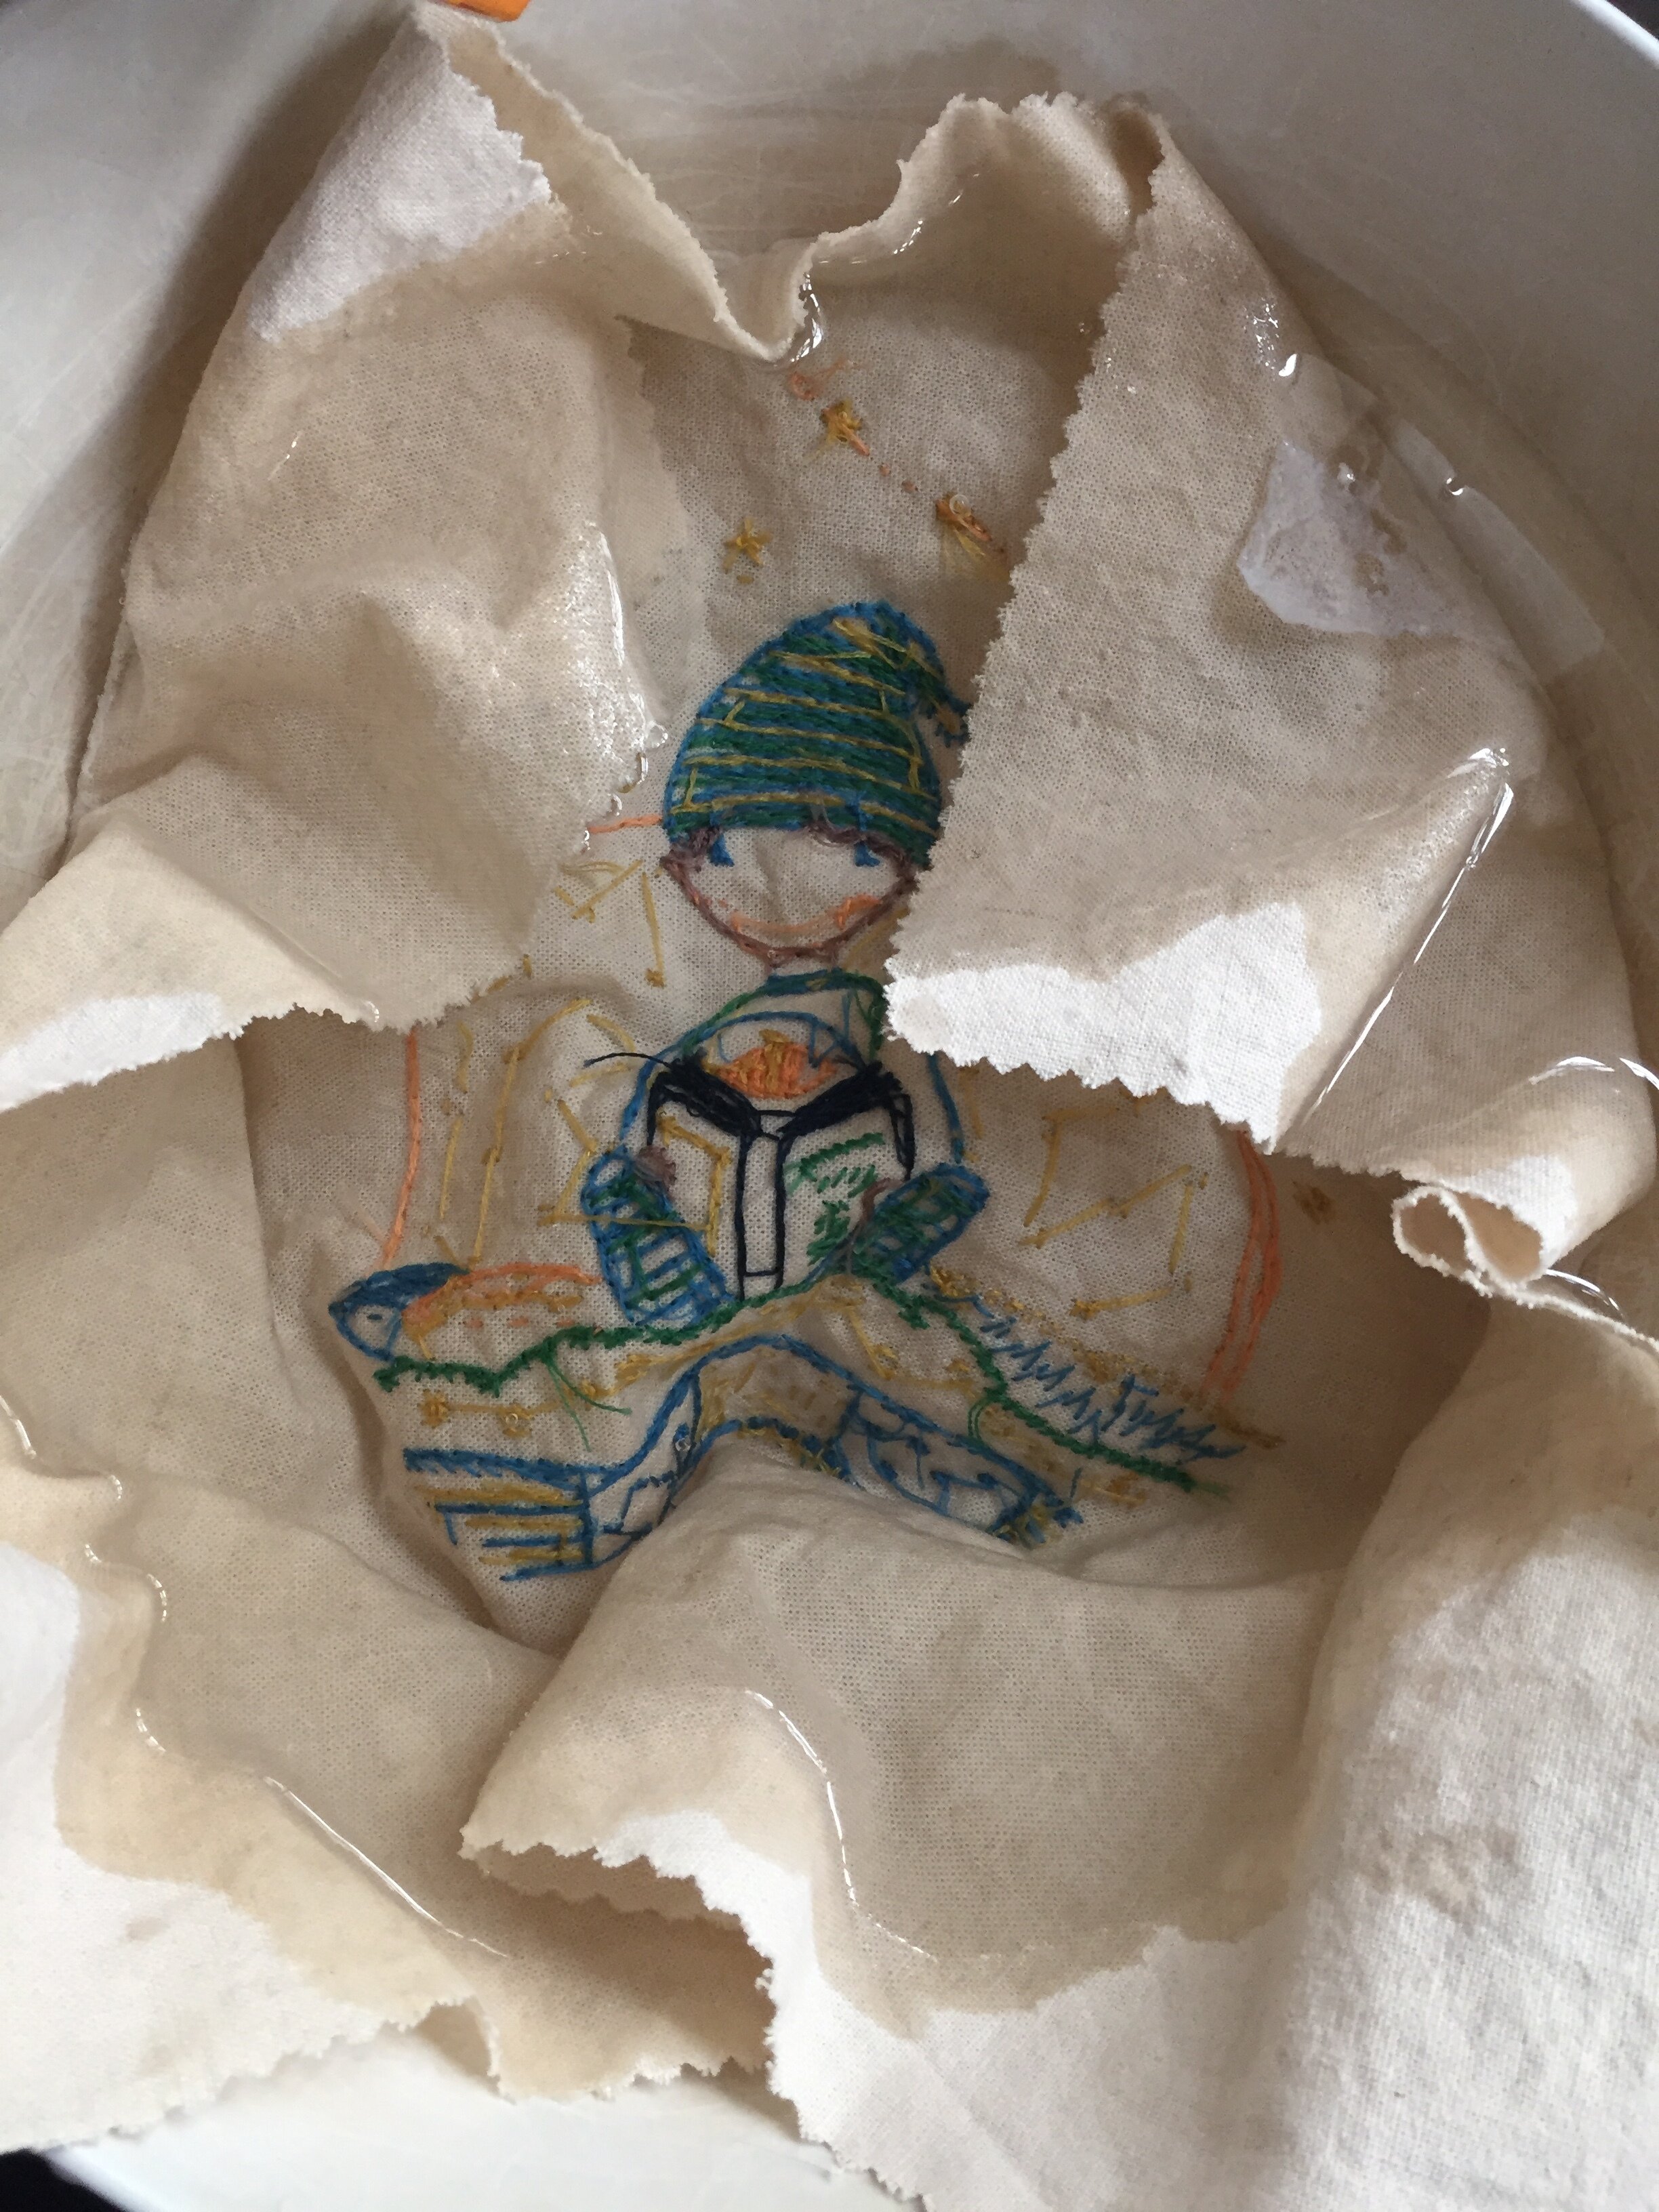
Once the stitching is finished you need to soak the fabric to remove the sulky solvi. I searched around the internet to find tips for this and this is what I did. I put the fabric in a bowl of water with the right side facing down. This way any ink sinks to the bottom of the bowl. I also left the fabric in the water all night to make sure that all the ink was gone. Once I took it out I rolled it inside a clean towel to get rid of a lot of the water. At this point you could stretch it using pins and a cork board but I didn’t have access to my cork board so I couldn’t do that.
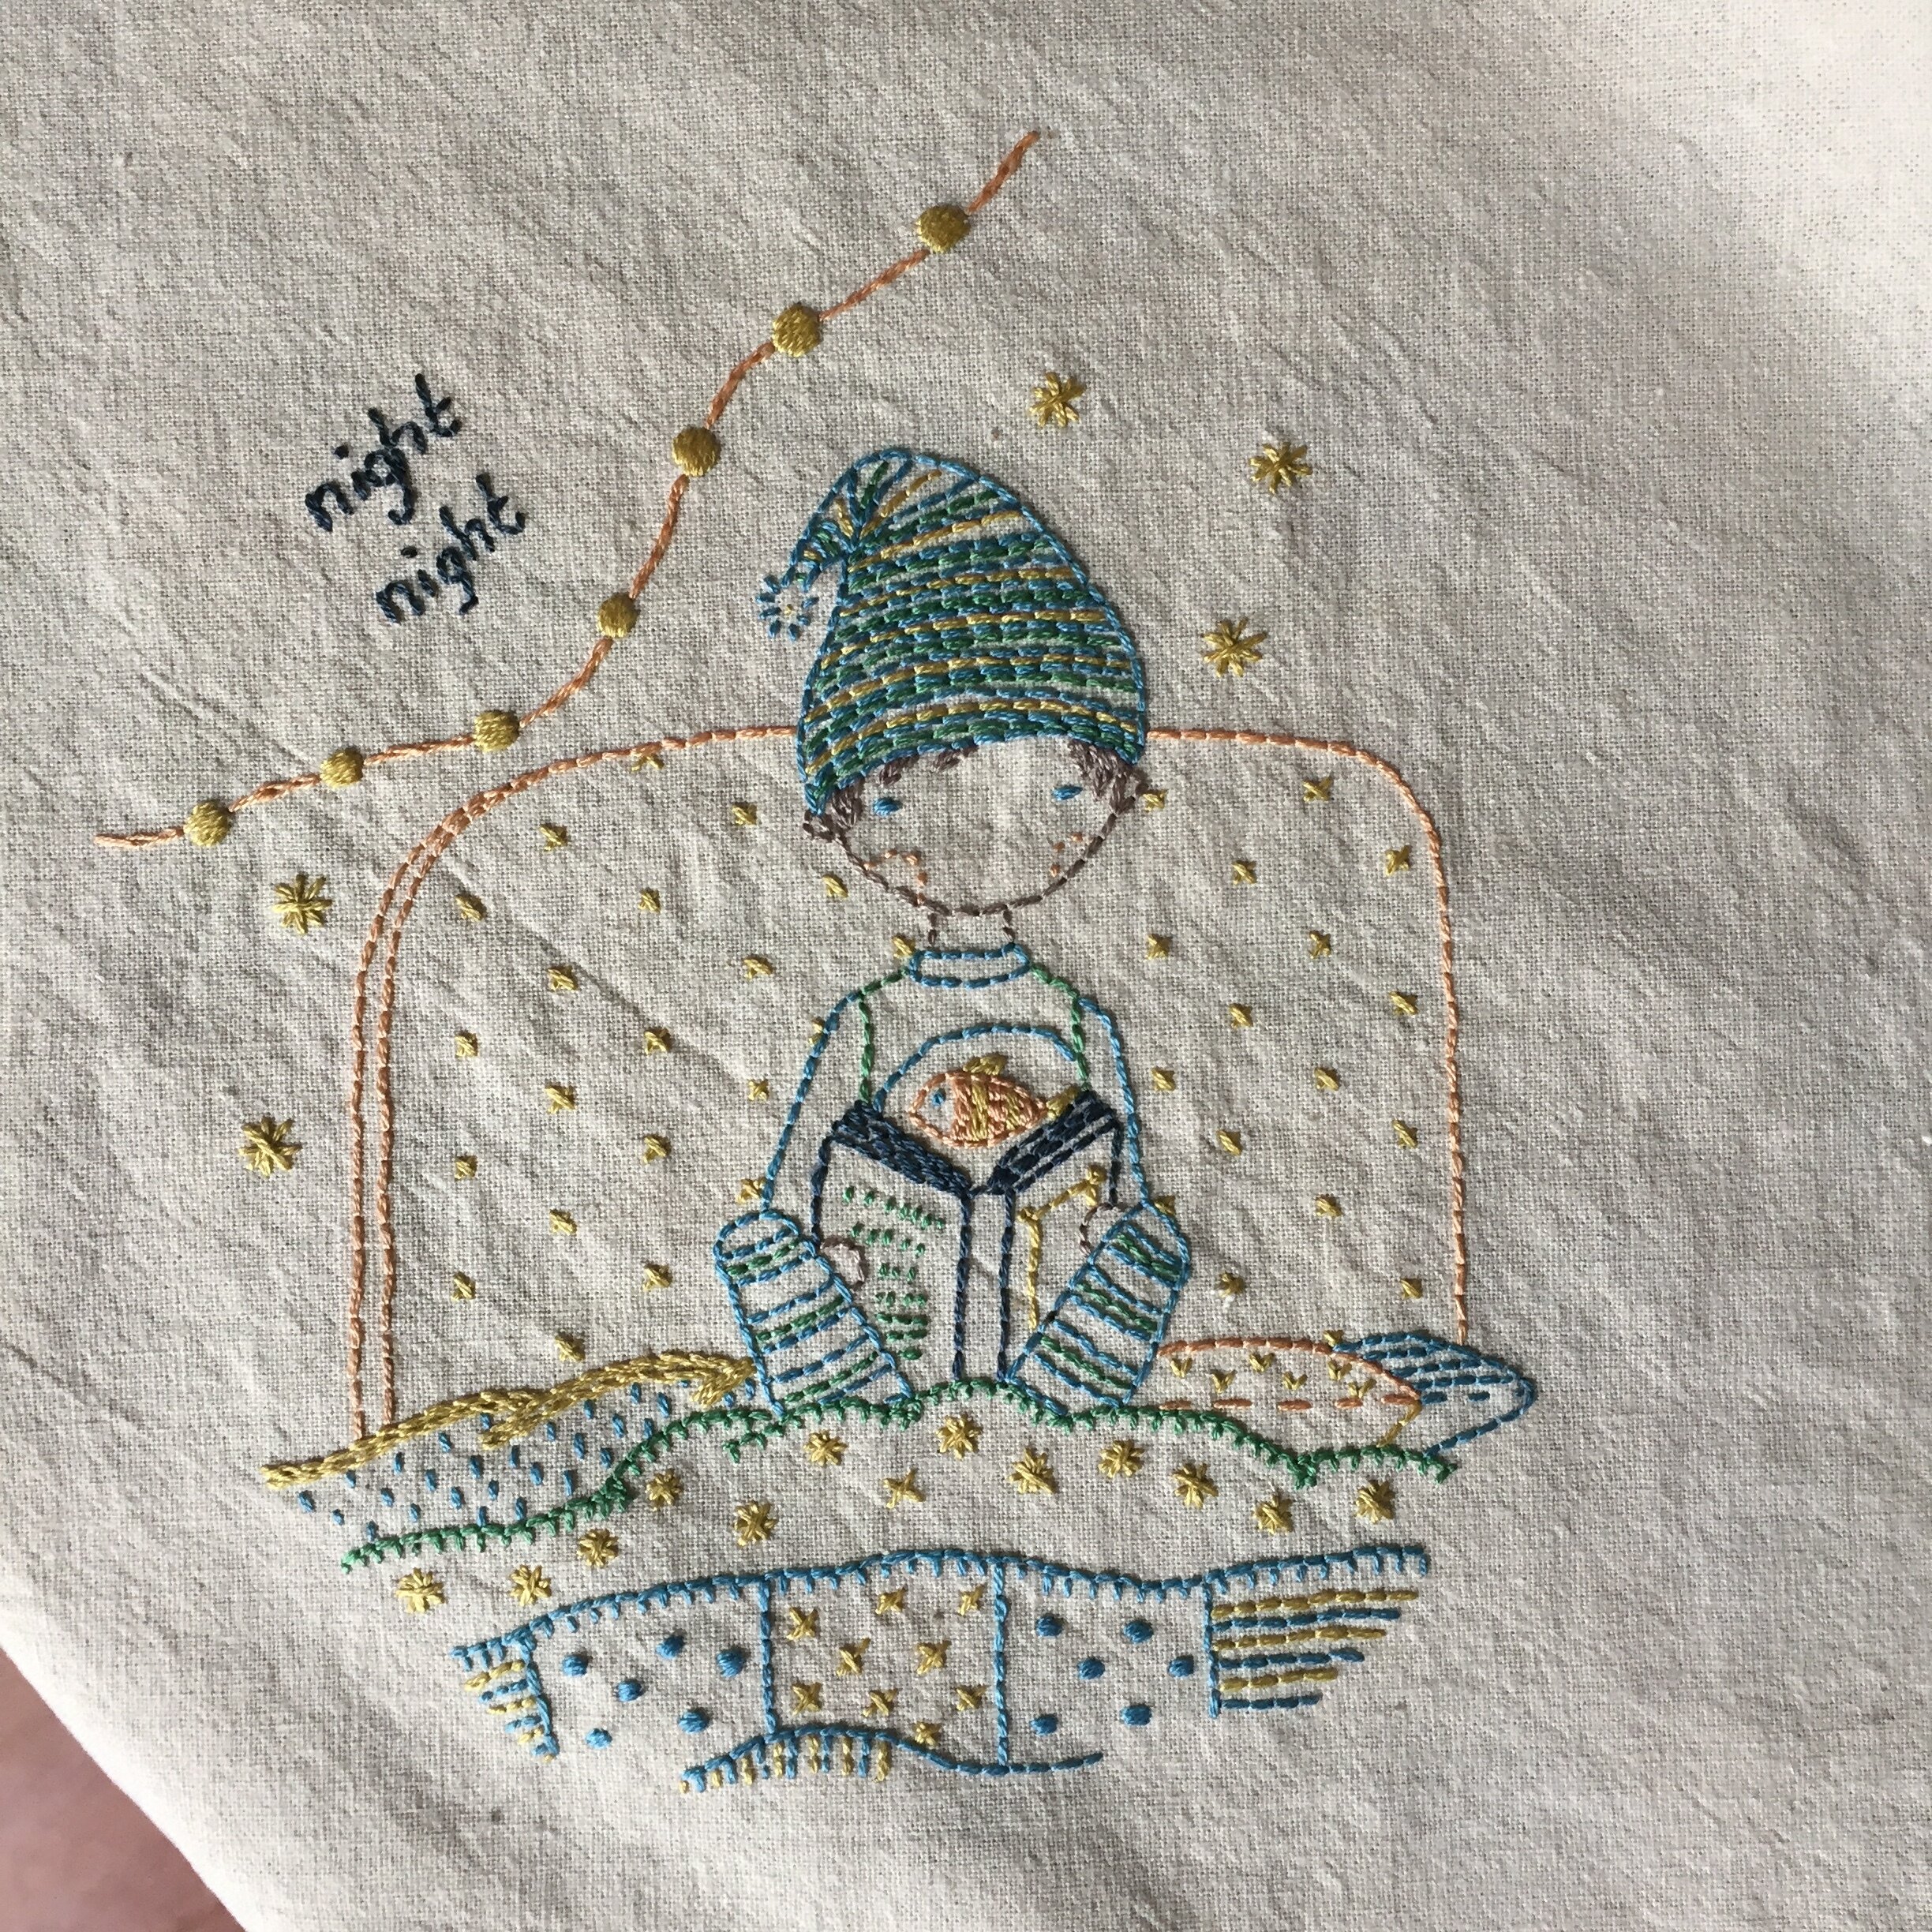
Once it was dry I was really pleased with the results. I was worried that the ink would be left behind the gold baubles above his head but there it’s completely clean. I think that if you really don’t like transferring or find it difficult it’s a great product and if the thread conditioner works on the needle it would be even better. I will pop a post on here when I try it out.
The night night boy pattern is available in my Etsy shop now and if you would like both the girl and the boy I have an offer here
I hope you find this useful and if you have any tips for using sulky solvi (or any other transferring techniques) please comment below as I would love to hear them.
