Tips for embroidering with children
It’s been a while since I last stitched with children as mine are all older now but when they were little we did a lot of crafting. They loved doing it then and I’m happy to say that they still love doing it, and still make birthday cards for each other. I also think it instilled the idea that a handmade gift is always a thoughtful gift and they are always excited to receive something handmade. Only one of them still embroiders but all three learned to stitch and knit. It’s also a lovely way to spend some quiet time with your children or grandchildren.
This wintery summer that we are having made me think that children might need something to busy their hands with during the rest of the holidays so here are some tips for embroidering with children.
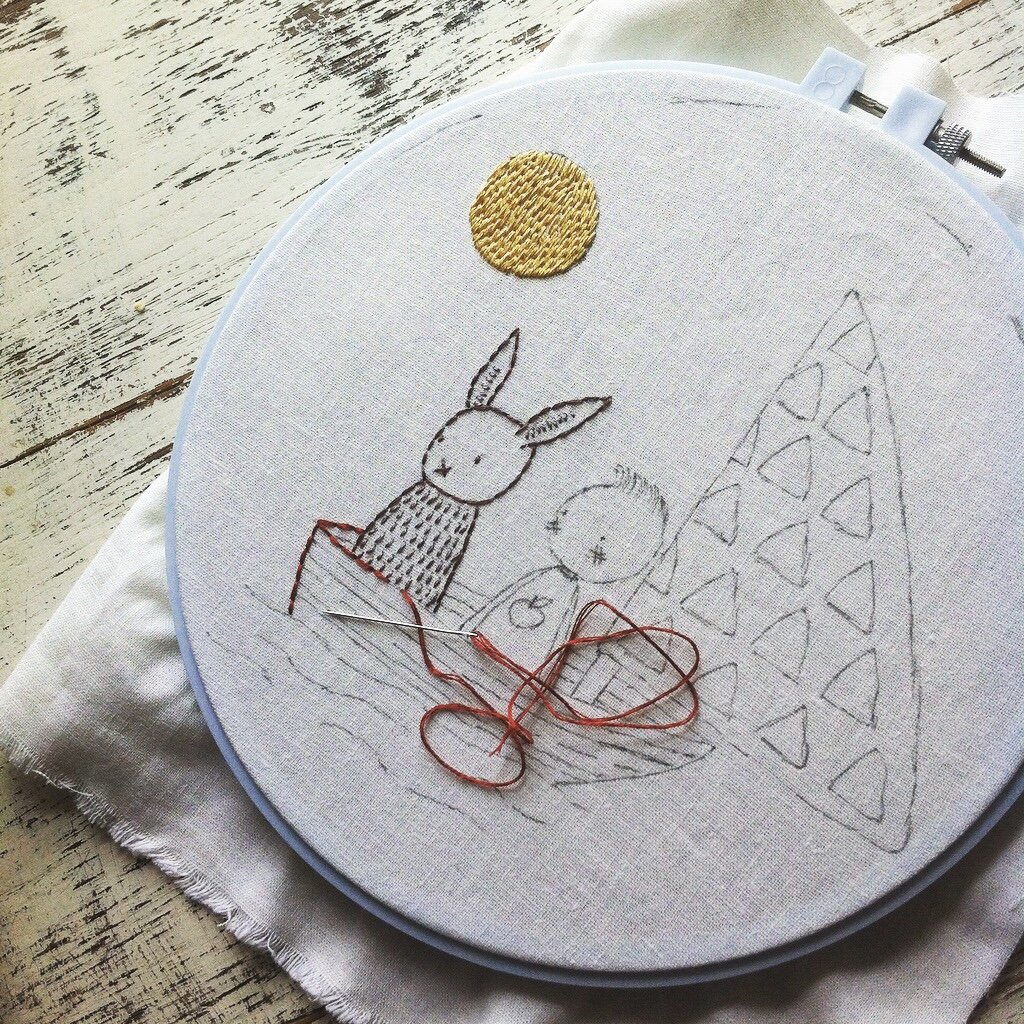
Firstly, you can make the pattern bigger. You can enlarge the pattern on your printer. One of my most popular designs is the friends design. The girls on it are quite small but there is no reason to keep them small. You could enlarge the pattern, this makes it easier to trace but also easier to stitch the details.
A child can draw their own pattern to stitch or they could trace an insect or bird from a guide book. Children’s drawings make beautiful embroideries.
You can use more strands of thread to give a thicker line and also a bigger needle. I usually use a number 7 but you can go bigger (6 or 5).
I would also recommend using a softer fabric like this organic calico as it is easier to pass the needle through. You could either trace the pattern yourself or if the child is a little older let them trace it. I think letting them do as much as they can is always the best way. It’s easy (if you’re a bit of a perfectionist like me) to maybe take over a little (guilty) but I think it’s important to let them do as much as possible. A little bit of a wonky drawing makes it a little bit extra special.
And so I come to colour choices, the best bit. Let them choose their own colours, either from your own workbasket or in the shop. What better way to find a lifelong love of stitching than to stand in front of all those colours and get to choose the ones you want.
Be prepared to thread the needle, over and over and over again. I’m not suggesting you don’t show your child how to thread the needle but I’ve never met a child who enjoys threading a needle and it’s a shame for them to give up on stitching because of the pesky needle threading. Normally I would say don’t tie knots but with younger children it’s probably easier to double the thread and tie a knot so the thread doesn’t come undone frequently. You could always have a backing fabric so the knots don’t show through.
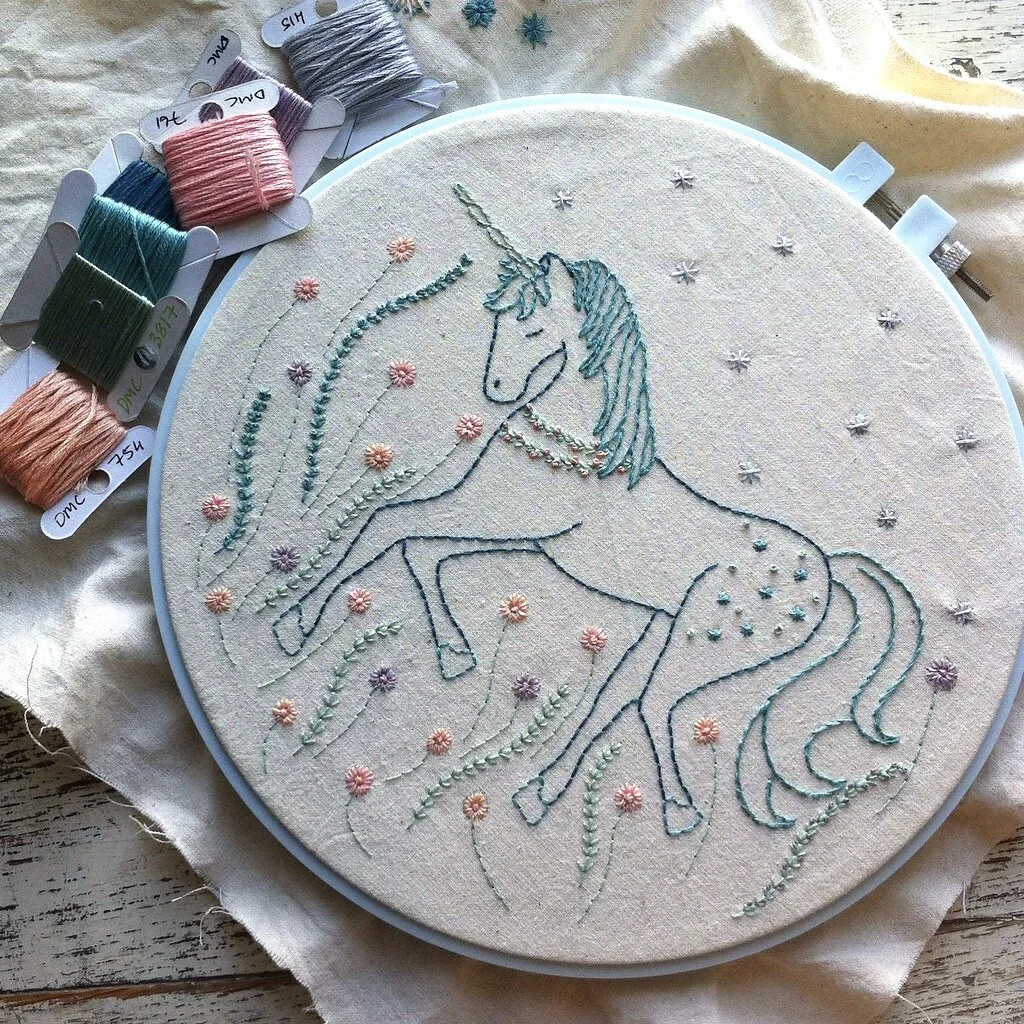
Keep the stitches simple. I use a lot of outline stitches but all of them can be replaced by back stitch which is such a simple stitch to learn. If there are french knots and you don’t feel ready for them yet you can replace them with tiny straight stitches or (if there’s room) little stars made up of straight stitches. Detached chain stitches (for example as petals) can become straight stitches.
Boys can stitch too. Both my boys learned to stitch. They drew beetles and other insects and then stitched them. You could always trace insects or birds (or anything else) from books for them to stitch.
You don’t have to use the whole pattern. The girls could be enlarged and stitched on their own. They could be made into little hanging cushions (like the kitten). These make perfect little gifts for friends. The wonky shed is a nice pattern to practice stitches on. You can make it your own by choosing your own colours and adding more flowers.
The final tip is patience. You might spend half an hour setting it all up for them and then they do seven stitches and stop (real life experience). Have a little basket for them to keep their stitching in and return to it another day. I would recommend stitching your own project alongside them, if you pick yours up they will probably pick their stitching up too. Of course that might well mean that you have to stop stitching to help! So I would also recommend a little bit of stitching time for you when they are in bed.
Frame whatever they make or turn it into a panel for a cushion for their room or a tote bag. Their stitching can be something to be proud of and something for you to keep and look back on (if you can find it in the attic!) Although I think my daughter has taken everything she’s ever made along with everything anyone else has ever made for her to college.
All the designs shown are available as patterns in my Etsy shop in the pattern section You can enlarge them by photo copying the pattern at over 100%. For example if you photo copy at 150% the design will be one and a half times as big.
I hope you have fun stitching with children and if you need any beginner tips or pattern tracing tips then take a look at my embroidery basics page. If you have some more tips for embroidering with children then please add them in the comments below. I would love to read them.


