satin stitch


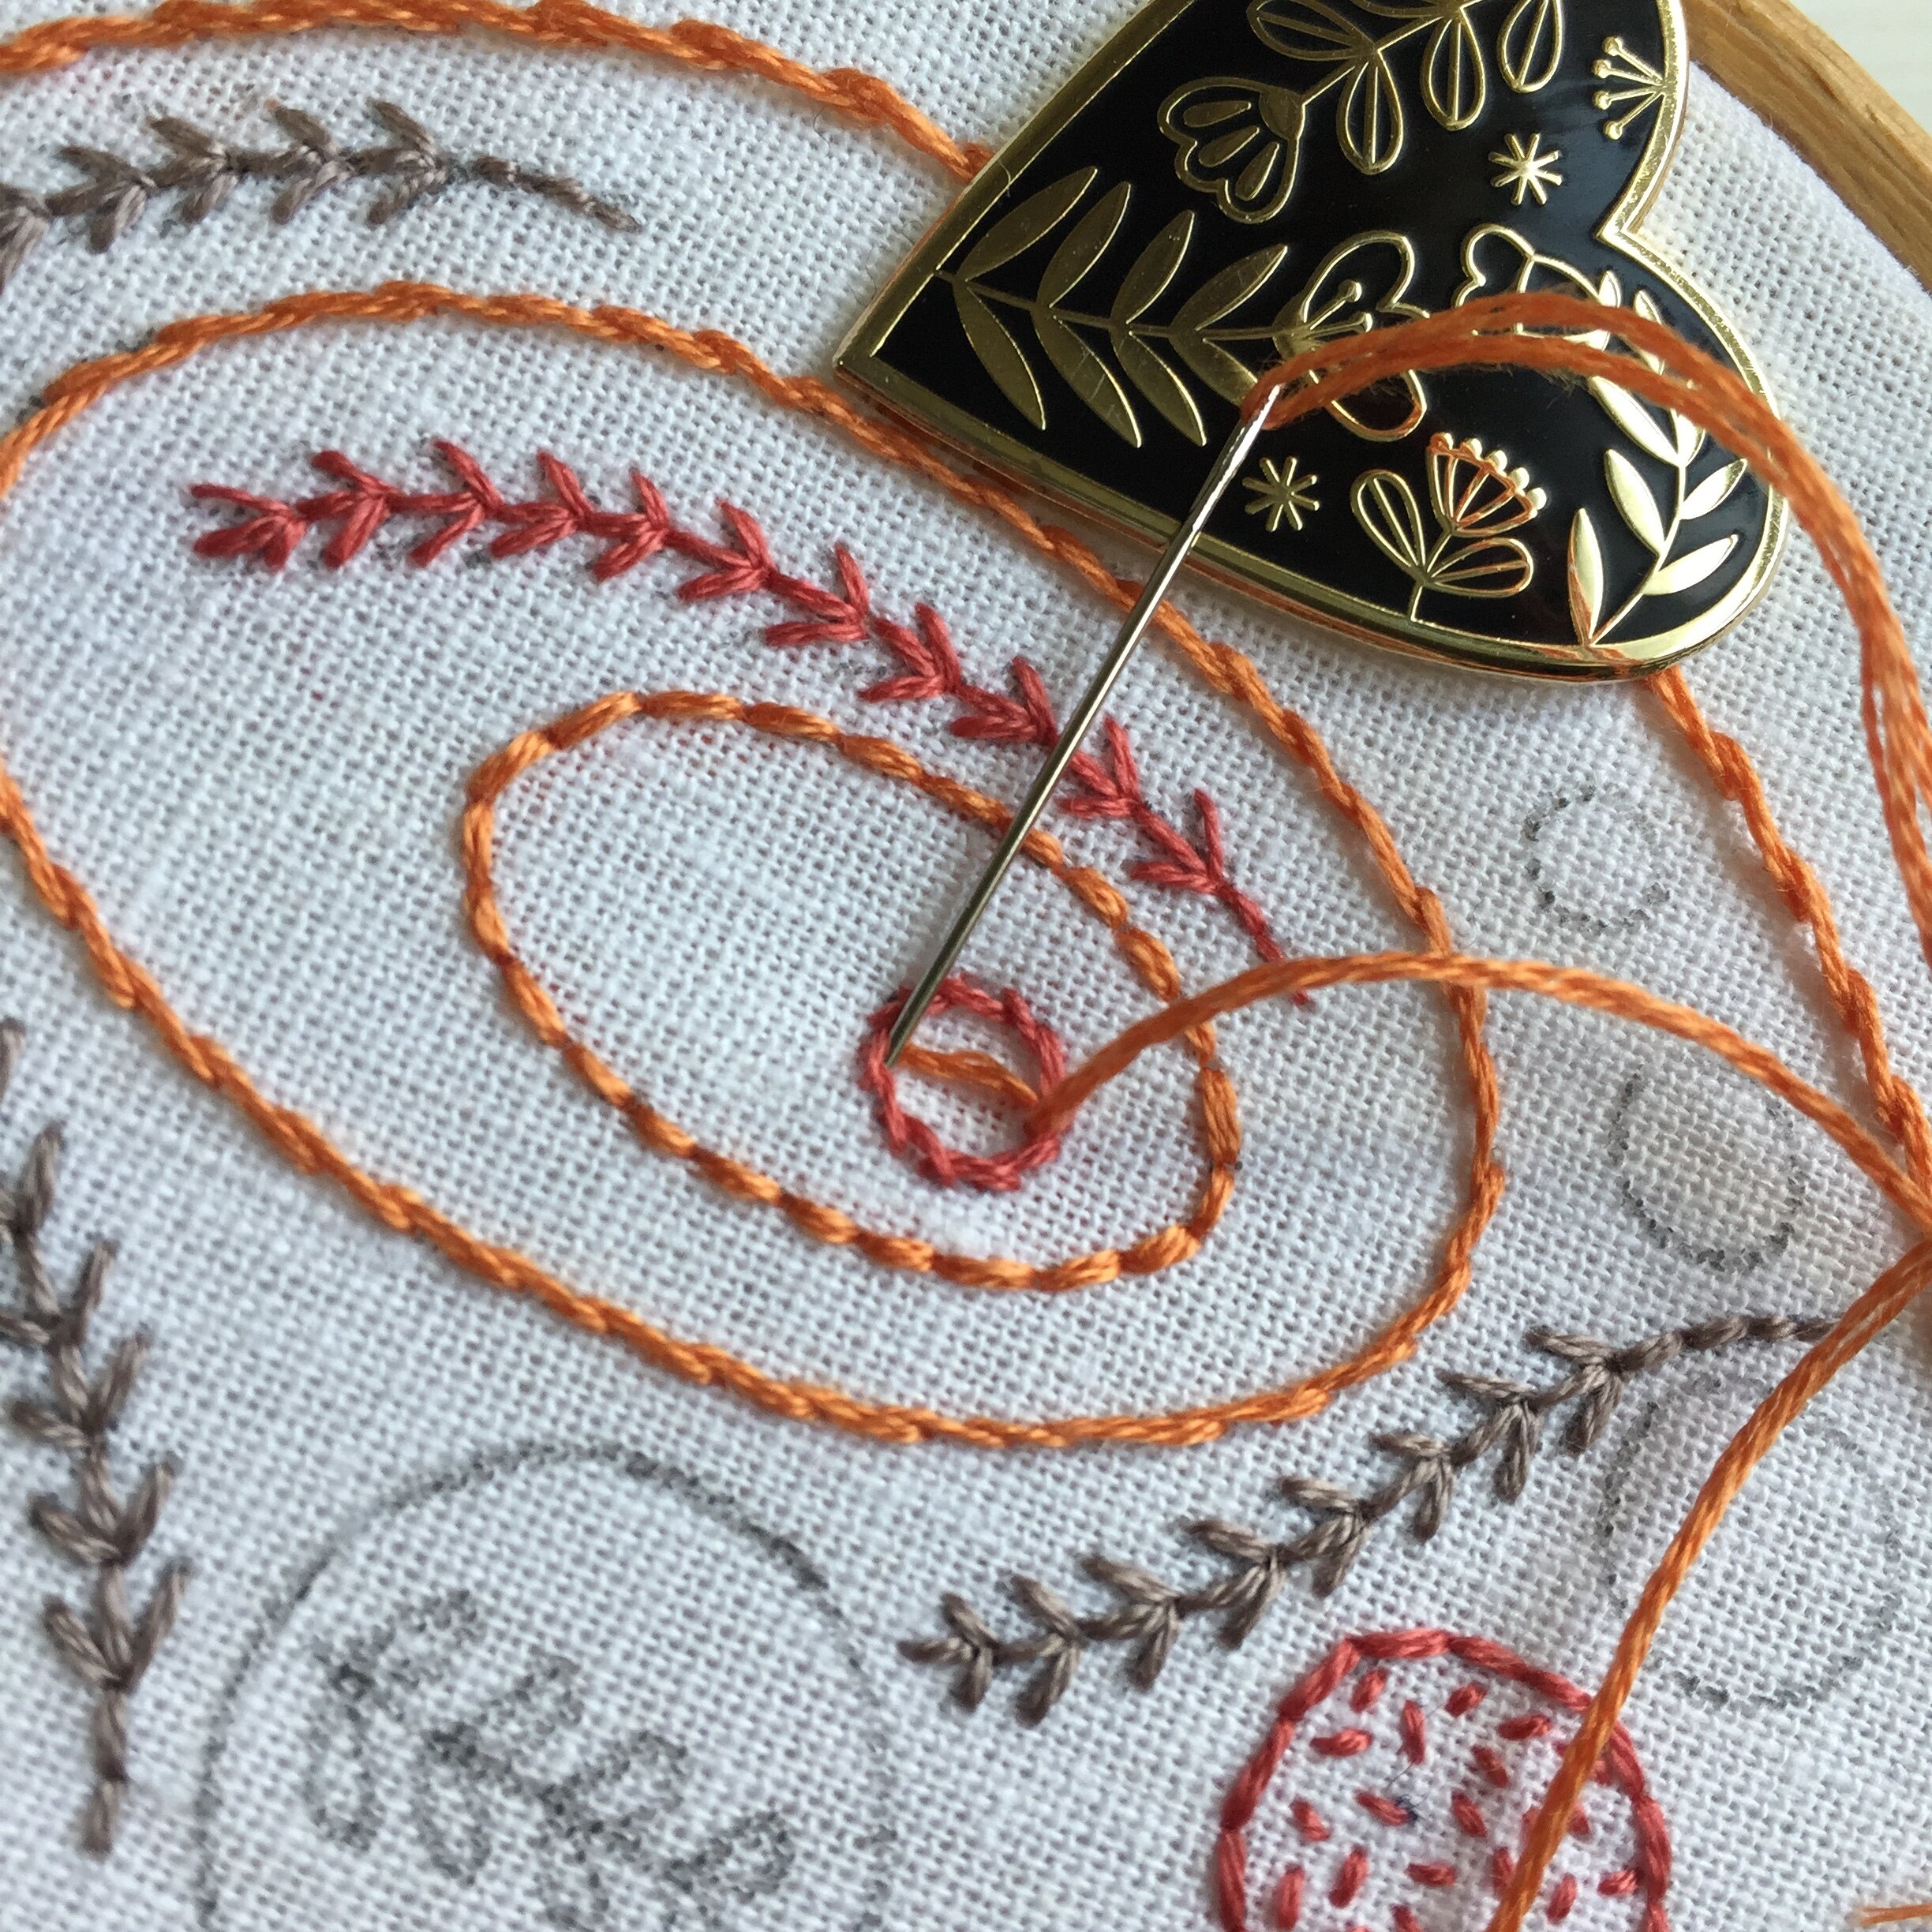

I like to outline a shape before using satin stitch but you don’t have to. Here I outlined the circle in stem stitch.
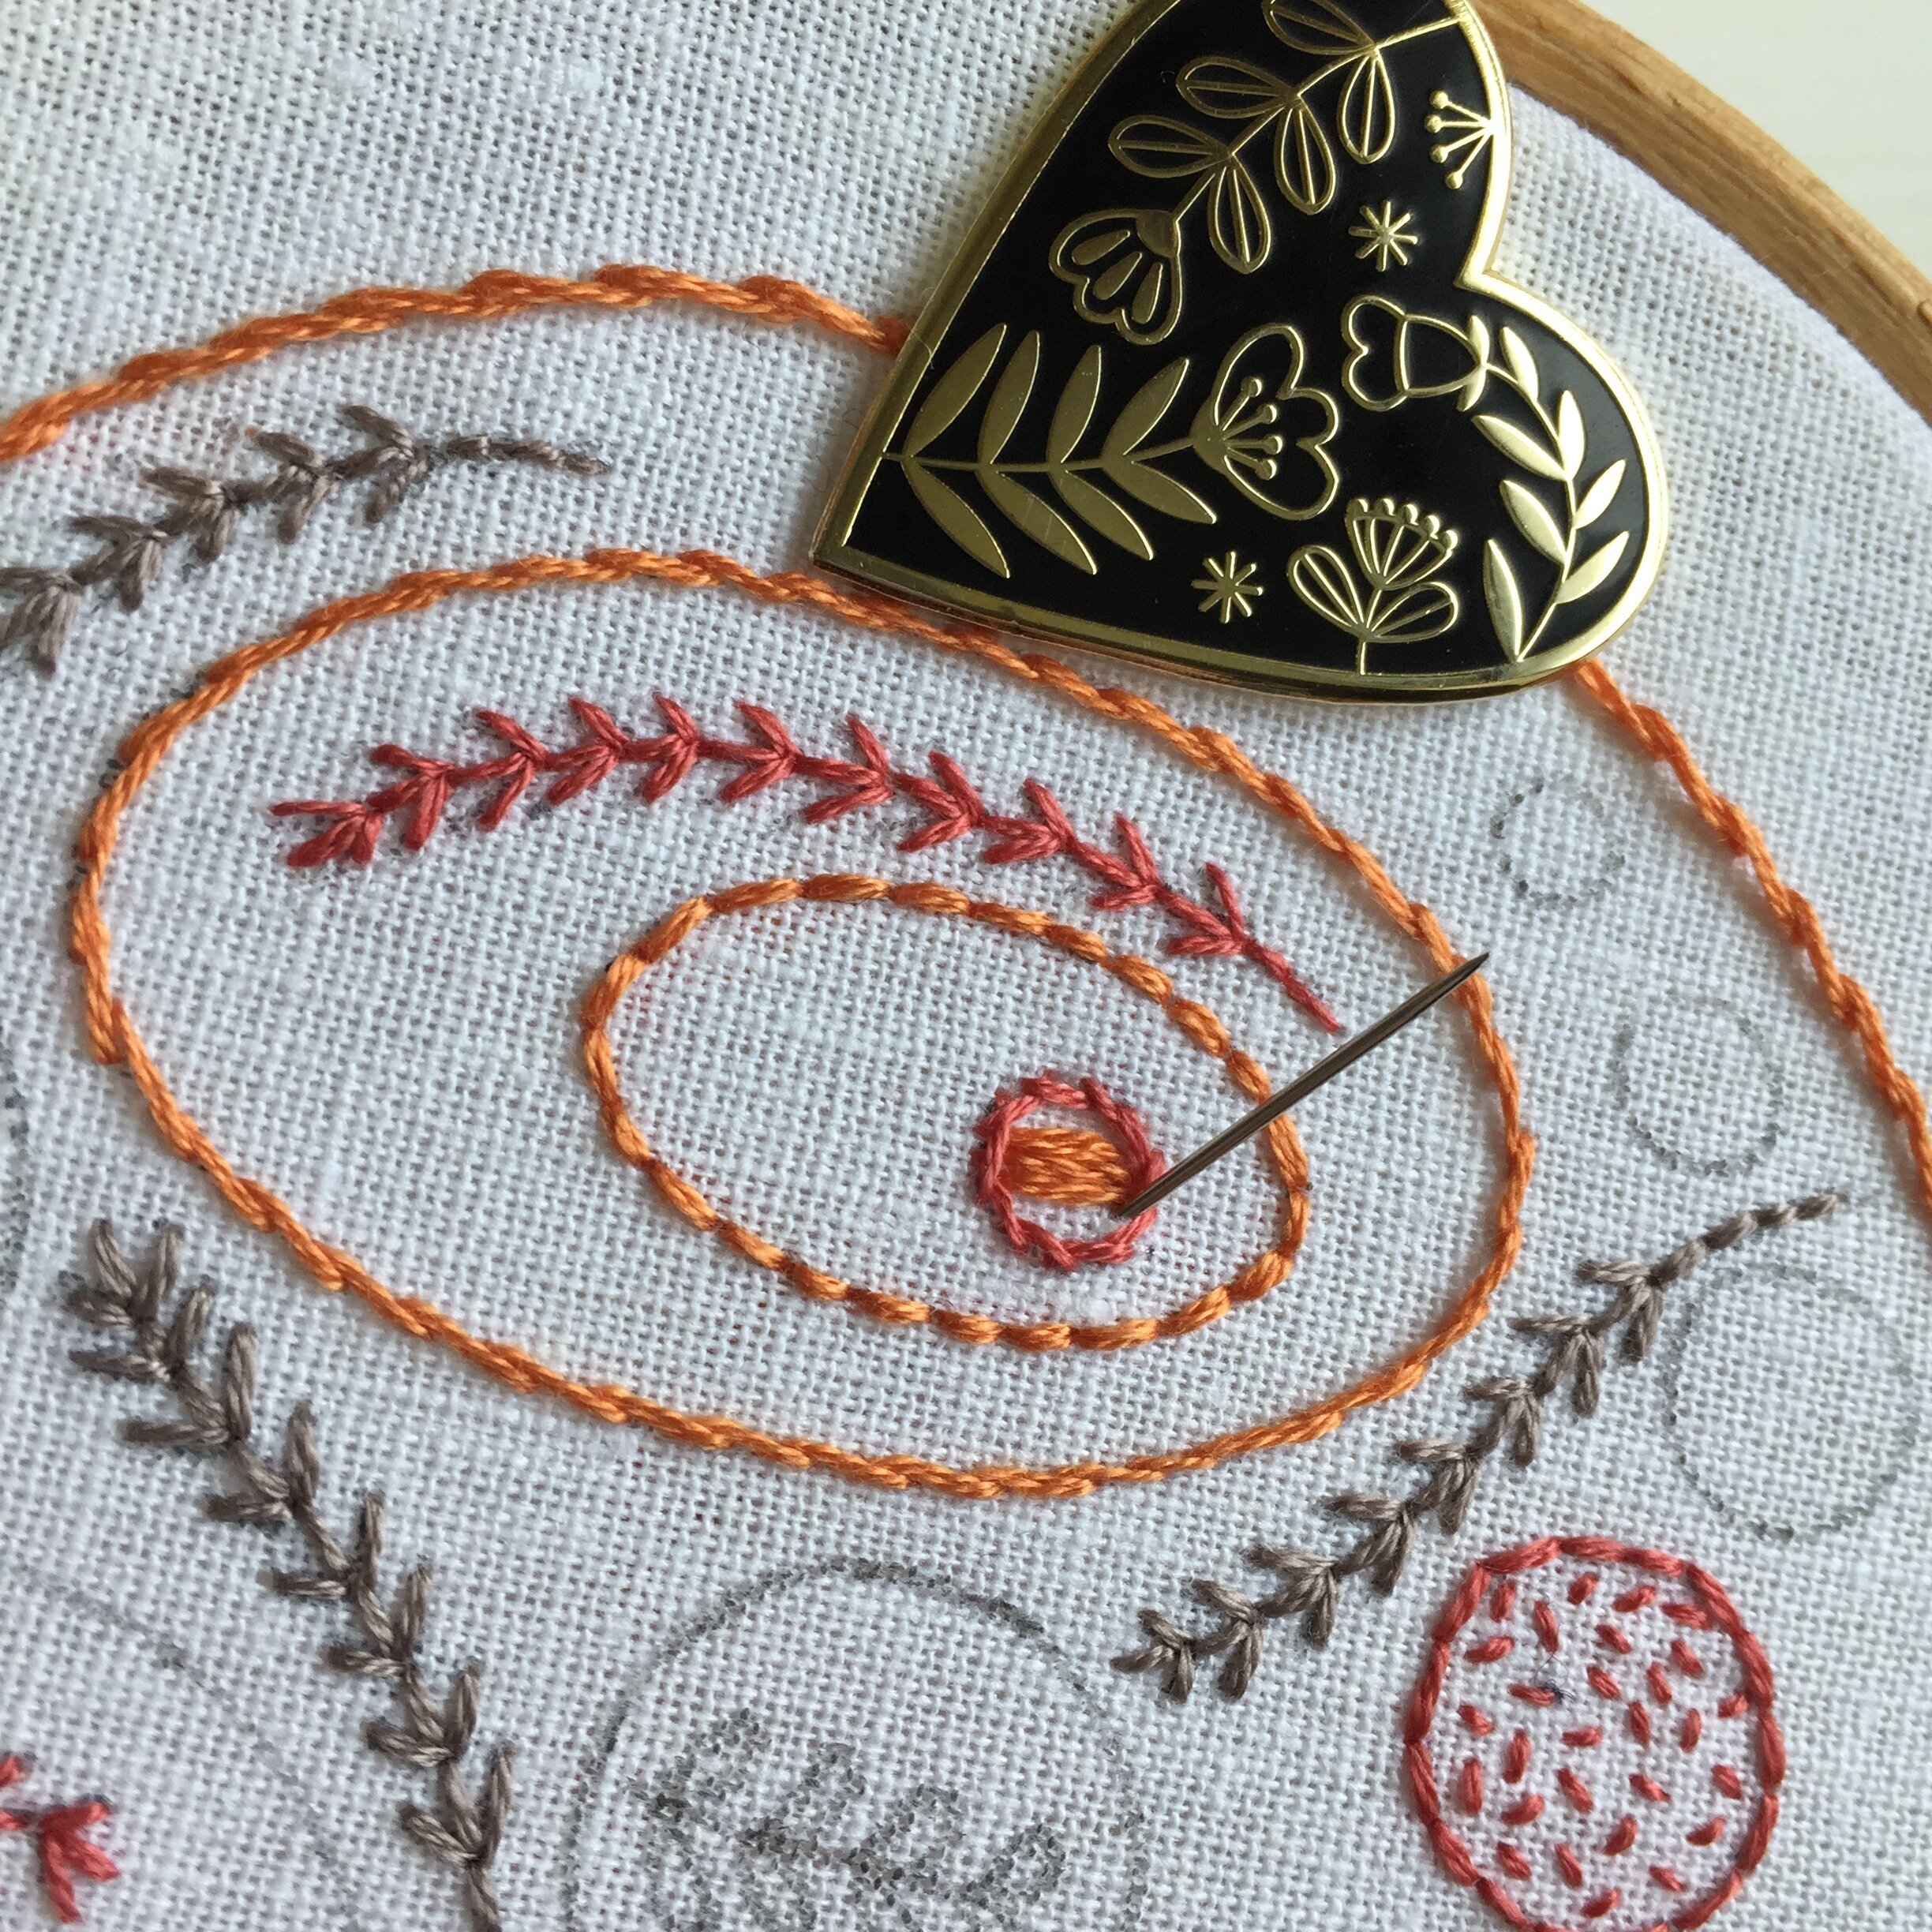
Next you are simply going to lay straight stitches next to each other to fill the shape.
Make sure you go right to the edges of the shape and try to keep your tension nice and even with no gaps between the stitches.
If you do end up with a gap you can always fill it in with an extra stitch.
satin stitch is a filler stitch that I tend to use for quite small areas. If you take it slowly you can keep it neat and you end up with a nice solid filled shape.
You can also create a padded effect by stitching seed stitches in the shape before doing your satin stitch and then stitching over them.