Tools and materials
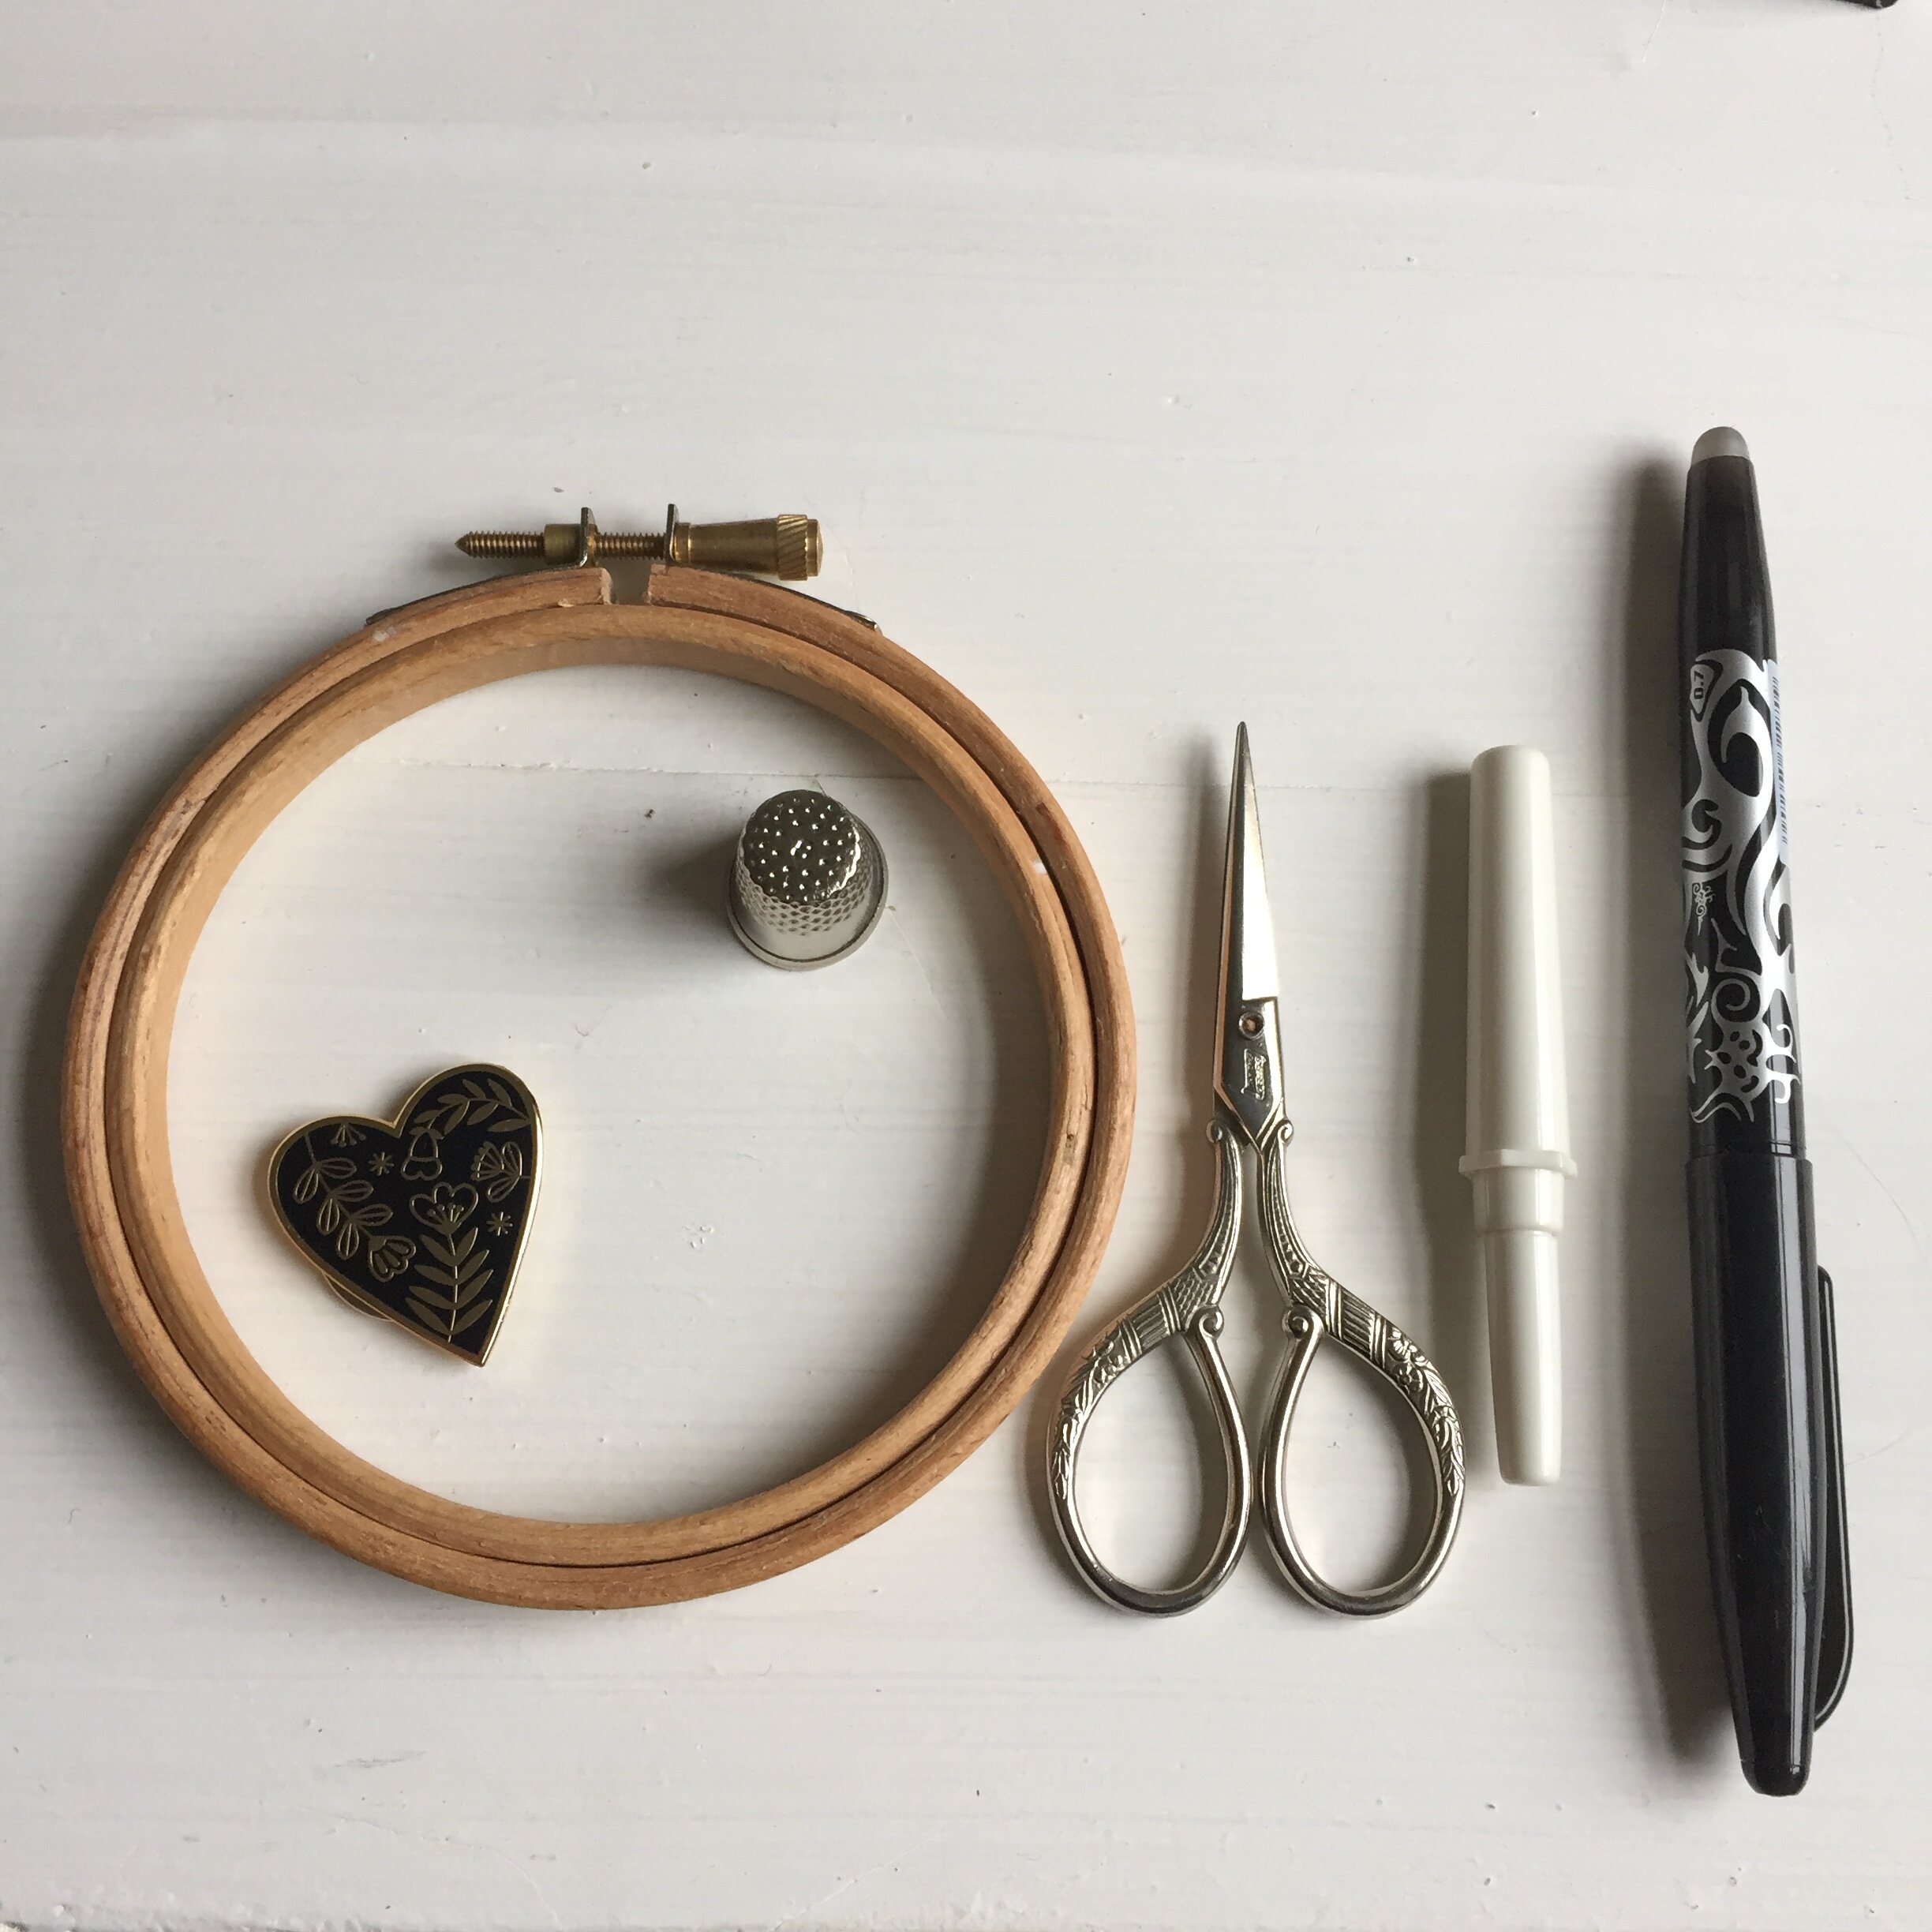
The basic tools for embroidery are simple, a needle a hoop, some small scissors and a pencil to transfer the pattern. If this is all you have you can use a downloadable embroidery pattern.
Hoop
I prefer to use a wooden hoop. I think they generally look nicer and I find plastic hoops grip the fabric too tightly and can leave marks. I have two hoop sizes that I use all the time, a 4” and a 6” hoop. I use the 4” hoop for smaller projects like the lavender girls and moth pincushion as I don’t have to cut such a large piece of fabric around my embroidery. You can move the hoop around your work as you stitch. The 6” hoop is my favourite for any larger embroideries. I find it large enough to cover a decent sized area of the embroidery but small enough that it’s not cumbersome. If you want to frame your embroidery in a hoop you might prefer to stitch it in the size of hoop that you will be framing it in.
Needle
My preferred needles are crewel needles in sizes 7, 8 and 9. I love Tulip needles but they are a little more costly. Bohin make beautiful needles and are more reasonably priced. I tend to keep my needles in a pin cushion as they are easier to access than a needlecase.
I use the needles according to how many strands of thread I am using. The lower the number of the needle the bigger the needle so I use a 7 for 3 strands, an 8 for 2 strands and a 9 for a single strand.
Scissors
any small pair of embroidery scissors is perfect for snipping threads but also for cutting any small applique (such as the dresses for the lavender girls) I also have a pair of dressmaking scissors for cutting the embroidery fabric to size. Never use your fabric and thread scissors for paper cutting as it will blunt them. Hide them from your family members!
Pen or pencil
I use a pilot frixion pen to trace the embroidery pattern. I prefer this as the lines are fine (like a ballpoint pen) and you can use a hairdryer to remove the lines afterwards.
There are other disappearing pens available, one that disappears over time (I wouldn’t recommend this unless you are going to finish your project quite quickly) and water removable pens which are also great if that’s what you prefer.
If you don’t have a removable pen you can use an hb pencil as long as you keep your lines light (but clear enough to see to stitch them) so you can cover the lines with stitching as the lines will not wash away.
Fabric
All you need to stitch on is a medium weight cotton or linen/cotton mix fabric. My go to fabric is Robert Kaufman’s Essex linen which is a linen cotton mix. I usually use the natural colour. The other fabric that I love is an organic cotton calico. This is a cheaper option but creases very easily. I quite like the soft look of this fabric.
The main print fabric I love to use for applique is liberty tana lawn. It is a thin strong cotton that is beautiful for small appliques such as the girls’ dresses. I use very small ‘ditsy’ prints. Not all the prints are available in all the colours all the time but mitsi is one of my favourite tiny florals.
Other fabrics that I love for applique (although these are not as thin as the tana lawn) are Tilda and Lecien. Both of these companies do small floral and dot prints that work well for the dresses.
Threads
Finally the threads. All my patterns use DMC stranded cotton (a few of the older patterns may use Anchor as well but you can find a conversion chart online for these if you can’t find Anchor threads). I use this one
The thread comes as six strands. There are occasions where you might use all six strands but for most of my patterns you need to cut the length you want (about 45cm) and then split the threads and work with two or three strands rather than the whole six. I occasionally work with one strand. There is a beautiful array of colours in the DMC range and the quality of the thread is lovely.
Extra bits and pieces
I sometimes like to use a thimble to protect my second finger from being stabbed too many times by the end of the needle! I also use a needle minder which is a magnet that you can attach to your work and your needle just magnetically attaches to it. It’s handy if you are using more than one needle or you have to put your stitching down for a few minutes, you can always find your needle. I also use a seam ripper for undoing stitches, quite often!


