Beginner Embroidery 101 - transferring patterns
Transferring patterns is probably one of the questions I am asked the most. The endless search for the simplest and best means of transferring! I think different people prefer different transfer methods so I am going to share my own preferred method. Please feel free to share any different methods in the comments.
When you buy a pdf pattern you receive a file that you can print out. You only really need to print the pattern itself if you are happy to follow the instructions on your computer or tablet. Next the pattern needs to be transferred onto your fabric the following are my preferred methods.
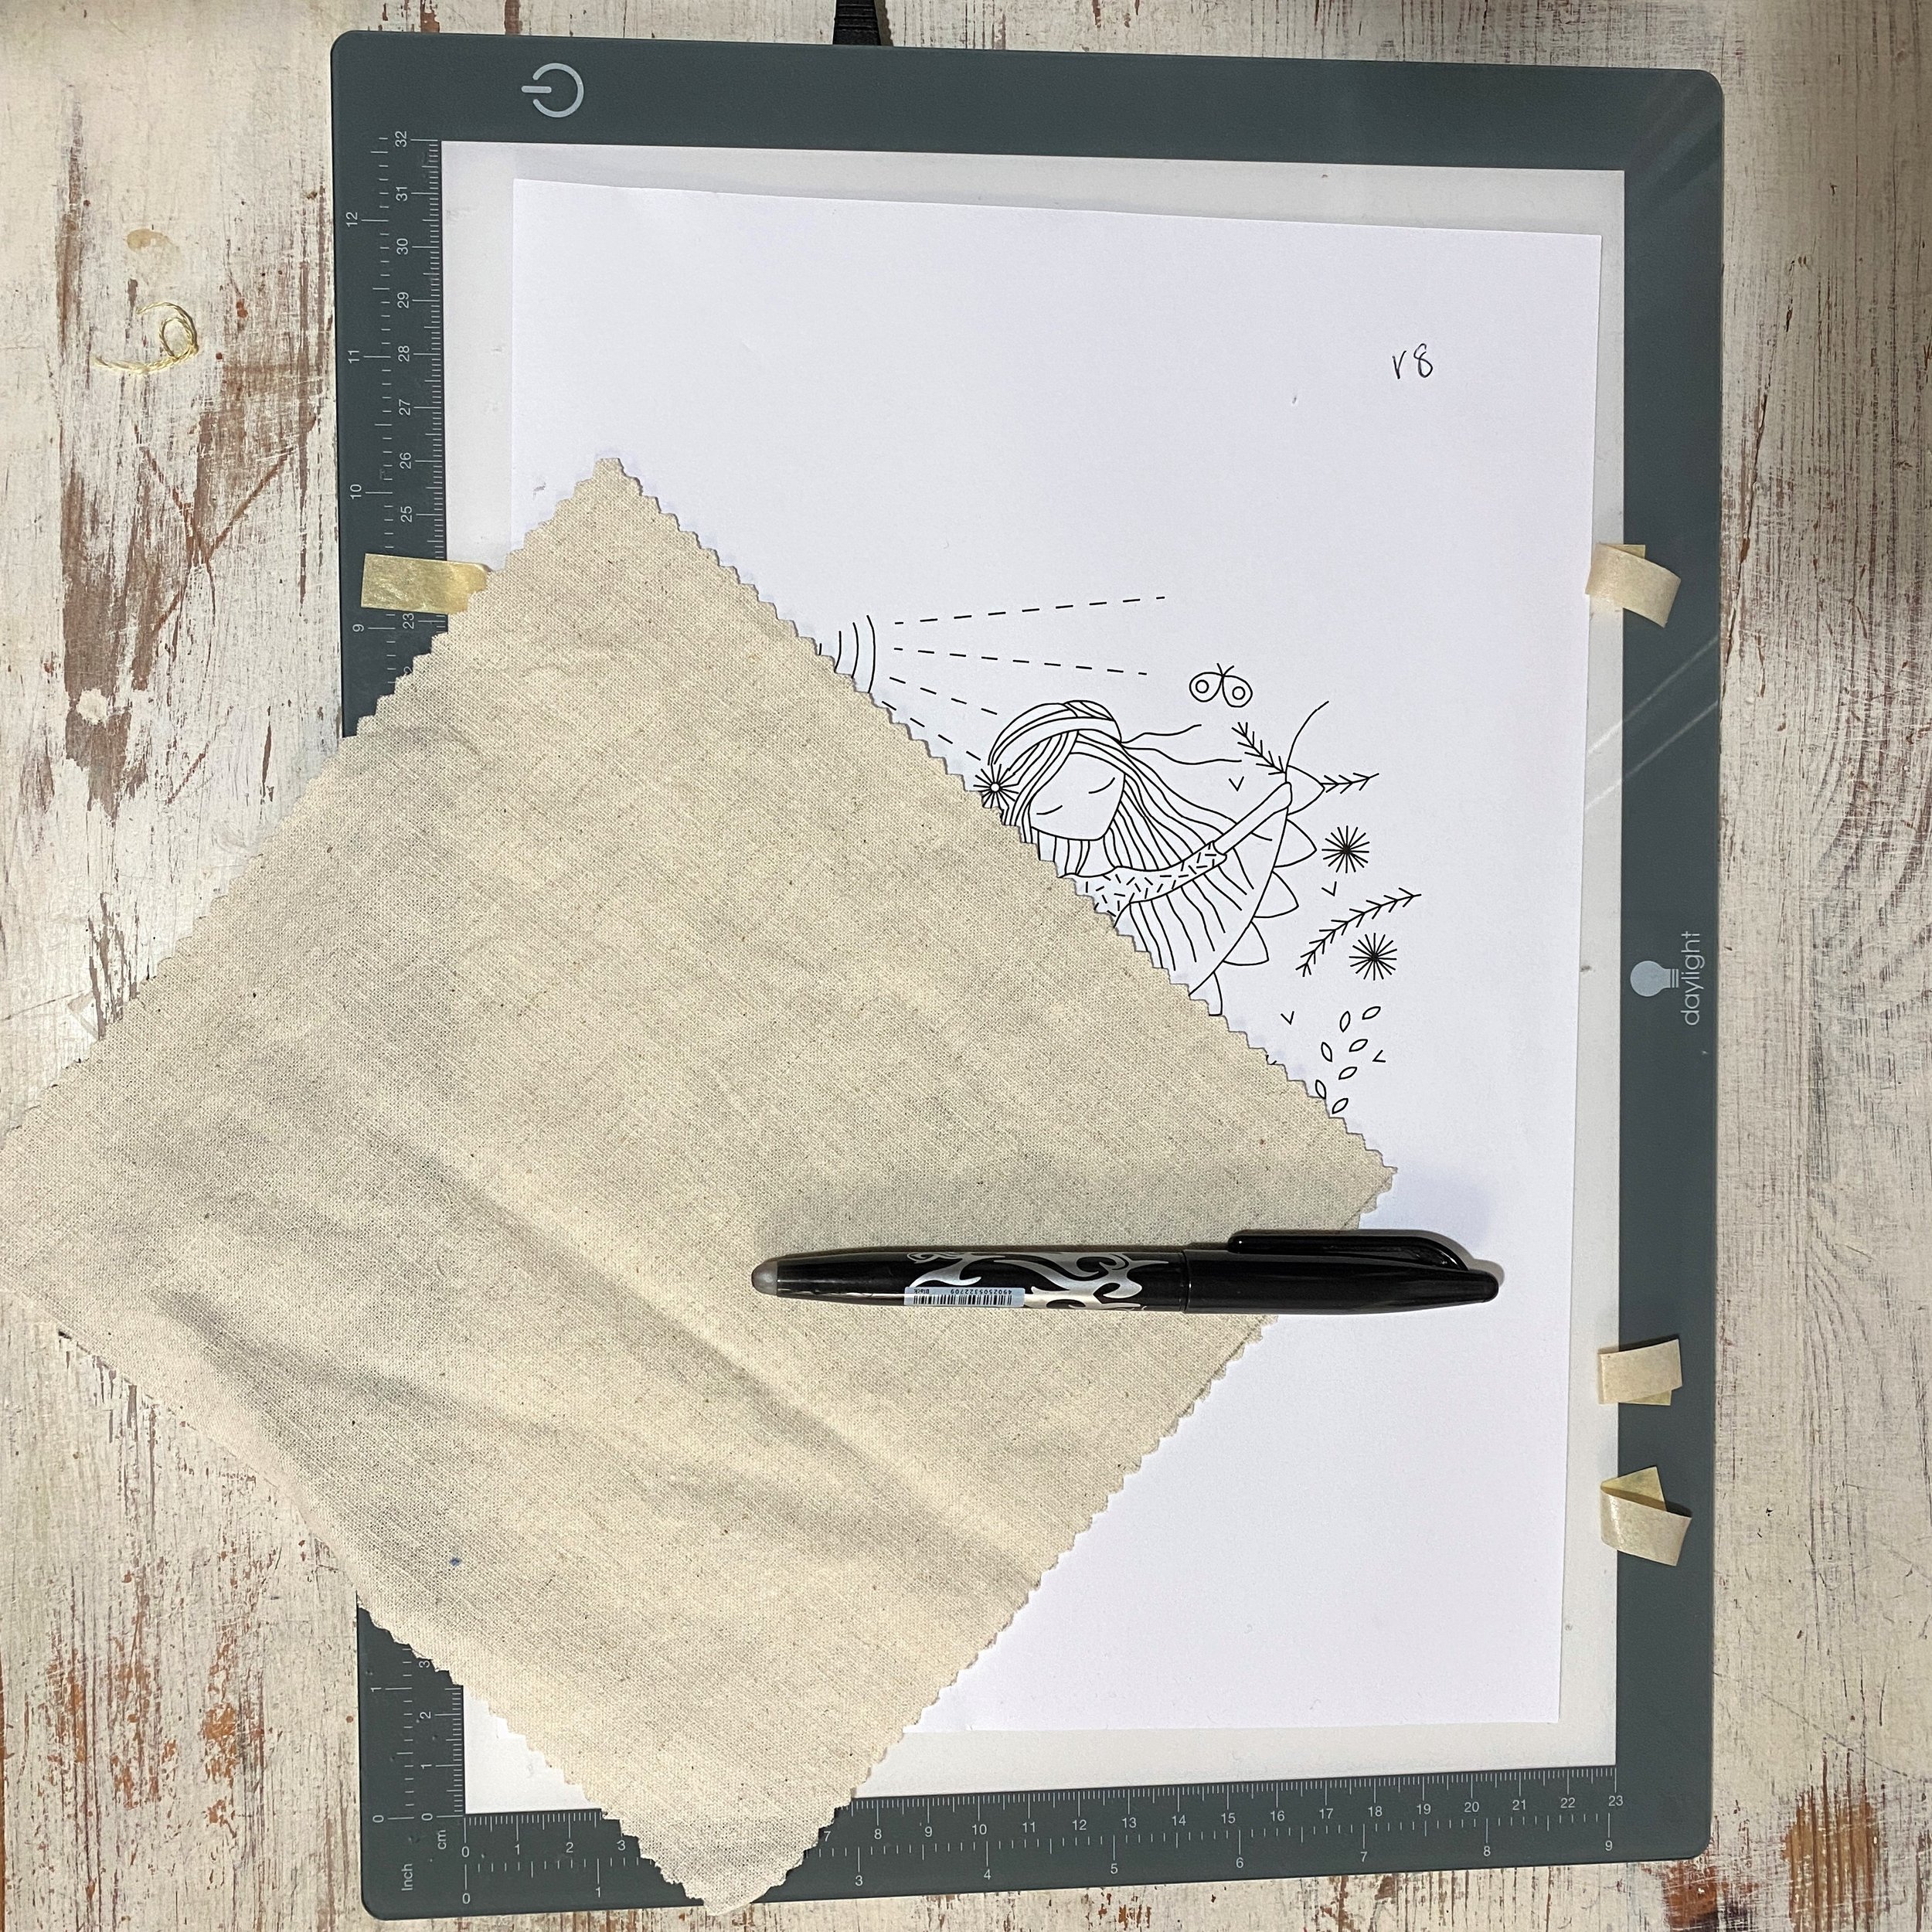
The set up above is my preferred method of transferring which involves tracing the pattern onto your fabric using a light source. You place the image onto the light source (I use a lightbox but you could use a window or a lamp under a glass table). Then you tape your fabric over it and trace the image. I use a heat removable pen pilot frixion which I love and haven’t had a problem with but some people prefer water soluble pens that you wash out. You remove the pilot frixion with an iron or hairdryer. I would always test the pen you want to use on a scrap of fabric to make sure it does disappear.
This method only really works with light coloured fabric and I tend to work on light colours.
I have a whole post on this method in the beginners section on my website
https://www.lilipopo.com/beginners
The second method that I use occasionally is to use a product called sulky sticky fabri solvi (the most terrible name!!). This is a sticky backed sheet that you put through your printer and print the design onto then you cut out your design and stick the sheet to your fabric and stitch through it.
You can see above that it is a fine woven sheet. This works best if the sheet fits inside your hoop so you won’t have to keep moving the hoop around the work. When you have finished all your stitching you need to soak the piece until all the sulky solvi has disappeared. I have seen lots of instructions telling you to agitate it but when I did this the ink ran a little so I put it upside down in a bowl of luke warm water and leave it over night, which seems to work well.
Another tip to avoid the ink running is to print on draft mode as it uses less ink and is less likely to bleed.
This method does avoid all the tracing and you have a perfect copy to stitch from which still gets removed. It also makes it easy to transfer onto darker fabrics.
I have a full post on using this product here
https://www.lilipopo.com/journals/a-quicker-way-to-transfer-embroidery-patterns

If your needle feels a bit sticky stitching through the sulky solvi then I recommend thread magic You just run your needle through it and it’s smooth again. I’ve only once had a problem with my needle being sticky and I have read that heat can make this worse so it could just be on warmer days.
I know that some of my customers love transferring the design, they like the calm and preparation for stitching but I know that others either dislike it or have difficulty with it so the sulky solvi might provide a solution there.

For anyone who prefers not to transfer I have printed panels for a lot of my embroidery designs.
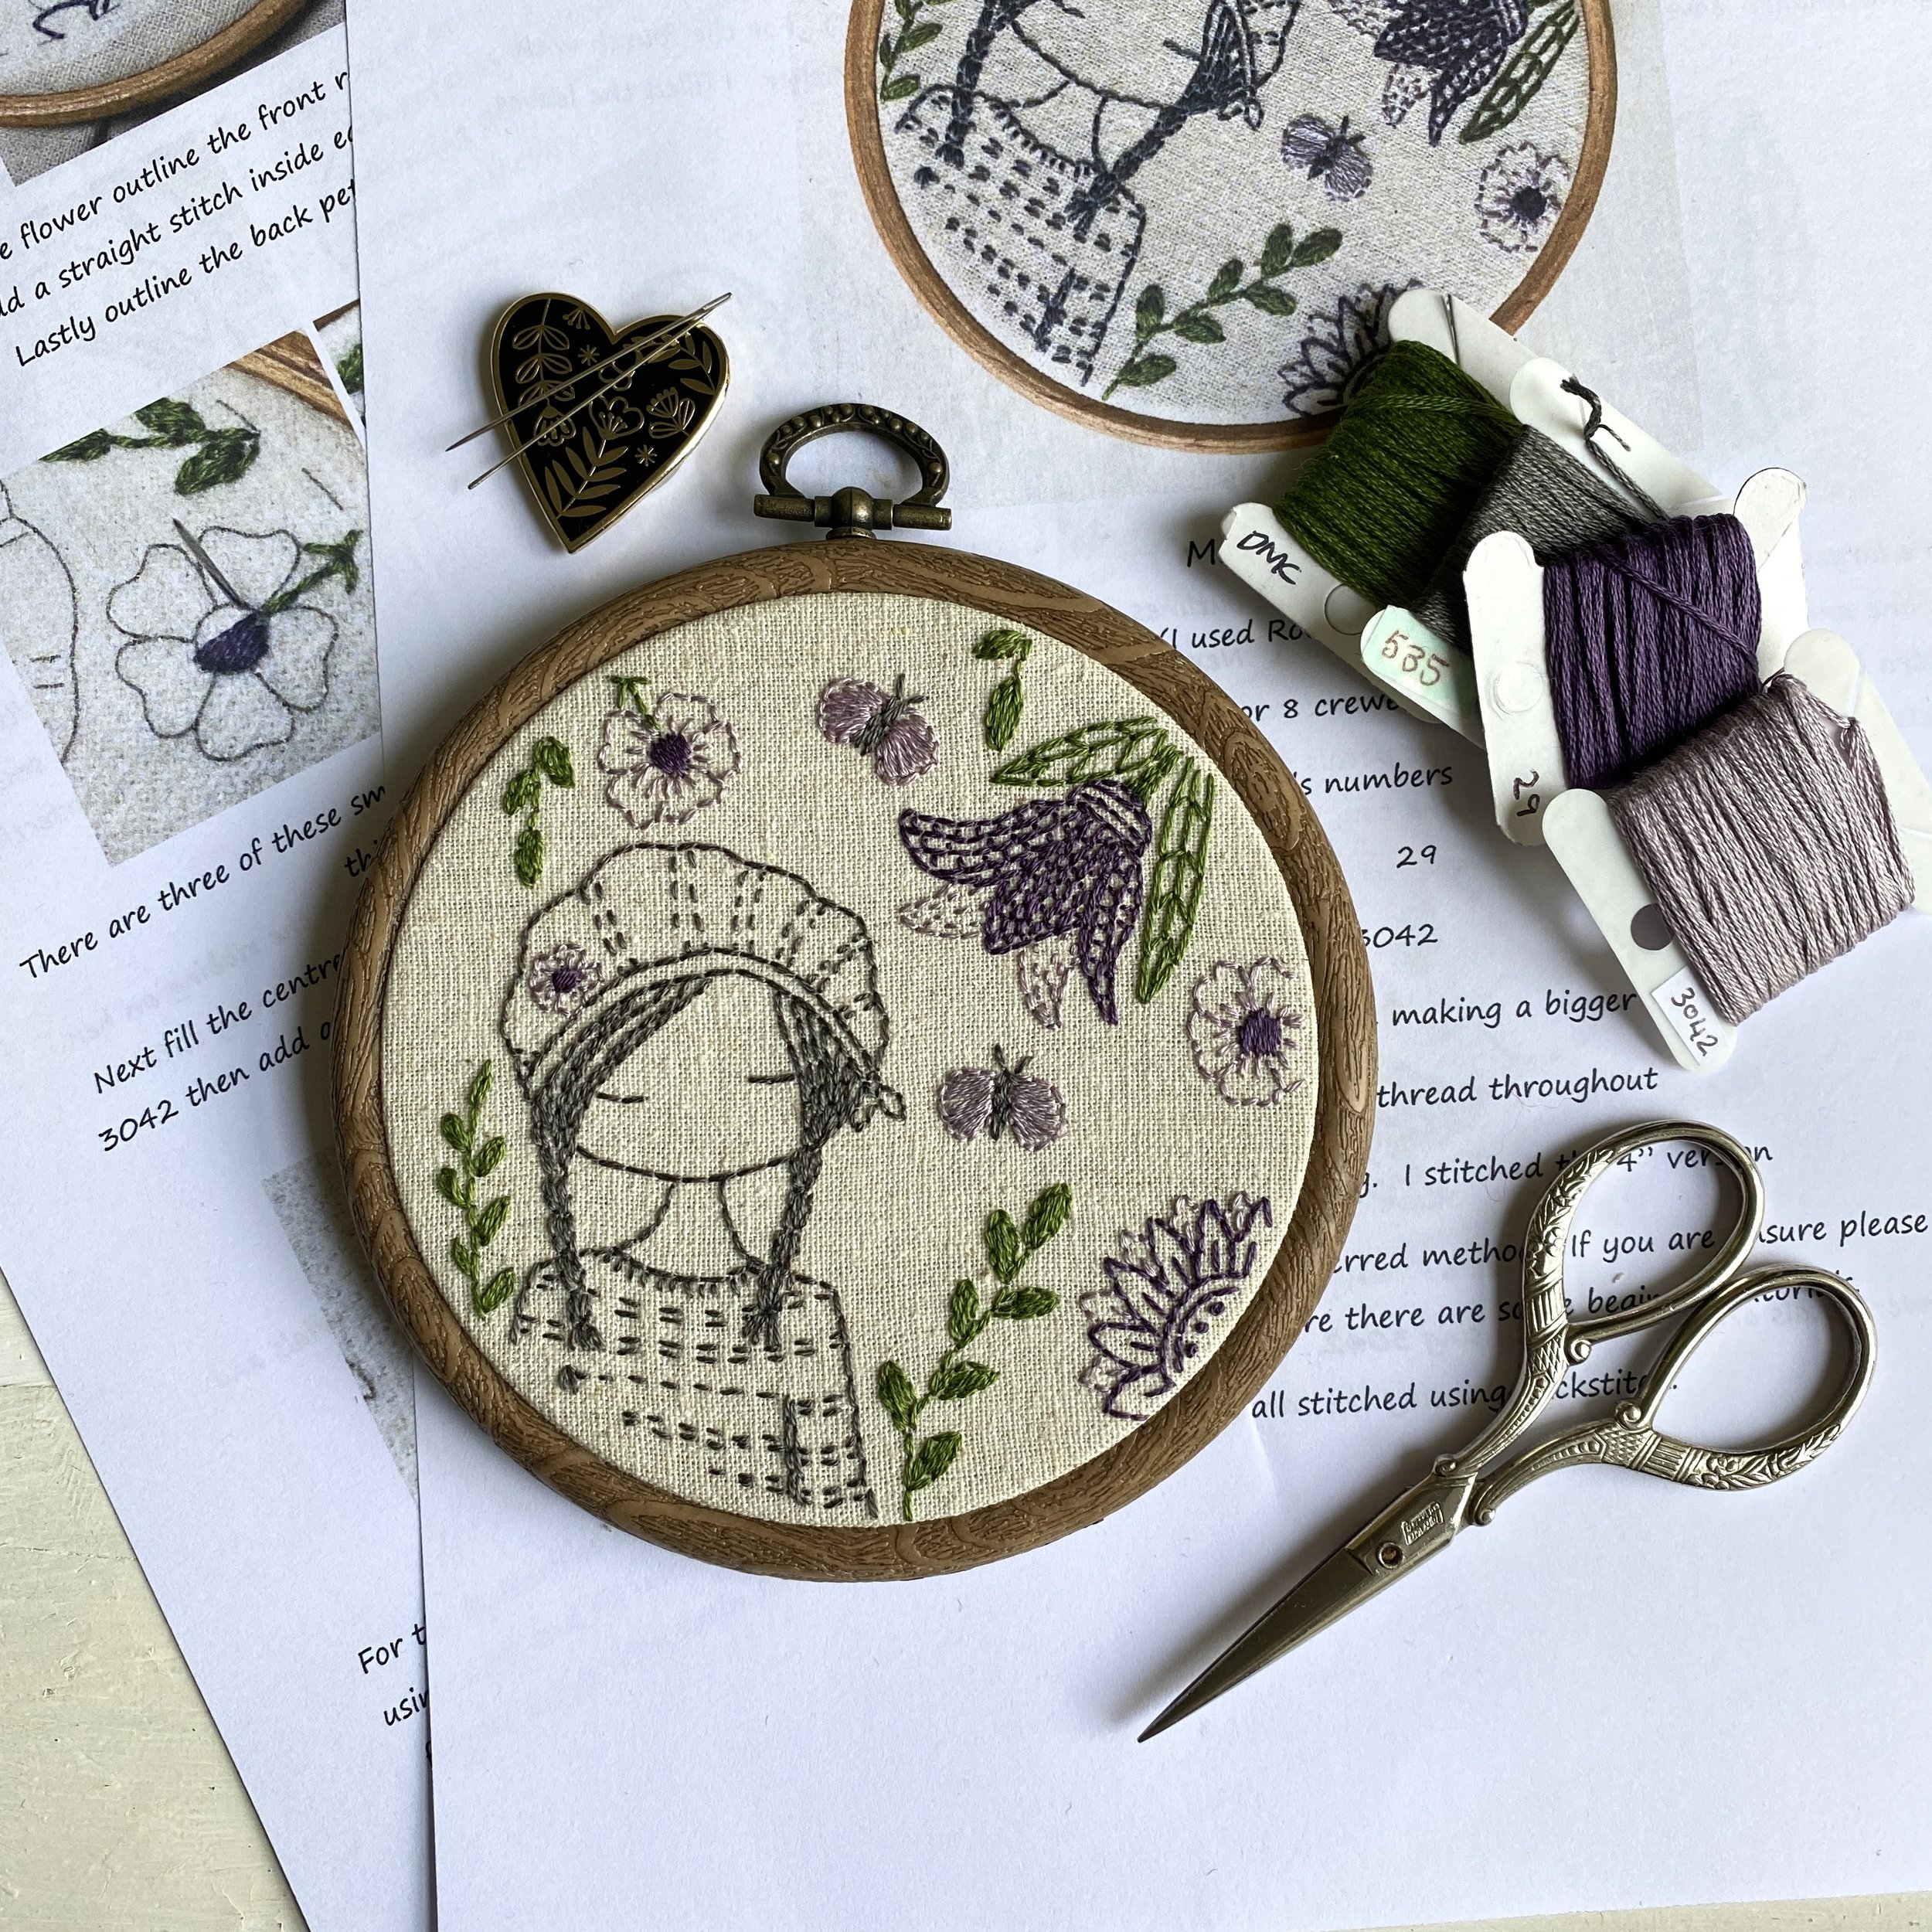
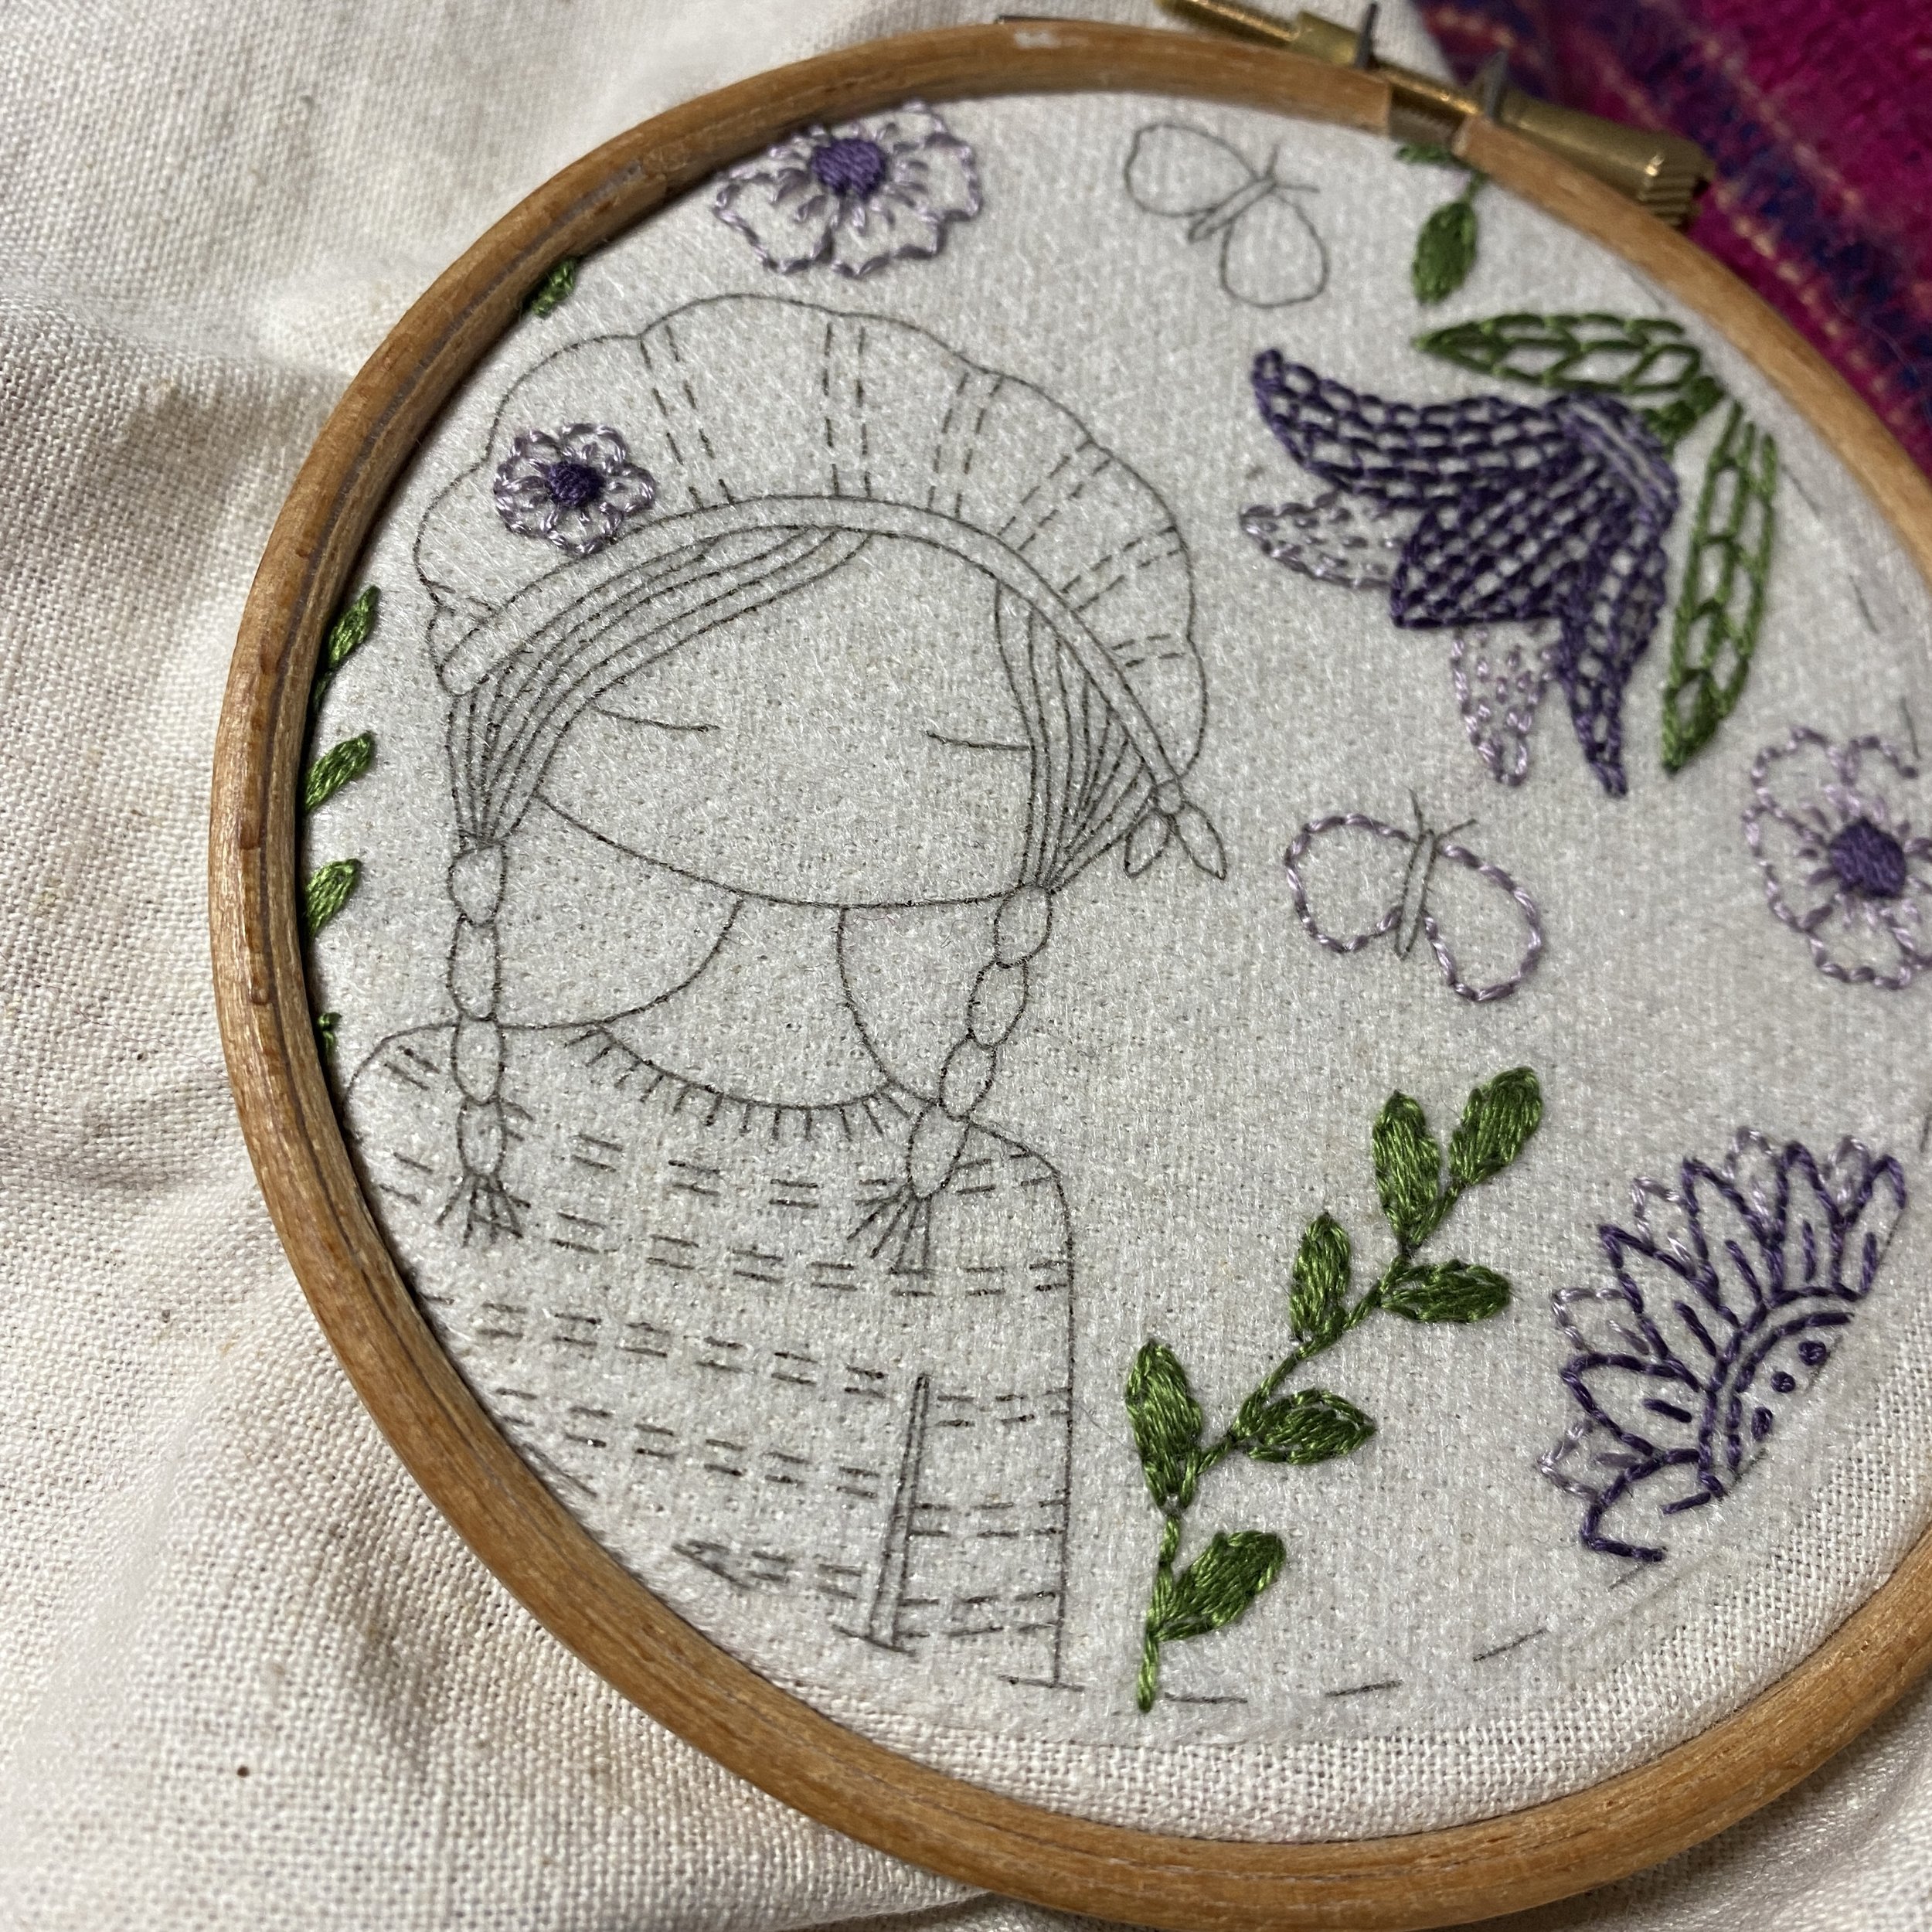
The panel is printed on either white medium weight cotton or organic cotton calico depending on the design. The design is usually in light grey, easily covered by your stitching. The design is permanent so it does need to be covered by stitches.
These panels do sell out quite frequently so they are not always available. If there is one that you would like but can’t see please contact me on Etsy and I will let you know when it will be in stock.
I would love to hear how you transfer your patterns. Do you like the transferring process or is it something to get out the way so you can start stitching. If you have tried sulky solvi how did you get on with it? What rinsing method did you use?
Next week we will start with the stitching proper. I will (hopefully) be creating a video for beginning stitching and simple back stitch. The post will also have some tips on keeping your stitching neat.
Have a lovely weekend
Kate x