Embroidery 101 - tips for perfect stitching and back stitch
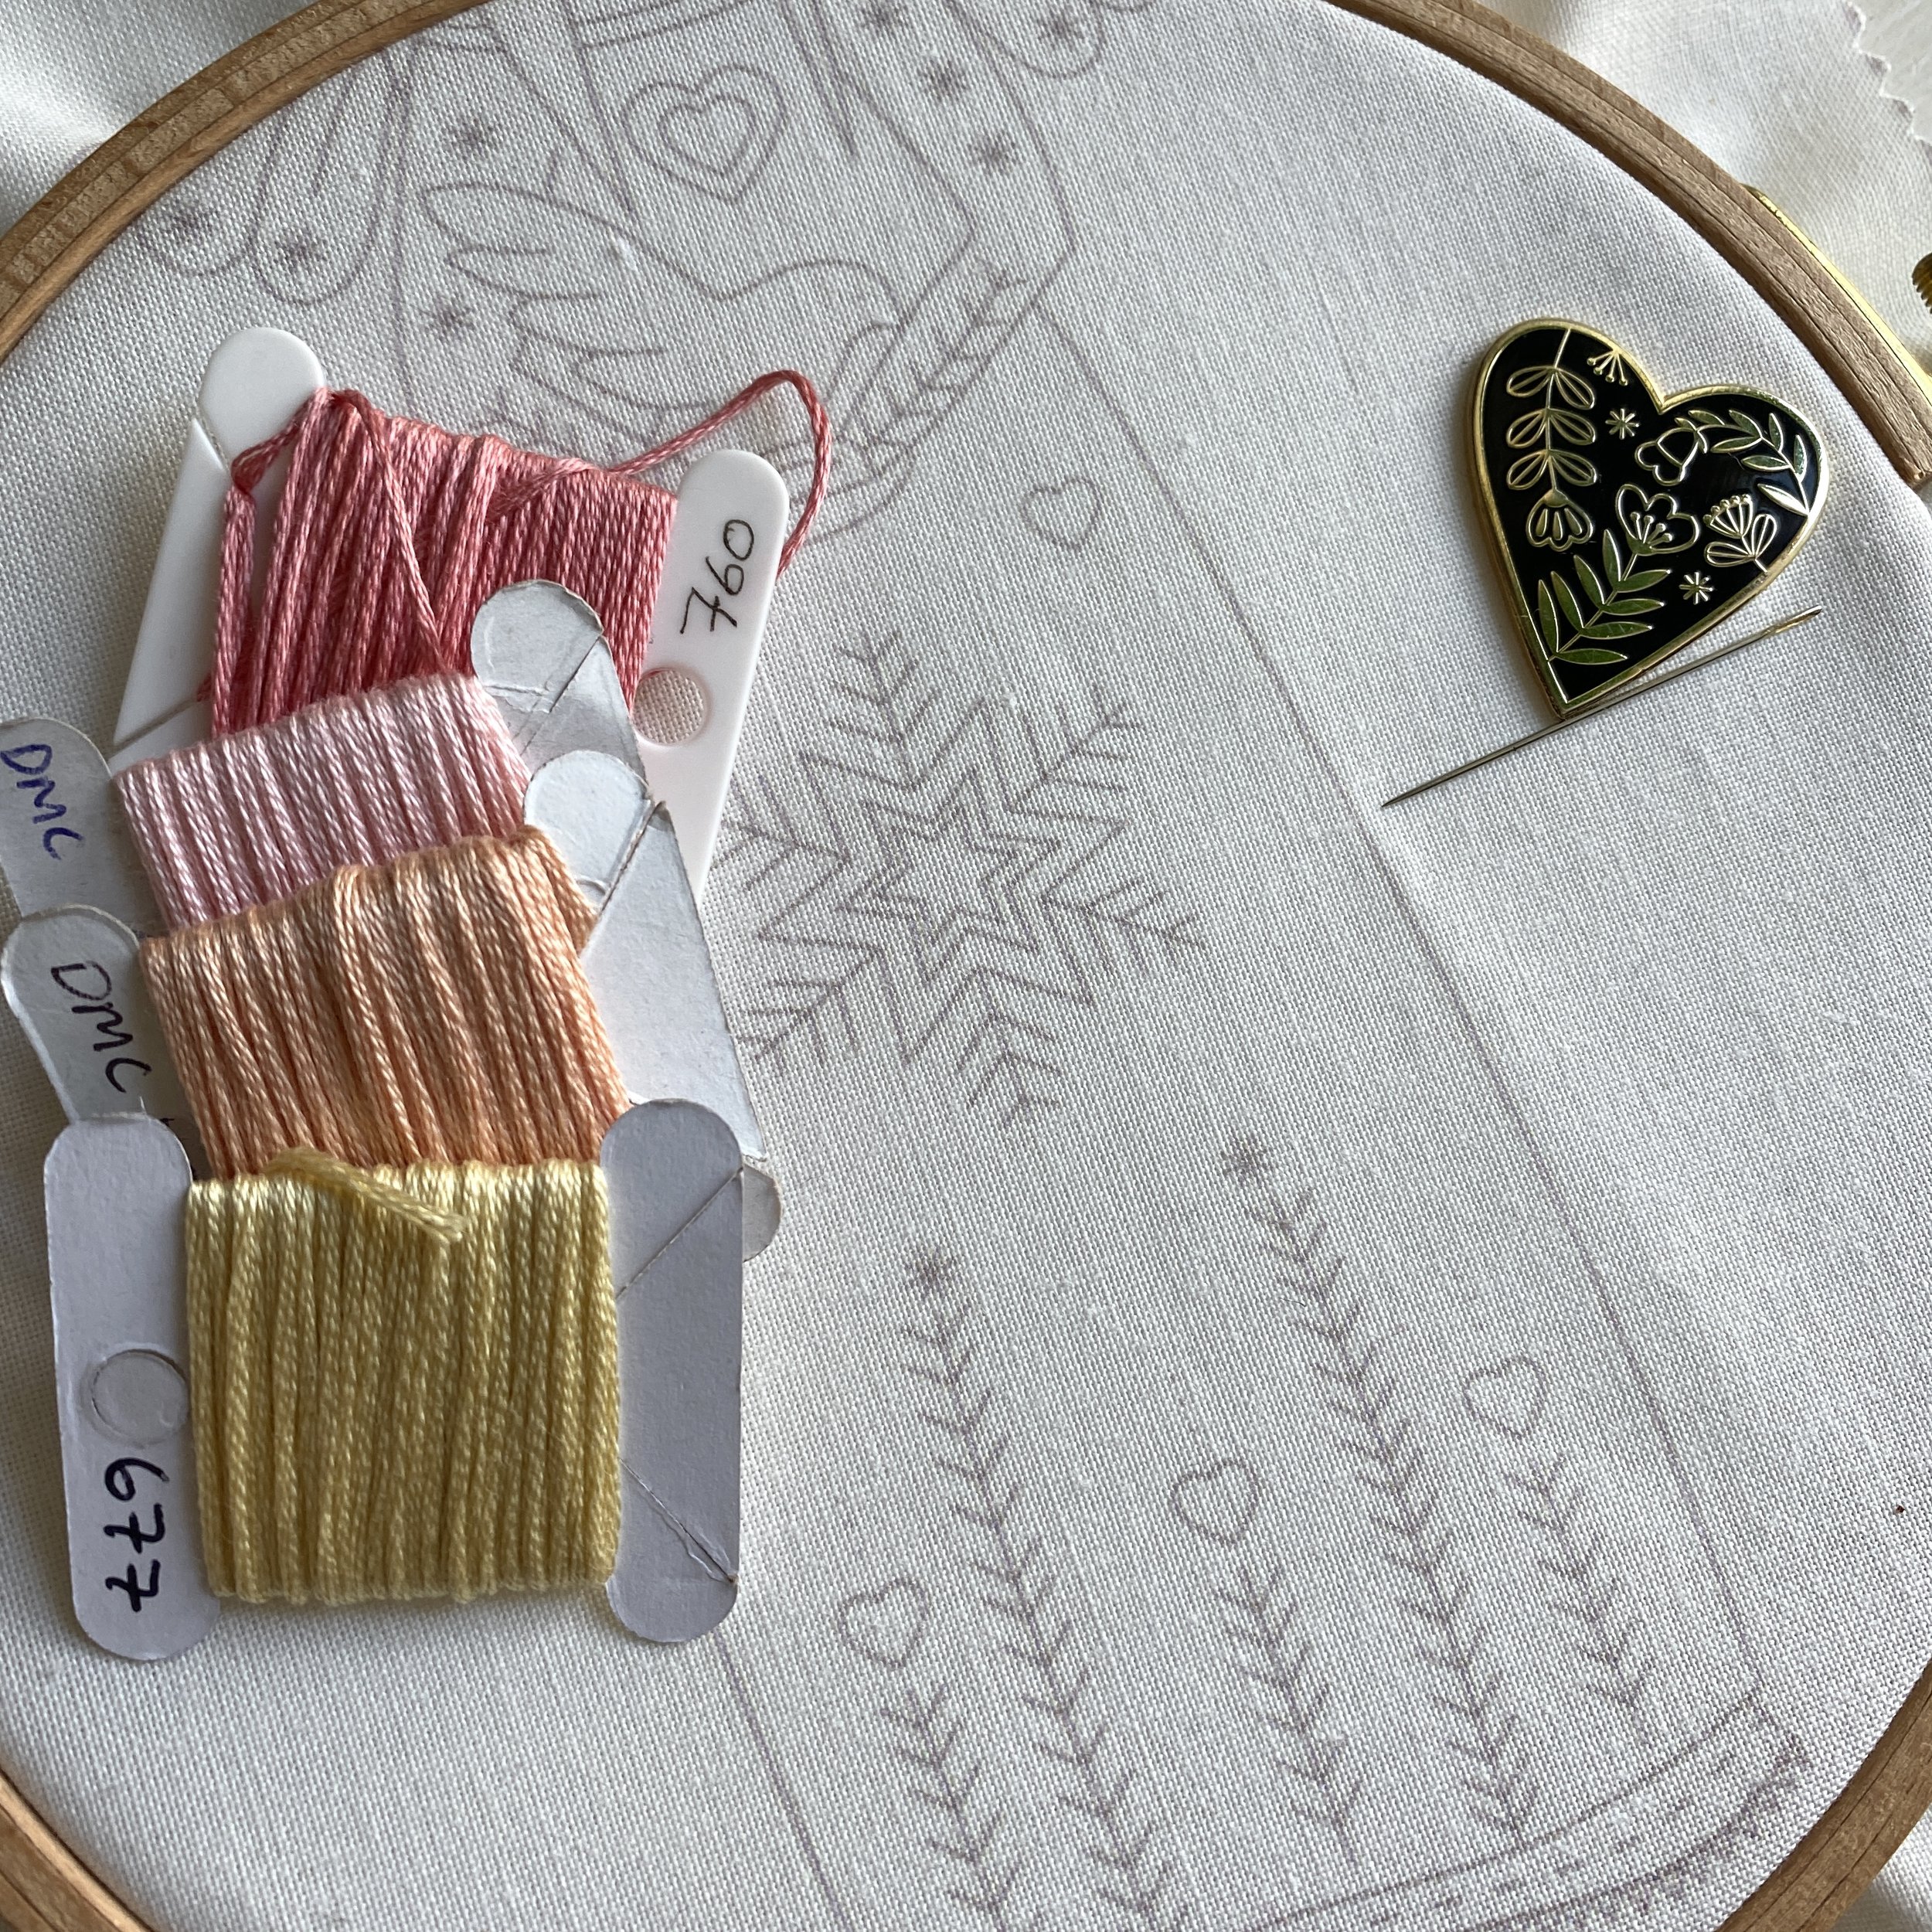
So the pattern is transferred or you have a printed panel (as I have above), you have your tools and materials and you are ready to begin. This post is going to look at stitching back stitch, how to keep it neat and tidy and how to use it to fill spaces.
Back stitch is without doubt my go to stitch. It can be used for any outlining, it can also be used as a filler stitch on larger areas and can even be used for hair. If a pattern calls for split stitch and you don’t like doing it you can usually replace it with back stitch. I think you could stitch most of my patterns using backstitch, detached chains and french knots, my three favourite stitches.


There are lots of types of threads for embroidery and you can embroidery with pretty much anything you can fit through a needle but I use 6 stranded cotton by DMC for all my patterns. This thread comes as six strands twisted together which can be separated as you can see in the first picture. I usually work with two strands but sometimes a single strand or 3 or 4 strands.
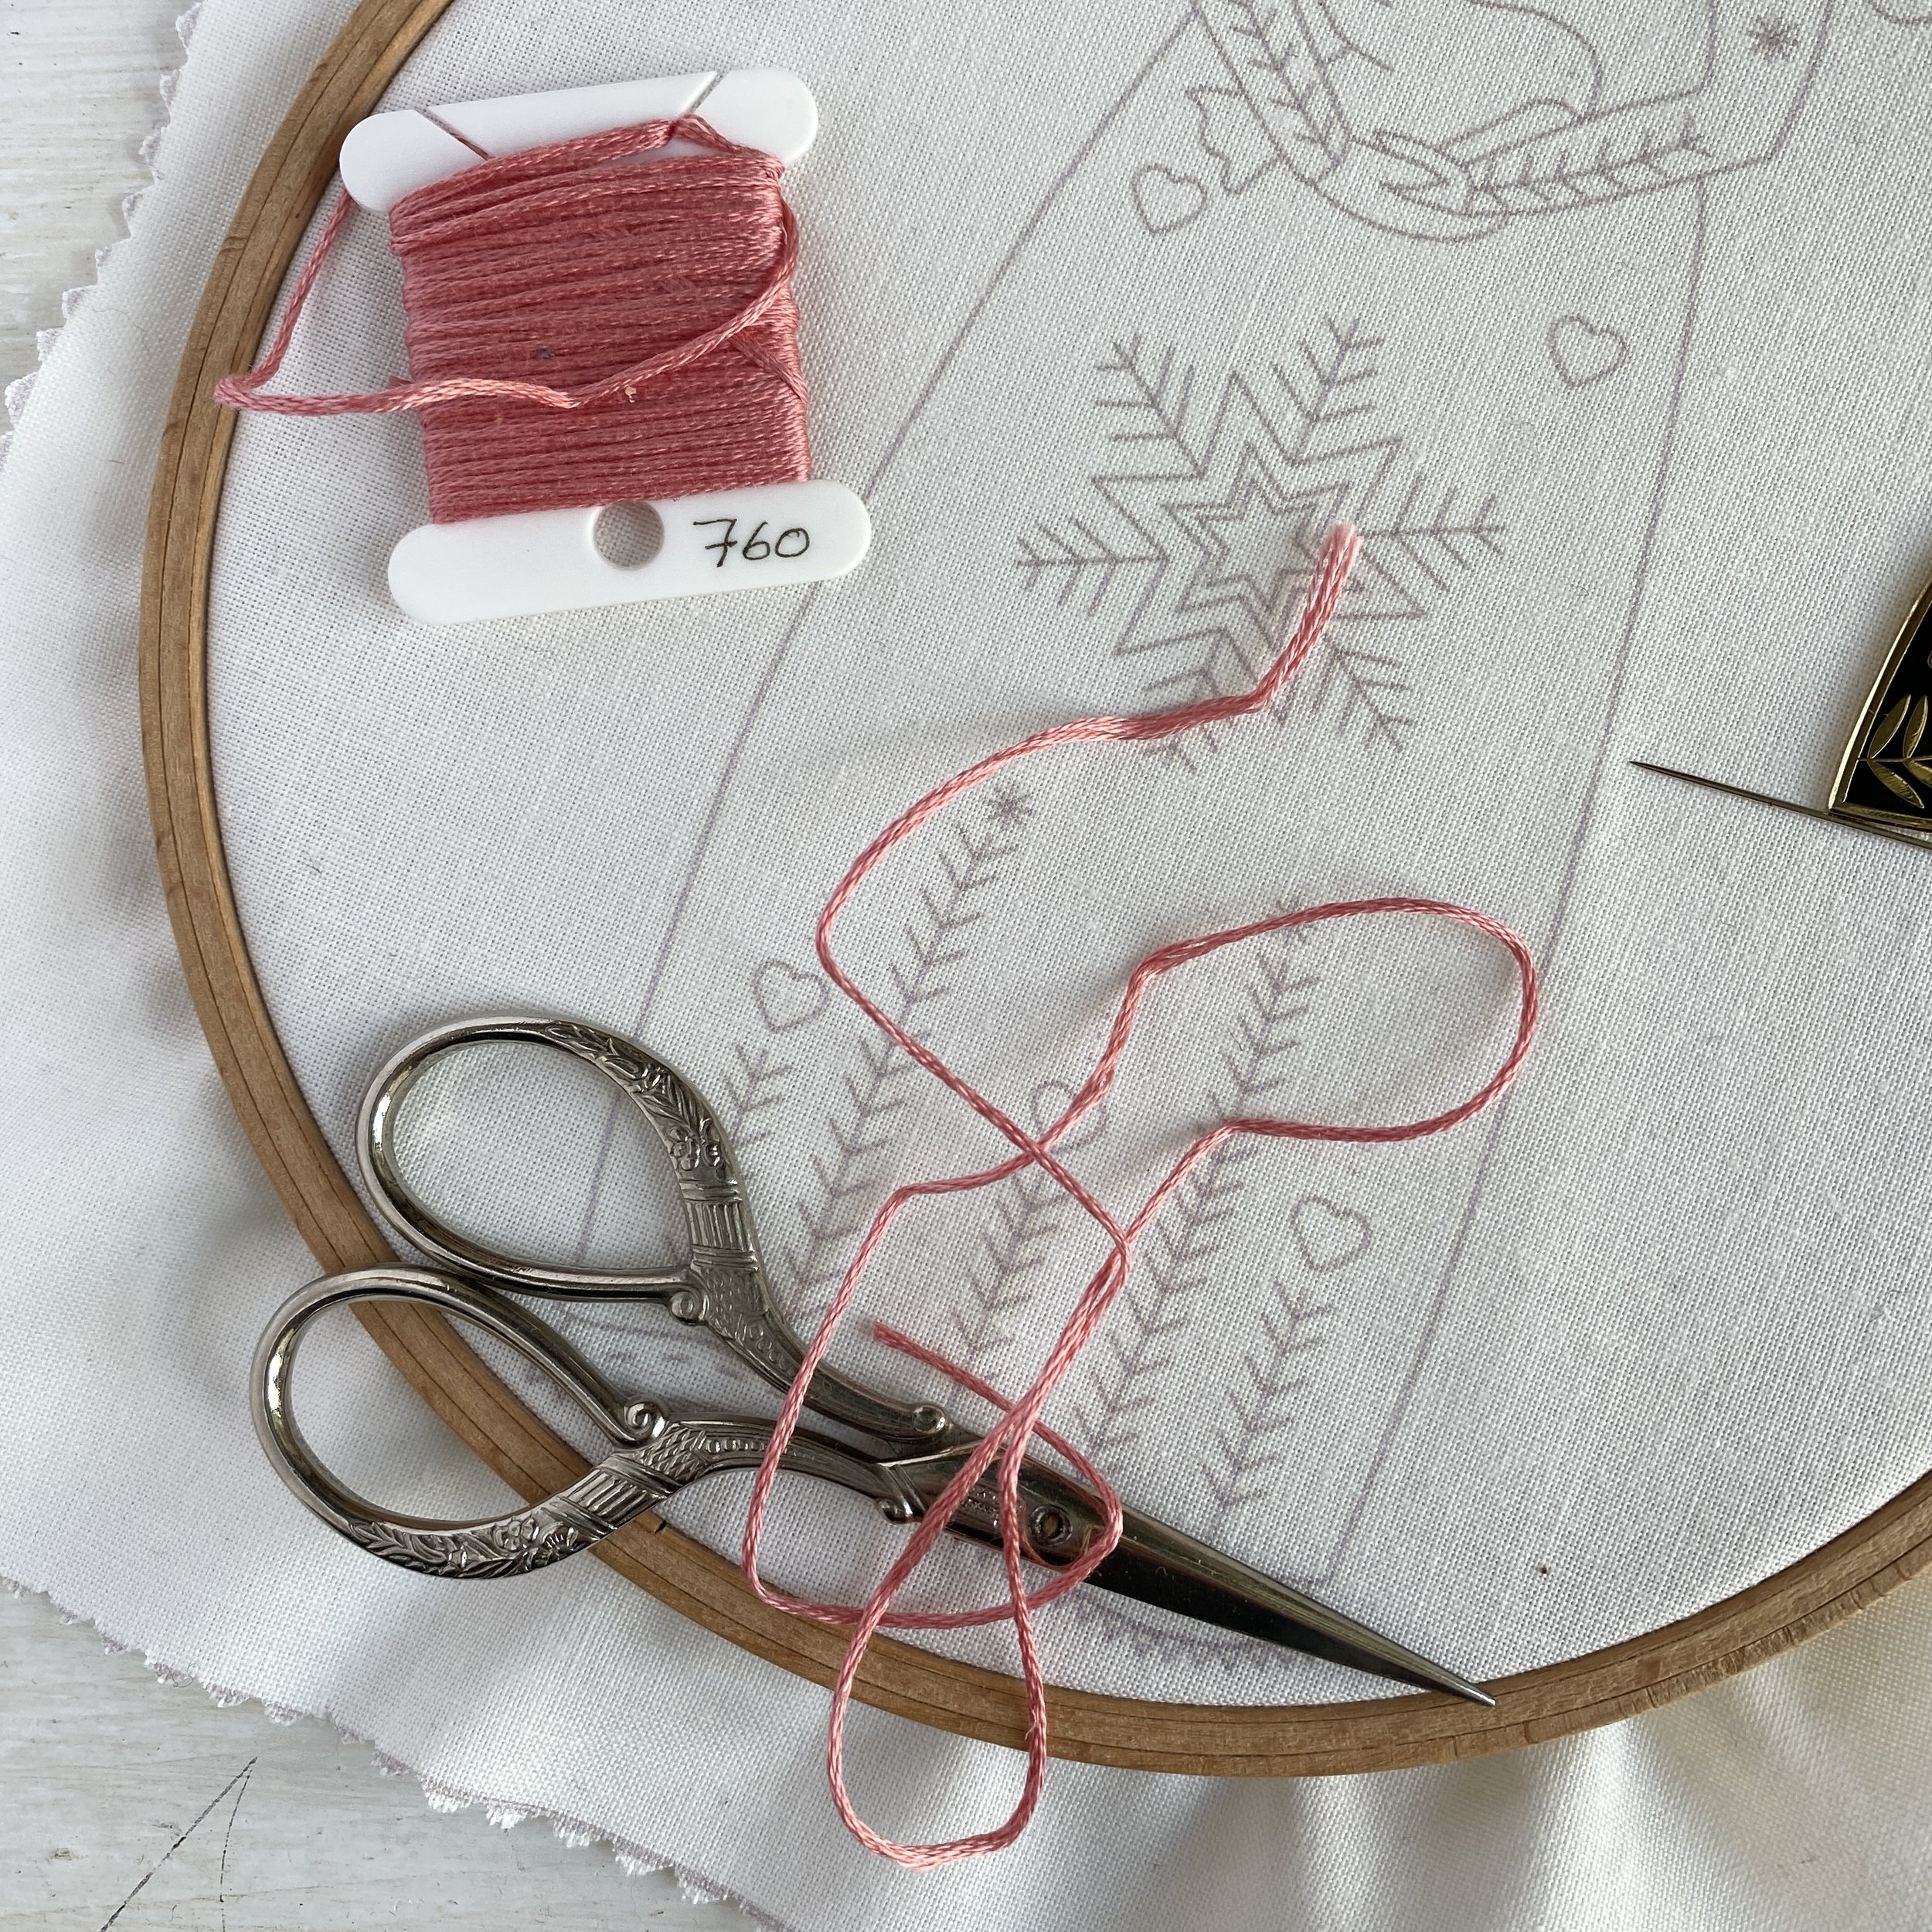
The first thing you need to do is cut your thread to the length you need. I cut mine to the length of my wrist to my elbow, a stitcher recommended it to me as the perfect length a long time ago and it’s what I stick to. It’s not so long that you get into tangles but also not so short that you have to keep starting a new thread.
The only time I might stray from this is with glitter threads or satin threads as they are much easier to work with if you keep them shorter.
Once you have cut your thread you separate off the number of strands you need and thread your needle. I use a number 7 crewel needle for 2 or 3 strands (I have also used it for 4 occasionally) and a number 8 crewel needle for 1 strand. You could get away with just using a number 7 if that’s what you have.
Becky pointed out in my first post that I had failed to mention my pincushion! Which I had. I always have a pincushion with about a million needles in it. I usually thread up the colours I am using into different needles so it’s easier to change colours quickly when I’m working. This isn’t necessary but it’s a way I like to work.
When you begin stitching you need to leave a tail of thread at the back of your work about an inch or so long. As you make your first few stitches you can catch this end behind them at the back of your work and then trim the end.


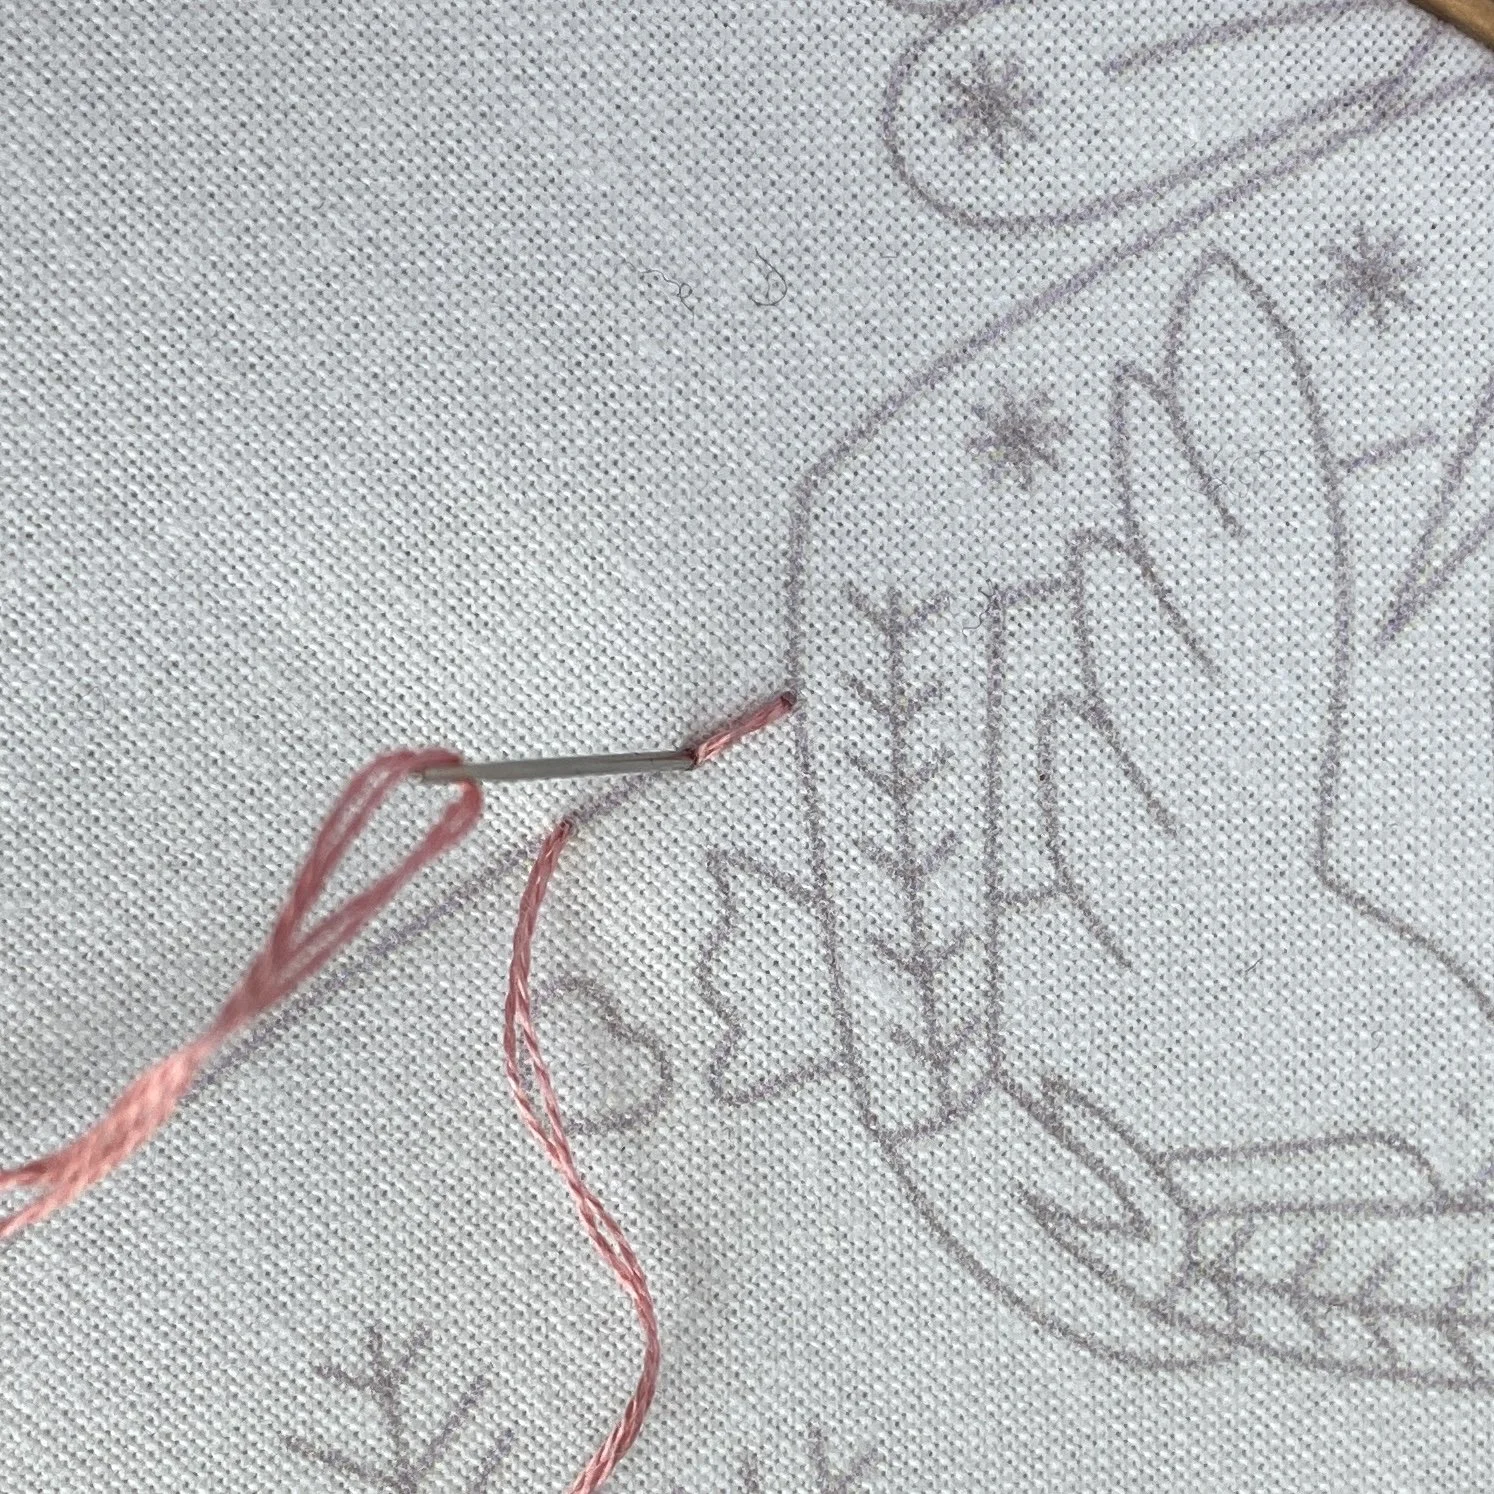


The process of back stitch is shown above
Bring the needle up a stitch length down your line (you are going to work backwards)
Take the needle back down at the start of your line
Bring it back up a stitch length down from the bottom of your first stitch
Now take your needle back down the same hole as the previous stitch bringing it up a stitch length further down
Continue in this way
I do get asked a lot about keeping stitching neat. The two things that make a huge difference in my own stitching are lighting and taking it slowly.
If I’m stitching in the evenings and the light fades and I don’t notice (usually!) then when I look at my stitching the next morning I find it has strayed quite a lot from the line I was trying for and I usually have to unpick.
Good lighting is essential. If it’s sunny then a sunny window is perfect but if you live in Britain, especially Cornwall you might find you need a good lamp even in the day time. I recommend some sort of daylight bulb as the light is white rather than yellow and you can see your colours better.
I am also a very slow stitcher. It is difficult to keep stitches even if you are working quickly. Embroidery does require some patience (or in my case it has taught me patience) and that is part of it’s charm. I think we are used to expecting quick results but a stitched project isn’t a quick thing, so even though a lot of my designs are small and simple they still take a little time. As you practice you will find a natural rhythm which will mean that you speed up a little.
Tension is also important in keeping your stitching neat. If your tension is too loose the stitch will not lay flat against the fabric, too tight and it will cause the fabric to pucker. This is especially important when you are filling an area. Again, working slowly means that you can pay more attention to your stitch tension. When you are filling an area just stop every so often and check that you are not pulling the fabric into the stitched area causing puckering.
When you are outlining with back stitch (or any other outline stitch) you need to make sure that you bring your needle up and take it down exactly on the line. A slight wobble can really stand out once your work is finished which can be extremely frustrating and time consuming with the unpicker.
Also with back stitch you need to make sure that the stitches are the same size as each other and that you take the needle back down the same hole as the previous stitch. Just missing the hole is one of the main things I notice when someone asks me to help make their stitching neater.


I have also been asked to show the back of my work and so here is one of my neater versions in the middle, they are not all as neat as this and I do still have a few ends to cut. In an ideal world you would not carry thread across the back, instead you would cut it, weave in the ends and start again in the next place. If you do carry threads you run the risk of them showing through, especially if you back the piece. Again it’s about a little extra time to leave you feeling happier at the end.
Finally to finish you simply weave the thread behind a few stitches at the back of your work and then cut the thread.
I hope you find these tips useful for your own stitching. I find the more stitching you do the more you have a natural stitch length that repeats itself and a better feel for tension. In spite of all this reaching for perfection it’s important not to be too perfectionist, your own stitching quirks are what makes your work special, that little ‘error’ is how we know it was made by hand. There is nothing more beautiful than a gift that someone has taken time and thought to make. It feels as though they have gifted you a little bit of their precious time.